Advertisement
Doorbell
Operating Instructions
The 2GIG-DBELL1-345 is a dual purpose doorbell that will work with both
the standard 24V wiring in the house and also wirelessly with the 2GIG
Control Panel. It features a button that will remain illuminated when hooked
to the 24V house door bell wiring and is fully water resistant.
Installation & Mounting Guidelines
To mount the base, do the following:
1
Mount the DBELL1 on the door frame using the orientation shown in Figure 2. Use the
supplied phillips head screws to attach it to the surface.
2
Pull the existing house 24V AC wiring through the hole in the rear of the base.
3
Place the supplied O-ring around the perimeter of the base as shown in Figure 2.
Notes:
If possible, locate sensors within 100 ft (30 m) of the panel, While a transmitter may have a
range of 350ft. (106 m) or more out in the open, the environment at the installation site can
have a significant effect on transmitter range. Sometimes a change in sensor orientation
can help overcome adverse wireless conditions.
Although the DBELL1 has been designed to withstand weather, avoid mounting sensors in
areas where they will be exposed to extreme moisture or where the sensor operating
temperature range of 32 to 120°F (0 to 49°C) will be exceeded.
To complete the installation:
1
Attach the existing 24V AC household doorbell wiring to base of the module using 6-32 x
1/8" machine screws. If this step is skipped, the door bell will work only with the 2GIG
control module and the LED will not be illuminated. Refer to Figure 3.
2
Pull the battery tab out and discard.
3
Snap the top part of the assembly to the base.
4
Assembly is now complete.
Programming
The following steps describe general guidelines for programming (learning) the
sensor into the alarm control panel memory. For more details, refer to the 2GIG
Installation & Programming Instructions.
1
Set the panel to sensor learning mode.
2
Press and release doorbell button on the sensor until the panel responds (see Figure 1).
3
Exit program mode.
4
Verify that the household wiring is also working by sounding the doorbell.
Testing
Before mounting the sensor, verify that the sensor mounting location provides good
RF communication to the panel. To verify, do the following:
1
Put the control panel into sensor test mode.
2
Press and release the doorbell button and listen for siren or keypad beeps to determine
appropriate response (refer to the control panel Installation instructions).
3
Exit sensor test mode.
4
Verify that the household 24V AC connection is working by pressing the doorbell button to ring
the doorbell.
Note: It is recommended that a system test be performed per the Operation & User's Guide at least once a year.
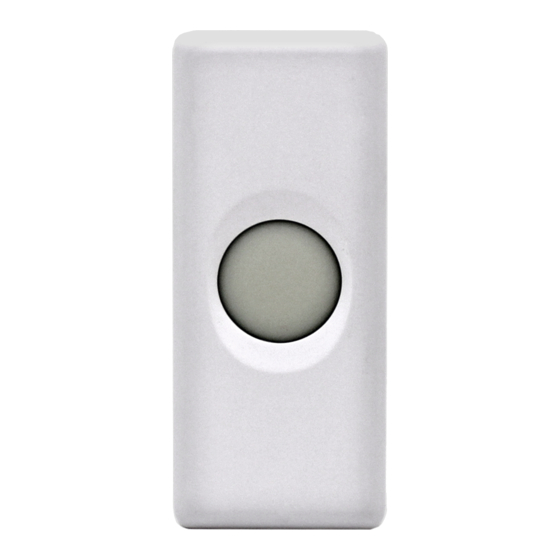
2GIG-DBELL1-345
Doorbell button
Figure 1
Access hole 24V
door bell wire
Screw
mounting
features
Slot for
O-ring
Figure 2
SLIDE BATTERY IN HERE
PLUS SIDE UP
2GIG
©2011
Figure 3
Advertisement
Table of Contents

Subscribe to Our Youtube Channel
Related Manuals for 2gig Technologies 2GIG-DBELL-345


Summary of Contents for 2gig Technologies 2GIG-DBELL-345
- Page 1 Doorbell 2GIG-DBELL1-345 Operating Instructions The 2GIG-DBELL1-345 is a dual purpose doorbell that will work with both the standard 24V wiring in the house and also wirelessly with the 2GIG Control Panel. It features a button that will remain illuminated when hooked to the 24V house door bell wiring and is fully water resistant.
- Page 2 Connect the equipment into an outlet on a circuit different from that to which the receiver is connected. Consult the dealer or an experienced radio/television technician for help Technical Support: 1-866-670-1591 www.2gig.com PN 77-000004-001 Rev B © 2011 2gig Technologies Inc. All Rights Reserved...
Need help?
Do you have a question about the 2GIG-DBELL-345 and is the answer not in the manual?
Questions and answers