Table of Contents
Advertisement
Quick Links
Advertisement
Table of Contents

Related Manuals for Aqua To Go VITA


Summary of Contents for Aqua To Go VITA
- Page 1 TABLE OF CONTENTS Page 1 of 13...
-
Page 2: Table Of Contents
Lifting or carrying your water cooler Do not let your cooler run dry Fitting the height extension base Pre rinse cleaning instructions Fitting the Aqua To Go Premium Spring Water Bottle LED Indicators – Power and Cold Temperature control Electrical connection... -
Page 3: Quick Start Summary
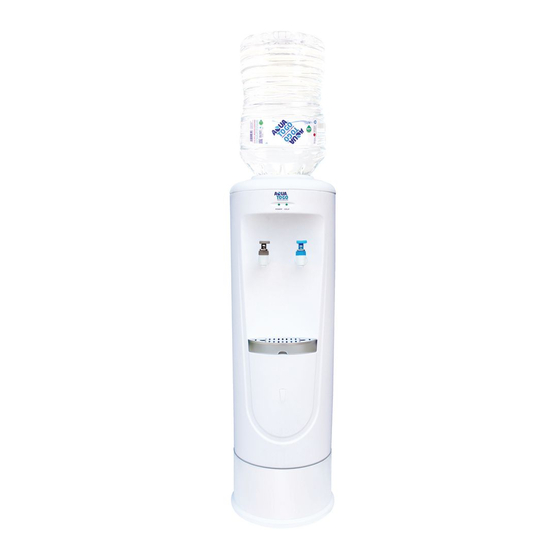
- place into the slots, hold the spike and gently twist clockwise. 7. INSTALLING A BOTTLE Gently lower your AQUA TO GO water bottle onto the water intake spike. Please read any installation instructions found on the bottle/cap. Store all spare bottles in a cool place, out of direct sunlight. -
Page 4: Parts And Features
Note: Specifications and content of this manual are subject to update and change without notice. UPON RECEIVING YOUR COOLER Thank you for purchasing an AQUA TO GO water cooler. Your cooler has been inspected in accordance with our factory’s comprehensive Quality Assurance Checklist. Inspect your cooler and should you find any material defects or have any queries please read Trouble Shooting p.11 and contact our customer service... -
Page 5: Certification
On the rear of the unit there are three marking plates: a) Serial number plate - stating the model, service contact details, voltage, amperage. b) Warranty numbers - which enables AQUA TO GO to trace back the date of manufacture and also obtain other information regarding its production and sale. -
Page 6: Wiring Diagram
WIRING DIAGRAM INSTALLATION GUIDELINES COOLER PLACEMENT Place your water cooler, with height adjusted base attached, in an area that is: Close to a power point. Do not, however, plug it in yet. Inside and out of significant direct sunlight and away from any heating appliance. ... -
Page 7: Fitting The Height Extension Base
FITTING THE HEIGHT EXTENSION BASE Your water cooler has been supplied with a height adjustment base to improve water tap accessibility. The base requires simple assembly as shown below. Parts provided: 1 Front Panel and 1 Back Panel 1 Stability Ring (located on the top foam cover, underneath the top box flaps) 2 Thick Screws and 2 Thin Screws (located in the bag with this instruction manual) Remove all parts and packaged materials from the box. -
Page 8: Pre Rinse Cleaning Instructions
FITTING AN AQUA TO GO PREMIUM SPRING WATER BOTTLE Place your water cooler in an appropriate position. -
Page 9: Temperature Control
Accurate temperatures are measured from the water flow and not from within the container that the water is dispensed. If you feel that the water temperature is not cold enough or have any queries please contact the AQUA TO GO Service Centre ph 1300 760 474 or service@aquatogo.com.au ELECTRICAL CONNECTION ... -
Page 10: Fitting The Aqua To Go Cup Dispenser
A cup dispenser may be installed by using the mounting holes located on either the left or right side panels of the cooler. The AQUA TO GO cup dispenser is specifically designed for this model’s curved shape and comes equipped with a special mounting bracket. Along with cups it can be purchased from Officeworks. -
Page 11: Trouble Shooting Guide
TROUBLE SHOOTING GUIDE Many common water cooler problems are easily fixed. Please read the below and if you still have an issues please call AQUA TO GO ph 1300 760 474 or service@aquatogo.com.au PROBLEM POSSIBLE CAUSE Not plugged in or wall power switch off. -
Page 12: Limited Warranty & Customer Service Contact Details
AQUA TO GO CUSTOMER SERVICE CENTRE CONTACTS HAVE A QUESTION? For the most up to date information about this product and the rest of the AQUA TO GO product range please visit www.aquatogo.com.au Ph: 1300 760 474 Or email service@aquatogo.com.au... - Page 13 Page 13 of 13...
Need help?
Do you have a question about the VITA and is the answer not in the manual?
Questions and answers