Table of Contents
Advertisement
Quick Links
Advertisement
Table of Contents

Summary of Contents for Dell SC460
- Page 1 Dell SC460 Expansion Enclosure Getting Started Guide Regulatory Model: CYAE...
-
Page 2: Notes, Cautions, And Warnings
WARNING: A WARNING indicates a potential for property damage, personal injury, or death. Copyright © 2017 Dell Inc. or its subsidiaries. All rights reserved. Dell, EMC, and other trademarks are trademarks of Dell Inc. or its subsidiaries. Other trademarks may be trademarks of their respective owners. -
Page 3: Other Information You May Need
Always follow these safety precautions to avoid injury and damage to Storage Center equipment. If equipment described in this guide is used in a manner not specified by Dell, the protection provided by the equipment could be impaired. For your safety and protection, observe the rules described in the following sections. -
Page 4: Unpacking Storage Center Equipment
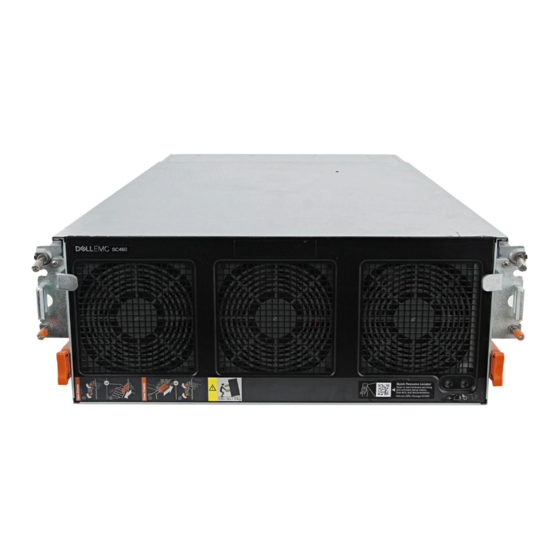
When handling the expansion enclosure components, use an electrostatic wrist guard or a similar form of protection. Unpacking Storage Center Equipment Unpack the SC460 expansion enclosure and identify the items in your shipment. Figure 1. SC460 Expansion Enclosure Components Expansion enclosure... - Page 5 Location for the expansion enclosure rack rails Location for the 1U cable management tray rails Mount the Cable Management Tray If you plan to use the 1U cable management tray, mount the tray before mounting the SC460 expansion enclosure. Prerequisite Required materials: •...
- Page 6 Figure 4. Align the Cable Management Tray Slide the 1U cable management tray into the rails until it locks into place. Mount the Expansion Enclosure Install the rails in the rack, and mount the SC460 expansion enclosure on the rails. Prerequisite Required materials: •...
- Page 7 a. Align the right rail with the lower two U spaces of the 4U mounting location. b. With the release latch on the outer part of the rack post, place the catch mechanism over the post. c. Push the rail back to secure the rail to the rack post. An audible click indicates that the rail is secure in the post.
- Page 8 Figure 7. Extend the Rack Rails d. Slide the rack rails over the expansion enclosure chassis rails. e. Remove the four handles from the sides of the expansion enclosure chassis. f. Slide the expansion enclosure chassis into the rack. Figure 8. Mount the Expansion Enclosure into the Rack If the drives, fans, PSUs, and EMMs were removed from the expansion enclosure chassis, reinstall these components in the chassis.
-
Page 9: Nom Information (Mexico Only)
Secure the top cover of the expansion enclosure chassis to the rack using the shoulder screws. Install the Front Bezel If a front bezel is shipped with the SC460 expansion enclosure, install the bezel on the front of the expansion enclosure. Align the bezel with the front of the expansion enclosure. -
Page 10: Technical Specifications
Technical Specifications The technical specifications of the SC460 expansion enclosure are displayed in the following tables. Drives SAS hard drives Dell Enterprise Plus drives Up to 60 hot-swappable 7.2K RPM 12 Gbps 3.5” SAS hard drives Connectivity Configurations SC9000, SC7020, and SC5020 storage systems support up to three SC460 expansion enclosures... - Page 11 Environmental Storage 10% to 90% (noncondensing) Altitude Operating -16 to 2300 m (-50 to 7500 ft) Storage -16 to 10,600 m (-50 to 35,000 ft)
Need help?
Do you have a question about the SC460 and is the answer not in the manual?
Questions and answers