
Related Manuals for Monte Carlo Fan Company 5DCR52 Series


Summary of Contents for Monte Carlo Fan Company 5DCR52 Series
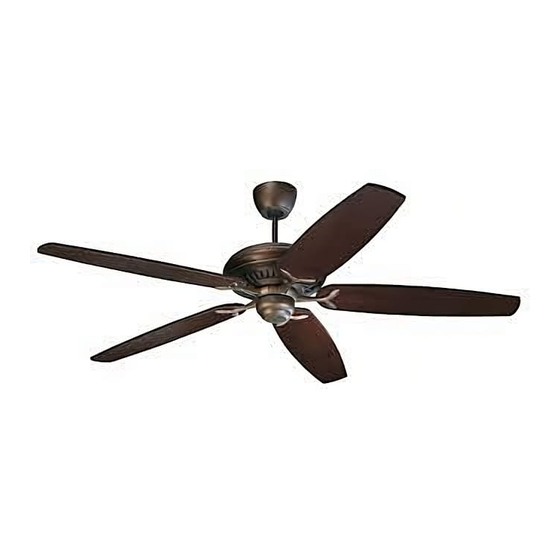
- Page 1 Owner’s Manual Ceiling Fan Installation Instructions For 5DCR52XX Fan READ AND SAVE THESE INSTRUCTIONS Total fan weight...
-
Page 2: Phillips Screwdriver
Installation AFETY WARNING: TO REDUCE THE RISK OF FIRE, ELECTRIC SHOCK, OR INJURY TO PERSONS, OBSERVE THE FOLLOWING: READ AND SAVE THESE INSTRUCTIONS Installation work and electrical wiring must be done by qualified person(s) in accordance with applicable codes and standards (ANSI/NFPA 70- 1999), including fire-rated construction. - Page 3 Insert downrod into motor yoke. Install the two thumbscrews to Tighten both yoke set screws to fur- Next,insert clevis pin through yoke secure the yoke cover. Tighten ther secure downrod. and downrod and secure with cotter securely. pin. Safety cable installation Safety Cable Lag Screw safety...
- Page 4 Install the switch housing plate by aligning the 2 screws with the 2 key Loosen 2 screws and remove 1 screw slot holes on the plate and twist to Attach blade assembly to motor and save. lock into place. Install the 1 screw using the motor screws and washers removed and tighten the other 2 provided.
-
Page 5: Fan Speed
NOTE: If you have more than 1 fan with a remote, you will have to change the DIP switch settings located above the battery of the remote. There are no DIP switch- es on the fan. Only change the remote DIP switches. LIGHT DELAY FAN REVERSE When the low battery sign... -
Page 6: Special Note
Receiver learning function (DC motor) After the fan is powered (DC motor), the receiver will start sourcing the frequency in the first 60 seconds; during the time, any instruction from the transmitter (pressing any but- ton) will be recognized and memorized as the ID frequency of the using transmitter; fre- quencies from the other transmitters won’t be identified as the instruction to operate your fan. -
Page 7: Troubleshooting
Trouble Shooting If you have difficulty operating your new ceiling fan, it may be the result of incorrect assembly, installation, or wiring. In some cases, these installation errors may be mistaken for defects. If you experience any faults, please check this Trouble Shooting Chart. If a problem cannot be remedied, or you are experiencing difficulty in installation, please call our Customer Service Center at the number printed on your parts list insert sheet.
Need help?
Do you have a question about the 5DCR52 Series and is the answer not in the manual?
Questions and answers