Huawei B660 Quick Start Manual
Wireless gateway
Hide thumbs
Also See for B660:
- Quick manual (9 pages) ,
- Quick start manual (13 pages) ,
- Quick start manual
Table of Contents
Advertisement
B660 Quick Start
Note:
Figures in this guide are only for your reference. For details about the
particular model you have chosen, contact your service provider.
Check the information about the product and its accessories when you
purchase it. Some accessories are not provided in the product package. If
necessary, contact your local dealer to purchase them.
This guide briefly describes the device functions. For details about how to
set the management parameters, see the help information on the web
management page.
Getting to Know Your Device
Application Scenarios
Scenario 1:
You can connect your computer to the device to access the Internet. The
specific connection steps depend on your computer's operating system.
Follow the displayed instructions to connect the device to your computer.
1
Advertisement
Table of Contents

Related Manuals for Huawei B660


Summary of Contents for Huawei B660
- Page 1 B660 Quick Start Note: Figures in this guide are only for your reference. For details about the particular model you have chosen, contact your service provider. Check the information about the product and its accessories when you purchase it. Some accessories are not provided in the product package. If necessary, contact your local dealer to purchase them.
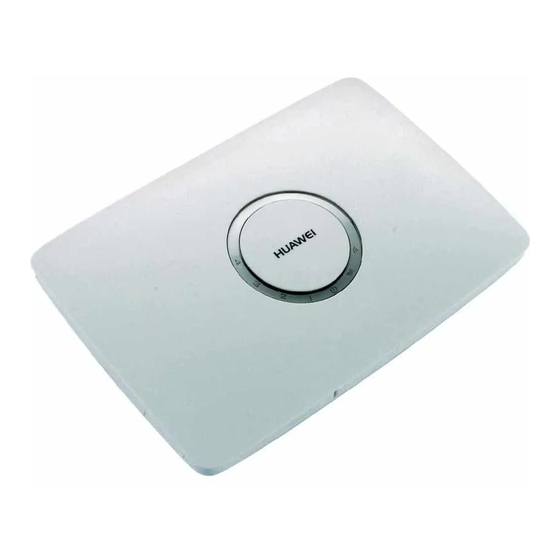
- Page 2 (Optional) Scenario 2: You can connect a telephone to the device's telephone port to make voice calls. Appearance 1. Power button 6. LAN indicators 2. Wi-Fi/WPS button 7. External antenna port 3. Wi-Fi/WPS indicator 8. Telephone port 4. Network status indicator 9.
- Page 3 Indicators Indicator Status Steady on: Wi-Fi turned on or data transfer in progress. Blinking: WPS connection being set up. Wi-Fi/WPS indicator Off: Wi-Fi turned off. Blinking red fast: Subscriber Identity Module (SIM) card unavailable (SIM card not installed or malfunctioning, or PIN code not verified). Steady yellow: device registered with the Network status network.
-
Page 4: Computer Hardware And Software Requirements
Computer Hardware and Software Requirements The recommended computer specification is as follows: Central processing unit (CPU): Pentium 500 MHz or faster Random access memory (RAM): ≥ 128 MB Hard drive: 50 MB disk space available Operating system: Windows 2000, Windows XP, Windows Vista, or Windows 7 Liquid crystal display (LCD) resolution: At least 800 x 600 pixels (1024 x 768 pixels is recommended.) - Page 5 (Optional) Using the Table Stand You can place the device on a flat surface such as a table or a desk, or hang it on a wall. You can also use the table stand on the device to place it upright. To use the table stand, insert its latches into the device's table stand slots, as shown in the following figure.
-
Page 6: (Optional) Installing An External Antenna
(Optional) Installing an External Antenna In areas with poor network coverage, connect an external antenna to the device's external antenna port. Screw the external antenna in fully, as shown in the following figure. Note: Skip this section if you do not need to connect an external antenna to the device. -
Page 7: Connecting To A Computer
(Optional) Connecting to a Telephone If you want to use the device to make voice calls, connect the device to a telephone, as shown in the following figure. Note: Skip this section if you do not plan to use the device's voice services. Radio signals can interfere with telephone call connection and quality. -
Page 8: Connecting To A Power Outlet
Connecting to a Power Outlet Connect a compatible power adapter to the device's power port, and then plug the power adapter into a power outlet. Note: Using an incompatible power adapter may damage the device. Powering the Device On or Off After connecting to a power outlet, the device will power on automatically. - Page 9 Setting Up a Wi-Fi Connection Note: Before setting up a Wi-Fi connection, ensure that a wireless network adapter has been installed on your computer. If the wireless network adapter is functioning correctly, you will be able to find a wireless network connection in your computer's connection manager application.
-
Page 10: Accessing The Internet
Accessing the Internet After a connection between your device and the client is set up, you can access the Internet using the modes listed in the following table. Select an appropriate mode according to your data service charging plan. For example, if you are charged according to the length of time you are connected to the Internet, it is recommended that you select manual mode. -
Page 11: Restoring Factory Defaults
Restoring Factory Defaults If you are uncertain of which settings you have configured or changed, you can restore the factory defaults that the device came with, and then reconfigure the device. To restore the factory defaults, Use a sharp-pointed object to press and hold the RESET button until all indicators ( ) blink. - Page 12 Copyright © Huawei Technologies Co., Ltd. 2011. All rights reserved. THIS DOCUMENT IS FOR INFORMATION PURPOSES ONLY, AND DOES NOT CONSTITUTE ANY KIND OF WARRANTIES. Version: V100R001_03 Part Number: 96720384...
Need help?
Do you have a question about the B660 and is the answer not in the manual?
Questions and answers