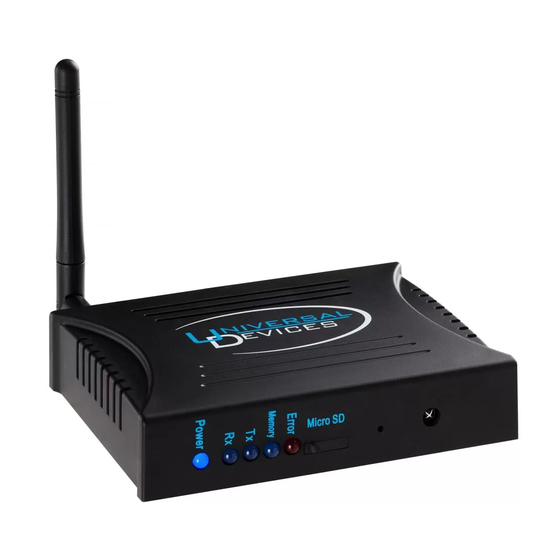
Universal Devices ISY-994i Series Quick Setup Manual
Hide thumbs
Also See for ISY-994i Series:
- User manual (90 pages) ,
- User manual (692 pages) ,
- User manual (20 pages)
Advertisement
1.
ISY Installation
1. Connect one of the included Cat5e cable to ISY's Network Port and to your
network hub. Note: the network must initially be DHCP enabled. If DHCP is not
enabled, please configure ISY with a static IP address the instructions for which
you will find here.
2. Connect the second included Cat5e cable to ISY's Port A and the other end to the
PLM
Note: If your PLM is model number 2413S, you do need a power supply
(included)
2.
Host Computer Configuration
1. If you do not have Java installed, please install the latest for your platform. You
may find the latest Java downloads at http://www.java.com/getjava. Please
choose the latest JRE for your platform
2. If you would like to access your ISY without a browser, please go to
http://isy.universal-devices.com/994i/admin.jnlp
3. [None Chrome Browsers Only] Start a Web Browser of your choice and go to
http://isy.universal-devices.com/994i
4. When prompted to authenticate, enter admin for both user-id and password
5. On Universal Devices Administrative Console, choose Help | About (Figure 2)
6. On the About Dialog, locate My URL and write down the URL. For example, in
Figure 2B, the URL is
this URL (as long as your router does not change the address for ISY)
Note: If you have Windows XP, Vista, or Windows 7 and if you have UPnP
(XP)/Device Discovery (Vista) enabled on your computer, you will see an ISY
icon appear in My Network Places (XP) or Network (Vista/Windows 7). (Figure
2A)
ISY-994i Series Quick Setup Guide
http://192.168.0.128.
- 1 -
;
You may also access your ISY using
Advertisement
Table of Contents

Summary of Contents for Universal Devices ISY-994i Series
- Page 1 4. When prompted to authenticate, enter admin for both user-id and password 5. On Universal Devices Administrative Console, choose Help | About (Figure 2) 6. On the About Dialog, locate My URL and write down the URL. For example, in Figure 2B, the URL is http://192.168.0.128.
- Page 2 Figure 2 Figure 2A Figure 2B Final Steps Set Time and Location Click on the Configuration | System tab and set the Time and the Physical Location for the unit (used for Sunrise/Sunset calculations). See Figure 3A. Figure 3A - 2 -...
- Page 3 Create a Program Click on the Programs | Details tab and you will see a sample Query All program. Below that there is an option to “Add Program” Click on that. The example for this program will be to turn On the Porch Light at 7pm and off 4 hours later. See Figure Figure 3B Start Linking Your INSTEON Devices! Click on the...


Need help?
Do you have a question about the ISY-994i Series and is the answer not in the manual?
Questions and answers