Table of Contents
Advertisement
Quick Links
Quick Setup Guide
Start Here
Please read the Product Safety Guide first before you set up your machine. Then, please read this Quick Setup
Guide for the correct setup and installation.
WARNING
1
Unpack the machine and check the components
The components included in the box may differ depending on your country.
Product Safety Guide
WARNING
• Plastic bags are used in the packing of your machine. To avoid danger of suffocation, keep these
plastic bags away from babies and children. Plastic bags are not toys.
• Only use the power cord supplied with this product.
Note
• We recommend that you save the original packaging in case you must ship your machine.
• Please use the supplied USB cable if you wish to connect the machine to a computer.
USB cable
It is recommended to use a USB 2.0 cable (Type A/B) that is no more than 2 metres long.
a
Remove the protective tape and film covering the machine.
b
Make sure you have all the components.
WARNING indicates a potentially hazardous situation which, if not avoided, could result in death
or serious injuries.
Plastic Card Carrier Sheet
AC Power Cord
Carrier Sheet/
DVD-ROM
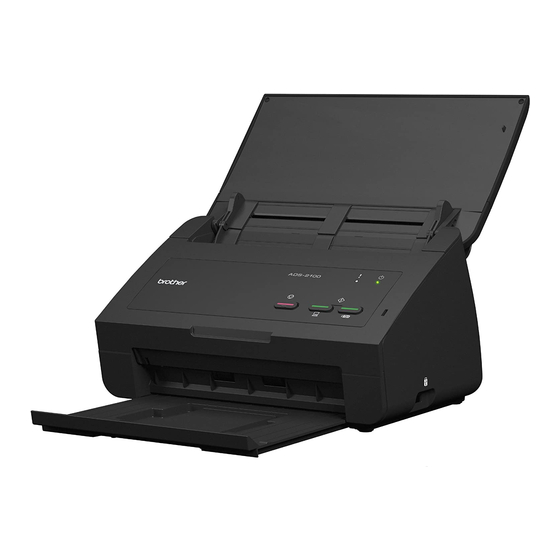
ADS-2100
USB Interface Cable
Quick Setup Guide
CEE-ENG Version 0
1
Advertisement
Table of Contents

Subscribe to Our Youtube Channel
Related Manuals for Brother ADS-2100


Summary of Contents for Brother ADS-2100
- Page 1 Quick Setup Guide Start Here ADS-2100 Please read the Product Safety Guide first before you set up your machine. Then, please read this Quick Setup Guide for the correct setup and installation. WARNING indicates a potentially hazardous situation which, if not avoided, could result in death WARNING or serious injuries.
-
Page 2: Connect The Power Cord
Pull the Output Tray out of the machine and Connect the power cord then unfold the Document Stopper. Important DO NOT connect the USB cable yet. Connect the power cord. WARNING The machine must be fitted with an earthed plug. ®... -
Page 3: For Usb Interface Users
7, when the Note ® Windows Security screen appears, click the If the Brother screen does not appear check box and click Install to complete the automatically, go to Computer (My Computer), installation correctly. double-click the DVD-ROM icon, and then double-click start.exe. -
Page 4: Connect The Usb Cable
It may take a few seconds for all you want and click OK. screens to appear. • When the Brother Product Research & When the On-Line Registration screen is Support Program starts up, follow the displayed, make your selection and follow the on-screen instructions. - Page 5 Connect the USB cable Please follow the on-screen instructions. After the installation, the Brother software will search for the Brother device. This will take a few Important moments to complete. • DO NOT connect the machine to a USB port on a keyboard or a USB hub.
- Page 6 Macintosh Install Presto! PageManager and Presto! BizCard Click Presto! PageManager and follow the on-screen instructions. Click Presto! BizCard and follow the on-screen instructions. Click Next. Click Close. The installation is now Finish complete.
-
Page 7: Install Optional Applications
Install Optional Applications ® Windows Install optional applications Nuance PDF Converter Professional 7 Nuance PDF Converter Professional 7 offers a variety of features for handling PDF files. It can unlock and open PDF files for viewing, editing, annotation and re-assembly. Enter the Nuance serial number that is shown on the sleeve of the MFL-Pro Suite DVD-ROM package when installing Nuance PDF Converter... -
Page 8: How To Scan To A Computer
How to scan to a computer Scanning a document You can scan and save documents as PDF files using the Scan to File feature. To scan documents and configure various settings, please ensure you have installed the driver and connected the machine to your computer by following the instructions in this guide. -
Page 9: Led Indications
LED Indications The LED indications shown in the table below are used in the illustrations in this chapter. The LED is off. The LED is on. The LED is blinking. Note Refer to the User’s Guide for more details and the other LED Indications. Document Jam Clear the document jam and then do the following: ... - Page 10 LED Indications Storage Full The connected USB flash memory drive is full. Press any key and then do one of the following: Delete unused files or folders from the USB flash memory drive and then try again. Use a USB flash memory drive that has available space. Protected Device The connected USB flash memory drive is write-protected.
- Page 11 LED Indications Remote Setup Remote Setup is in process. To cancel Remote Setup, click the Cancel button in the Remote Setup window on your computer. All Blank Page Skipped All scanned pages were skipped as blank pages. Press any key and then do one of the following: Place your document, face down, top edge first in the document feeder.
- Page 12 The contents of this manual and the specifications of this product are subject to change without notice. Brother reserves the right to make changes without notice in the specifications and materials contained herein and shall not be responsible for any damages (including consequential) caused by reliance on the materials presented, including but not limited to typographical and other errors relating to the publication.
Need help?
Do you have a question about the ADS-2100 and is the answer not in the manual?
Questions and answers