Table of Contents
Advertisement
Available languages
Available languages
Advertisement
Chapters
Table of Contents

Related Manuals for Aube Technologies TH209


Summary of Contents for Aube Technologies TH209
- Page 1 Owner’s Guide TH209 Non-programmable Thermostat 69-2771EF-07...
- Page 2 Do you need assistance? We are here to help. For assistance with this product please call Customer Care toll-free at 1-800-468-1502.
-
Page 3: Table Of Contents
TH209 Table of Contents About your new thermostat ............1 Temperature display and setting..........2 Removing the faceplate .............3 Wiring ....................4 Installing the faceplate...............5 Selecting the temperature display format......6 In case of difficulty ...............7 Specifications.................8 3-year limited warranty ..............9... -
Page 4: About Your New Thermostat
OWNER’S GUIDE About Your New Thermostat This thermostat can be used to control an electric heating system such as a baseboard heater or a convector. The thermostat CANNOT be used with: • a resistive load under 0.83 A • a resistive load over 8.3 A •... -
Page 5: Temperature Display And Setting
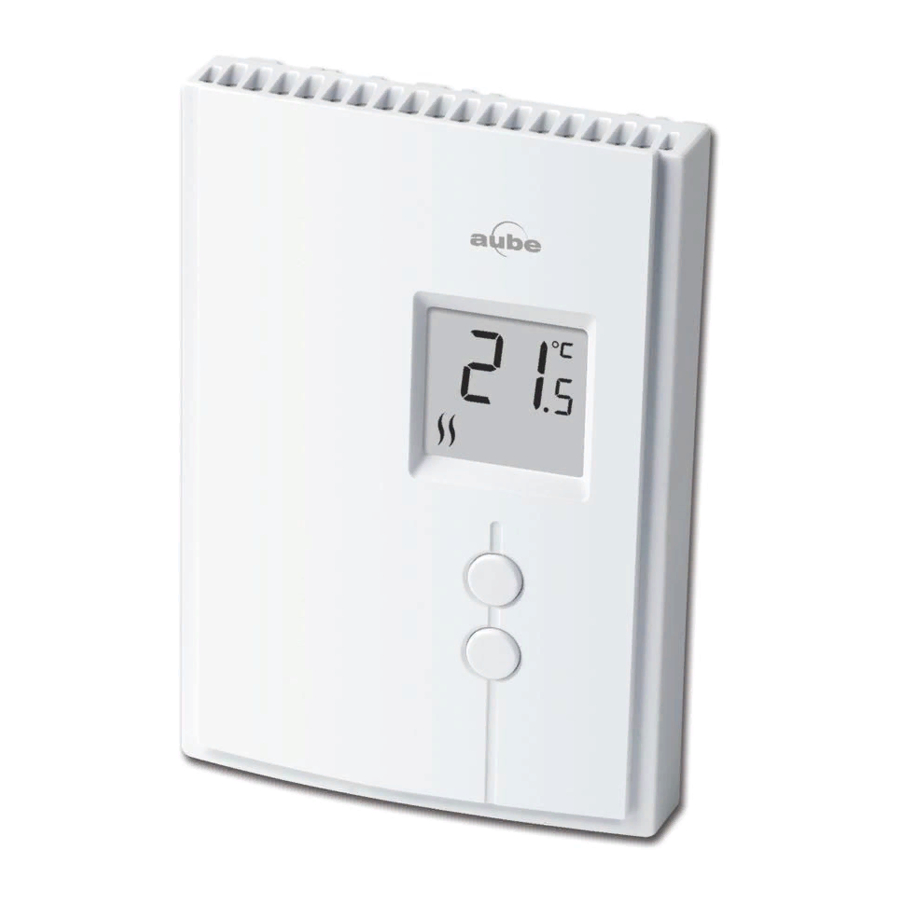
TH209 Temperature Display and Setting Appears when the setpoint is displayed Temperature display Up button Heating intensity indicator Down (No image appears button when heating is off.) The thermostat normally displays the actual (ambient) temperature. • To view the setpoint temperature, briefly press the Up or Down button. The setpoint will be displayed for 5 seconds. -
Page 6: Removing The Faceplate
OWNER’S GUIDE Removing the Faceplate TURN OFF POWER OF THE HEATING SYSTEM AT THE MAIN POWER PANEL TO AVOID ELECTRIC SHOCK. Loosen the screw holding the faceplate to the base. The screw cannot be completely removed and remains captive on the base. -
Page 7: Wiring
TH209 Wiring 4-wire installation 2-wire installation Power supply Connect either one of the thermostat wires to the heater wire and the other one to the power supply wire using solderless connectors for copper wires. NOTE: All cables and connections Power supply... -
Page 8: Installing The Faceplate
OWNER’S GUIDE Installing the Faceplate Install the base onto an electrical box. Reinstall the faceplate on the base and secure it in place with the screw. NOTE: Keep the air vents of thermostat clean and unobstructed at all times. -
Page 9: Selecting The Temperature Display Format
TH209 Selecting the Temperature Display Format To select the temperature display format: Press the Up and Down buttons for three seconds. The format currently used will be indicated on the screen. Press the Up or Down button to change the format. -
Page 10: In Case Of Difficulty
OWNER’S GUIDE Table 1. In Case of Difficulty Thermostat is hot. This is normal. Displayed Remediate if any the following conditions exists: temperature is wrong. The thermostat is exposed to air draft. The sticker on the thermostat’s screen has not been removed. The thermostat is located near or above a heat source such as a light dimmer. -
Page 11: Specifications
TH209 Specifications Supply: 120/208/240 VAC, 50/60 Hz Minimum load: 0.83 A (resistive only) 200 W @ 240 VAC 100 W @ 120 VAC Maximum load: 8.3 A (resistive only) Energy Verified 2000 W @ 240 VAC Only 1000 W @ 120 VAC Display range: 0°C to 50°C (32°F to 99°F) -
Page 12: 3-Year Limited Warranty
OWNER’S GUIDE 3-Year Limited Warranty Resideo warrants this product to be free from defects in workmanship or materials, under normal use and service, for a period of three (3) years from the date of first purchase by the original purchaser. If at any time during the warranty period the product is determined to be defective due to workmanship or materials, Resideo shall repair or replace it (at Resideo’s option). - Page 13 TH209 Resideo’s sole responsibility shall be to repair or replace the product within the terms stated above. RESIDEO SHALL NOT BE LIABLE FOR ANY LOSS OR DAMAGE OF ANY KIND, INCLUDING ANY INCIDENTAL OR CONSEQUENTIAL DAMAGES RESULTING, DIRECTLY OR INDIRECTLY, FROM ANY BREACH OF ANY WARRANTY, EXPRESS OR IMPLIED, OR ANY OTHER FAILURE OF THIS PRODUCT.
- Page 14 OWNER’S GUIDE CAUTION: ELECTRONIC WASTE NOTICE The product should not be disposed of with other household waste. Check for the nearest authorized collection centers or authorized recyclers. The correct disposal of end-of-life equipment will help prevent negative consequences for the environment and human health.
- Page 15 Guide de l’utilisateur TH209 Thermostat non programmable 69-2771EF-07...
- Page 16 Besoin d'aide? Nous sommes là pour vous aider. Pour obtenir de l’aide sur ce produit, joindre le service à la clientèle en composant sans frais le 1-800-468-1502.
- Page 17 TH209 Table des matières À propos du thermostat..............1 Affichage et réglage de la température .......2 Enlever la façade................3 Branchement..................4 Installer la façade .................5 Selectionner le format d’affichage de la température ...6 En cas de difficulté...............7 Fiche technique................8 Garantie limitée de 3 ans............9...
-
Page 18: À Propos Du Thermostat
GUIDE DE L’UTILISATEUR À propos du thermostat Ce thermostat a été conçu pour commander un appareil de chauffage électrique tel qu’une plinthe chauffante ou un convecteur. Ce thermostat NE PEUT être utilisé avec : • une charge résistive inférieure à 0,83 A •... -
Page 19: Affichage Et Réglage De La Température
TH209 Affichage et réglage de la température Apparaît lorsque la température de consigne est affichée Affichage de la température Bouton Haut Indicateur de l’intensité Bouton du chauffage. (L’absence de l’image indique l’arrêt du chauffage.) Le thermostat affiche normalement la température mesurée (ambiante). -
Page 20: Enlever La Façade
GUIDE DE L’UTILISATEUR Enlever la façade METTRE LE SYSTÈME DE CHAUFFAGE HORS TEN- SION AFIN D’ÉVITER TOUT RISQUE DE CHOC ÉLECTRIQUE. Desserrer la vis qui retient la façade du thermostat à la base. La vis ne peut être complètement enlevée et reste captive sur la base. -
Page 21: Branchement
TH209 Branchement Installation à 4 fils Installation à 2 fils Alimentation Relier n’importe quel fil du thermostat au fil de l’appareil de chauffage (charge) et l’autre fil au fil de l’alimentation en utilisant des connecteurs sans soudure pour fils de cuivre. -
Page 22: Installer La Façade
GUIDE DE L’UTILISATEUR Installer la façade Installer la base sur une boîte électrique. Remettre la façade du thermostat sur la base et resserrer la vis. REMARQUE : Garder les ouvertures d’aération du thermostat propres et dégagées en tout temps. -
Page 23: Selectionner Le Format D'affichage De La Température
TH209 Selectionner le format d’affichage de la température Pour selectionner le format d’affichage de la température : Appuyer sur les boutons Haut et Bas pendant trois sec- ondes. Le format utilisé sera indiqué à l’écran. Appuyer sur le bouton Haut ou Bas pour changer le for- mat. -
Page 24: En Cas De Difficulté
GUIDE DE L’UTILISATEUR Tableau 1. En cas de difficulté Le thermostat est chaud. Ceci est normal. La température affichée Remédier si l’une des conditions suivantes existe : est erronée. Il y a un courant d’air à proximité. L’autocollant sur l’écran du thermostat n’a pas été enlevé. Le thermostat est situé... -
Page 25: Fiche Technique
TH209 Fiche technique Alimentation : 120/208/240 V c.a., 50/60 Hz Charge minimale : 0,83 A (résistive seulement) 200 W @ 240 V c.a. 100 W @ 120 V c.a. Charge maximale : 8,3 A (résistive seulement) Energy Verified Only 2000 W @ 240 V c.a. -
Page 26: Garantie Limitée De 3 Ans
GUIDE DE L’UTILISATEUR Garantie limitée de 3 ans Resideo garantit ce produit contre tout défaut de pièce ou de main-d’œuvre, durant une période pour trois (3) ans à partir de la date d’achat par le consommateur d’origine si le produit est utilisé et entretenu convenablement. En cas de défaillance ou de mauvais fonctionnement pendant la période de garantie, Resideo remplacera ou réparera le produit, à... - Page 27 TH209 INDIRECTS OU ACCESSOIRES DÉCOULANT DIRECTEMENT OU INDIRECTEMENT D’UNE VIOLATION QUELCONQUE D’UNE GARANTIE, EXPRESSE OU TACITE, APPLICABLE AU PRÉSENT PRODUIT, OU TOUTE AUTRE DÉFAILLANCE DU PRÉSENT PRODUIT. Certaines provinces ne permettent pas l’exclusion ou la restriction des dommages indirects ou accessoires et, par conséquent, la présente restriction peut ne pas s’appliquer.
- Page 28 GUIDE DE L’UTILISATEUR MISE EN GARDE : AVIS DE DÉCHETS ÉLECTRONIQUES Ne disposez pas ce produit avec les autres ordures ménagères. Recherchez les centres de collecte ou de recyclage accrédités les plus proches. La mise au rebut appropriée de l’équipement en fin de vie aidera à prévenir tout effet potentiellement nuisible à l’environnement et à...
Need help?
Do you have a question about the TH209 and is the answer not in the manual?
Questions and answers