Advertisement
Installation manual for wall mounting for flat screen.
Note: t is recommended that this product be installed only by a professional. We do not accept
responsibility for damages caused by improper installation, assembly or use of this equipment.
In case of any doubt, please contact a professional to help you.
IMPORTANT.
For safety reasons, the wall or mounting surface must be able to support the
•
combined weight of the mounting and the screen; otherwise the structure must
be reinforced.
Appropriate safety equipment and tool must be used. Failure to do so may result in
•
property damage or serious injury.
Make sure electrical wires, water pipes or gas pipes are not located between the wall.
•
Tools required for installation
•
Screwdriver cross head.
•
Electric or portable drill.
•
1/8"(3 mm) Drill Bit + Post Detector (installation in plaster wall)
•
7/16"(11mm) Concrete drill bit (concrete installation)
Make sure all installation accessories are included with the assembly. Included:
(A) M6x50 Delay Bolt
(D) M6x12 Bolt
(G) M8x12 Bolt
Plaster Wall
Pole
Pole detector
Place the mounting rail on the wall,
fixing it with bolts (A) and washer (C).
Select the appropriate bolts for the
installation, in case of using a long bolt,
the spacer will also be necessary.
(B) Concrete anchor
(E) M6x30 Bolt
(H) M8x30 Bolt
Wall Installation
Measuring tape
Use a pencil to mark the holes
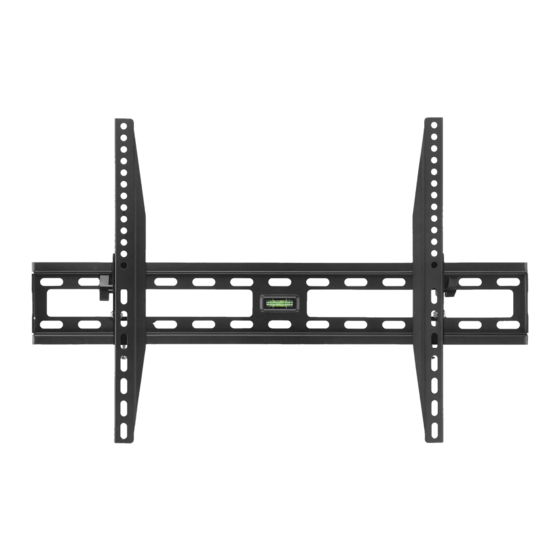
EPB64FW
(C) Washer
(F) Long spacer
(I) M6 washer
Concrete Wall
Measuring tape
Use a pencil to mark the holes
Insert a concrete anchor in each hole
Place the mounting rail on the wall,
fixing it with bolts (A) and washer (C).
Do not use the M6 washer, if using the M8
bolt
Advertisement
Table of Contents

Related Manuals for Epcom EPB64FW


Summary of Contents for Epcom EPB64FW
- Page 1 EPB64FW Installation manual for wall mounting for flat screen. Note: t is recommended that this product be installed only by a professional. We do not accept responsibility for damages caused by improper installation, assembly or use of this equipment. In case of any doubt, please contact a professional to help you.
- Page 2 Place the display connection cables at the back of the rail, then mount the screen in place. Use the cross screwdriver to adjust the bolt, you can adjust the angle of the screen by 10� down to loosen the knob.
Need help?
Do you have a question about the EPB64FW and is the answer not in the manual?
Questions and answers