Advertisement
Quick Links
Model # DC-3359
CALL US FIRST
1-877-PREPAC1
1-877-773-7221
Mon - Fri
7am - 4pm PST
10am - 7pm EST
•
For help with assembly
•
If you have received a damaged or defective part or
are missing hardware.
We will process replacement parts
less. Parts are shipped via
Before you call please:
1) Record the following information from the shipping
label on the outside of the box. You will need it for
warranty purposes:
• Ship To Name
• Sales Order Number
2) Note the
product model number.
3) Review the contents of your shipment to determine
what you are missing.
Online Option:
Fill out the Replacement Parts Order form in the Product
Support section of our website: www.prepacmfg.com
Required Tools
Screwdrivers
in 2 business days or
UPS Ground or mail.
Phillips Head
Flat Head
Hammer
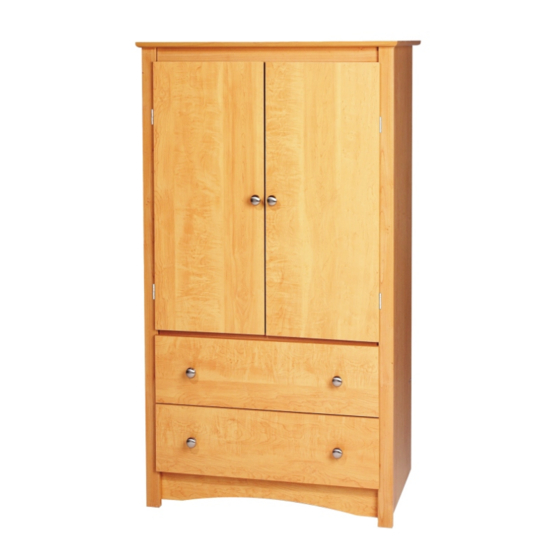
2-Door Wardrobe
Assembly Instructions
This product is shipped in
1 of 2
Make sure you have both cartons.
Sometimes cartons shipped on the
same day get separated and are
delivered on different days.
Optional Tools
Using a power screwdriver
will speed up assembly.
Caution
Do not over tighten any screw.
The last few turns of each screw
should be done very slowly or by hand.
2 cartons
+
2 of 2
Depending on collection, the style
of your product may vary from this
picture.
Prepac Manufacturing Ltd.
6705 Dennett Place
Delta, BC V4G 1N4
LB-0596-R
2012-06-18
Advertisement

Related Manuals for Prepac Wardrobe DC-3359


Summary of Contents for Prepac Wardrobe DC-3359
- Page 1 Optional Tools Required Tools Screwdrivers Phillips Head Using a power screwdriver will speed up assembly. Prepac Manufacturing Ltd. Flat Head Caution 6705 Dennett Place Do not over tighten any screw. Delta, BC V4G 1N4 The last few turns of each screw...
- Page 2 Hardware Identification Screw Cover Caps Blue Rapid Rod (6) Green Twister Dowel (8) 2" Confirmat Screws 15mm Zinc Cam (14) Capuchons des vis Tige rapide bleu Vis Confirmat 2" (8) Goujon de torsion vert Ferrure en zinc RM-0226 black / noir RM-0583 RM-0501 RM-0001...
- Page 3 Cabinet Parts / Pièces de l’armoire Left Side Molding Moulure latérale gauche TR-0479-L maple / érable TR-0419-L black / noir TR-0409-L White / blanc TR-0499-L cherry / cerise Backer (1) Right Side Molding Door / Porte Moulure latérale BB-0108 DR-10007-M droit maple / érable maple / érable...
- Page 4 Insert cams into the top and front of each side as Insert Blue Rapid Rods into ONLY the shown in the diagram. front of each side. Insérez les ferrures au dessus et l'avant de Insérez les tige rapide bleu dans chaque côté...
- Page 5 Attach fixed shelf to sides and tighten cams Attachez la tablette fixe aux côtés et serrez les ferrures Confirmat screws & cover caps Vis Confirmat et capuchons des vis Tightening Cams Serrez les ferrures Unlocked Locked Déverrouillé Verrouillé Rear Stabilizer Renforcement arrière Choose either Stabilizer A or B as the decorative front stabilizer.
- Page 6 Attach backer to sides, top, fixed shelf and rear stabilizer using ¾” nails. Leave a 2-3” space from each top corner. Posez le dos à l'aide des clou ¾ po. Laissez des 2 ou 3 " l'espace de chaque coin. We recommend using the following steps to ensure the backer is fastened securely: Nous recommandons d'employer les étapes suivantes pour assurer...
- Page 7 Attach Top & Fixed Shelf Moldings Posez le moulure supérieure et le moulure de tablette fixe Attach moldings using plastic dowels. With a hammer, gently tap dowels first into molding, then into shelf or top. Attachez les moulures à l'aide des goujons en plastique. Avec un marteau, branchez doucement les goujons d'abord sur la moulure, puis dans la tablette ou le...
- Page 8 Attach Side Moldings using plastic dowels and connecting rods, then tighten cams. Posez les moulures latéraux à l'aide des goujons en plastique et Important Make sure the hinge holes on the side molding are facing into the cabinet opening Important Assurez-vous que les trous de pentures sur la moulure latérale sont des revêtements dans l'ouverture de module...
- Page 9 Attach the metal plate to the top #6 - 5/8" Screw of each door Vis no.6 - 5/8" Posez les plaques métalliques au-dessus de chaque porte. Molding Moulure Metal Plate Plaque métal Cabinet Armoire Door Porte Attach hinges with Drawer Slide Screws Posez les pentures à...
- Page 10 Attach magnetic catch to underside of top molding Posez les attaches magnétique à la moulure supérieure du dessus. Attach pole sockets and unfinished wood dowel for hanging clothes OR insert shelf pins and add adjustable shelf. Fixez les embouts pour barre et goujons de bois non-fini pour les vêtements OU insérez les supports pour tablette et posez les tablettes.
- Page 11 Drawer Parts Identification Drawer Back (2) Arrière du tiroir DK-0415W unfinished / non-fini Drawer Front (2) Devant du tiroir 10014-M maple / érable DF-10014-B black / noir DF-10017-W white / blanc DF-10017-C cherry / cerise Left Drawer Side (2) Côté gauche du tiroir DS-0412W-L unfinished / non-fini Drawer Bottom (2) Fond du tiroir...
- Page 12 Screw black twister dowels into drawer fronts Vissez les doigts noirs de tornade dans des avants de tiroir Attach drawer sides to drawer back with 1½” screws Attachez les côtés de tiroir au dos de tiroir avec vis de 1 ½ po. 1½”...
- Page 13 Attach drawer front and tighten cams using a flat head screwdriver Attachez l'avant de tiroir et serrez les cames utilisant un tournevis principal plat Left Drawer Side Right Drawer Side Côté gauche du tiroir Côté droit du tiroir Locked Unlocked Locked Unlocked Turn 210°...
- Page 14 Secure the drawer bottom to the drawer back with nails Fixez le fond de tiroir au dos de tiroir avec des clous Insert the Drawer Bottom Stabilizer Insérez le stabilisateur du fond de tiroir Position the Stabilizer in the center of the drawer and insert it into the groove on the drawer front.
- Page 15 Attach drawer slides to left and right drawer sides using drawer slide screws Les glissières de tiroir d'attache aux côtés gauches et droits de tiroir utilisant le tiroir glissent des vis Right Drawer Side Left Drawer Side Côté droit du tiroir Côté...
- Page 16 Attachant et à l'aide du serre-câble Attaching and Using the Cable Tie Secure product to wall using the Cable Tie Fixez le produit au mur en utilisant le Serre-câble With the #6-¾” screw, attach one of the Attach the 2nd mounting base to the wall 2” lower than the 17a.
Need help?
Do you have a question about the Wardrobe DC-3359 and is the answer not in the manual?
Questions and answers