
Related Manuals for Humble Crew CA8692


Summary of Contents for Humble Crew CA8692
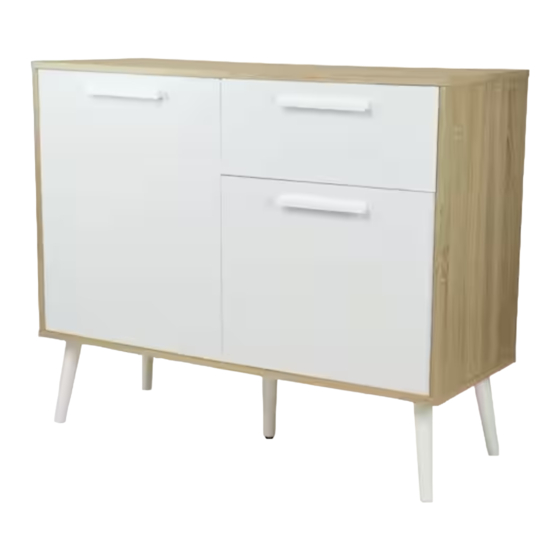
- Page 1 NOV19EM cabinet Product info Made in Malaysia Model: CA8692 Collection: Stockholm Cleaning Wipe with a damp cloth and mild soap Dry with soft, lint free cloth...
- Page 2 PAGE: 1 ASSEMBLY INSTRUCTIONS PAGE: MODEL : OSLO-BAR CABINET CA8692 CA8692 PAGE: Before you begin, please follow assembly instructions carefully, then follow them step by step. Before you begin, please make sure all parts are included. Read instructions carefully. If a part is missing or damaged, call our toll-free customer service number (844-509-4888) for help. We can ship you a replacement part free of charge.
- Page 3 PAGE: 2 ASSEMBLY INSTRUCTIONS MODEL : CA8692 STEP 2 STEP 1 - Insert hardware A1 onto panel (3) and (4) . - Insert hardware A2 onto panel (1) . (Repeat 4 times.) (Repeat 6 times.) - Insert hardware B onto panel (3) and (4) .
- Page 4 PAGE: 3 ASSEMBLY INSTRUCTIONS MODEL : CA8692 STEP 3 STEP 4 - Insert hardware A1 onto panel (5) . - Fix hardware M1 (L) into panel (5) with hardware E . (Repeat 2 times.) (Repeat 3 times for each hardware.) - Insert hardware B onto panel (5) .
- Page 5 PAGE: 4 ASSEMBLY INSTRUCTIONS MODEL : CA8692 STEP 5 STEP 6 - Attach panel (3), (4) and (5) to panel (1). - Fix hardware M1 (R) into panel (4) with hardware E. - Insert all hardware A2 into A1 (Repeat 3 times for each hardware.) - Rotate all A1 until tight.
- Page 6 PAGE: 5 ASSEMBLY INSTRUCTIONS MODEL : CA8692 STEP 7 STEP 8 - Insert panel (6) along the slot. - Connect panel (2) to panel (3), (4) and (5) by using hardware C and D. (Repeat 2 times.) (Repeat 6 times.)
- Page 7 PAGE: 6 ASSEMBLY INSTRUCTIONS MODEL : CA8692 STEP 9 STEP 10 - Fix hardware K into panel (2) by using hardware E. - Assemble part 14 into hardware K. (Repeat 5 times for each hardware.) (Repeat 4 times.) - Connect panel (16) to panel (2) - Assemble part 15 into panel (16).
- Page 8 PAGE: 7 ASSEMBLY INSTRUCTIONS MODEL : CA8692 STEP 12 STEP 11 - Insert hardware H into mounting positions on panel (3), (4) and - Insert hardware I1 into slot at panel (1), (2), (3) and (4) . (5) by hand.
- Page 9 PAGE: 8 ASSEMBLY INSTRUCTIONS MODEL : CA8692 STEP 14 STEP 13 - Assemble panel (7) into between panel (3), (4) and (5). - Fix hardware L onto panel (8) and (9) by using hardware E . (Repeat 2 times for each hardware.) (Repeat 2 times.)
- Page 10 PAGE: 9 ASSEMBLY INSTRUCTIONS MODEL : CA8692 STEP 15 STEP 16 - Fix hardware L onto panel (3) and (4) by using hardware E . - Assemble panel (12) with panel (10) and (11) (Repeat 4 times for each hardware.) by using hardware G.
- Page 11 PAGE: 10 ASSEMBLY INSTRUCTIONS MODEL : CA8692 STEP 17 STEP 18 - Insert panel (13) along the slot. - Assemble panel (12) with panel (10) and (11) by using hardware G. (Repeat 1 times.) (Repeat 4 times.) ROTATE SCREWDRIVER REQUIRED...
- Page 12 PAGE: 11 ASSEMBLY INSTRUCTIONS MODEL : CA8692 STEP 19 STEP 20 - Put all the drawer in place along the drawer slides. - Assemble hardware M2 (L/R) to panel (12) by using hardware E . (Repeat 3 times for each hardware.)
- Page 13 PAGE: 12 ASSEMBLY INSTRUCTIONS MODEL : CA8692 STEP 21 STEP 22 - Assemble hardware J1 into panel (1) and (6) - Mark and use the power drill by using hardware J2 . to drill a hole on the wall. (Repeat 2 times.) - Hit hardware J3 into the wall.
- Page 14 PAGE: 13 ASSEMBLY INSTRUCTIONS MODEL : CA8692 STEP 23 STEP 24 - Assemble hardware J1 to J3 by using hardware J4 . - Connect both of the hardware J1 by using hardware J5. (Repeat 2 times.) - Tighten the hardware J5.
Need help?
Do you have a question about the CA8692 and is the answer not in the manual?
Questions and answers