Advertisement
Table of Contents
Congratulations!
Congratulations on purchasing I-7188EX - the most popular automation solution for remote
monitoring and control application. This Quick Start Guide will provide information needed to
get started. Please also consult the User Manual for detailed information on the setup and use
of I-7188EX. This guide convers the following models:
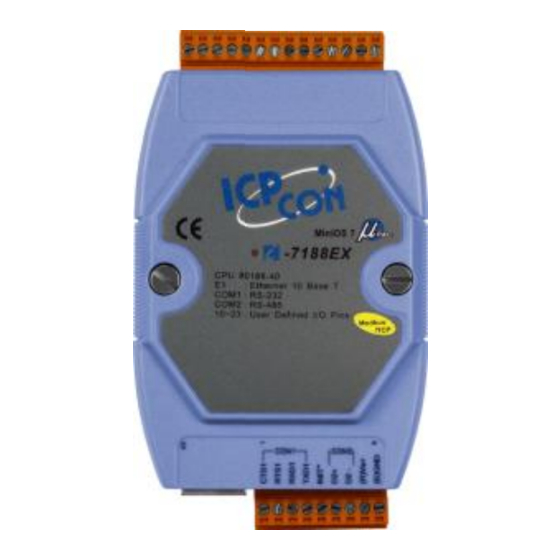
I-7188EX, I-7188EA
What's in the Box?
In addition to this guide, the package includes the following items:
I-7188EX/I-7188EA
Technical Support
●
I-7188EX Reference Document
CD:\NAPDOS\7188e\Document
ftp://ftp.icpdas.com/pub/cd/8000cd/napdos/7188e/document/
●
I-7188EX Website
http://www.icpdas.com/products/PAC/i-7188_7186/i-7188ex.htm
Copyright © 2012 ICP DAS Co., Ltd. All Rights Reserved.
Quick Start Guide for
Software Utility CD
I-7188EX
September 2012, Version 1.0.1
RS-232 Cable
Screw Driver
(CA-0910)
(1C016)
E-mail: service@icpdas.com
1
Advertisement
Table of Contents

Related Manuals for ICP DAS USA I-7188EX


Summary of Contents for ICP DAS USA I-7188EX
- Page 1 September 2012, Version 1.0.1 Congratulations! Congratulations on purchasing I-7188EX - the most popular automation solution for remote monitoring and control application. This Quick Start Guide will provide information needed to get started. Please also consult the User Manual for detailed information on the setup and use of I-7188EX.
- Page 2 Installing the SDKs ICP DAS provides easy-to-use SDKs (Xserver, Modbus APIs) and a variety of demo programs to help you quickly develop your own applications. These SDKs and demo programs can be obtained from the CD that was provided with the package or by downloading the latest version from ICP DAS web site.
- Page 3 Connect the GND of the I-7188EX to the negative of the power supply. Step 2: Connect to PC Ethernet port of the I-7188EX should be connected to a PC via a hub by using an Ethernet cable. Here is another way to connect the I-7188EX to a PC.
- Page 4 Using MiniOS7 Utility to Assign an IP Address MiniOS7 Utility can be used to configure the IP address. Before starting the configuration process, make sure that the I-7188EX are used to connect to your network. The default IP addresses are as follows:...
- Page 5 iv. Check the status bar of the MiniOS7 Scan dialog, waiting for the search to be done. iv. Check the status bar, waiting for the search to be done Step 2: Configure the IP Address i. Choose the module name from the column. ii.
- Page 6 Establishing a Connection between I-7188EX and PC MiniOS7 Utility is PC-based utility, that can used to establish a connection between I-7188EX and PC. Step 1: Run the MiniOS7 Utility and configure the connection settings i. Make sure that the I-7188EX is running in init mode ii.
- Page 7 Connected Uploading and Executing the Demo Program After connecting to the I-7188EX, then you can upload and execute the demo program. Step 1: On PC side, right click the file name that you wish to upload and then select the Upload...
- Page 8 Step 2: On the I-7188EX side, right click the file name that you wish to execute and then select the Run PC side I-7188EX side Developing Your Own Application After you learned to download programs to I-7188EX, then you can start developing your own applications.
Need help?
Do you have a question about the I-7188EX and is the answer not in the manual?
Questions and answers