Advertisement
Table of Contents
E113
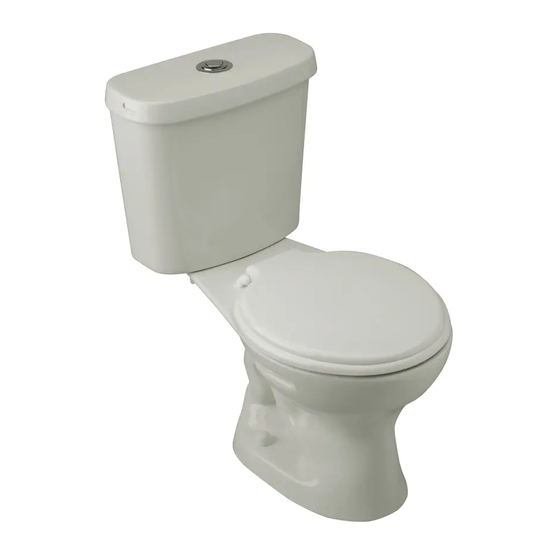
Inodoro Roma Simple descarga de 4,8
LPF / Toilet Roma Single discharge
RECOMENDACIONES:
Asegúrese que la persona que vaya a instalar el producto sea
un profesional en la materia, para prevenir errores que afecten
las instalaciones o el correcto funcionamiento del producto.
Realice los ajuste del sanitario UTILIZANDO una herramienta
adecuada para que la superficie y el acabado del producto no
se raye o lastime.
Recuerde que todos los productos tienen un mecanismo de
control que debe ser revisado y cambiado de ser necesario, ya
que este puede deteriorarse debido a la frecuencia de uso.
RECOMMENDATIONS:
To prevent any error that may affect the facilities or the correct
functioning of the product, make sure that the person who is
going to install the product is a professional. Install the product
using suitable tools, so that it is not scratched.
Remember that all products have a control mechanism that
must be reviewed and changed if necessary, since it can
deteriorate due to the frequency of use.
COLORES DISPONIBLES /
COLORS AVAILABLE:
• Blanco / White : BL
• Bone / Bone : BO
• Caribbean Shell : CS
INSTRUCCIONES DE INSTALACIÓN / INSTALLATION INSTRUCTIONS:
1. Ubique el inodoro en la posición en la que irá, verifique la alineación del inodoro
respecto a la pared y posicione de acuerdo a las dimensiones indicadas en el
gráfico.
Verify the alignment of toilet regarding the wall and place it according to the dimen-
sions (see graphic).
2. Marque en el piso los orificios para su fijación.
Mark the holes in the floor to mount the product correctly.
Llave angular F.V.
Llave angular F.V.
F.V. Angle valve
F.V. Angle valve
Agujeros
Agujeros
para fijación
para fijación
Fixation holes
Fixation holes
MEDIDAS / MEASURES:
Dimensiones en milímetros / Dimensions in millimeters
Dimensiones en pulgadas / Dimensions in inches
305
305
12"
12"
E110.1-COLOR
3. Retire el inodoro para perforar y colocar los tacos de fijación #10 (no incluidos)
para fijar el inodoro al piso.
Remove the toilet to drill and fit the #10 fitting plugs (not included) to attach the
toilet to the floor.
Llave angular F.V.
F.V. Angle valve
Llave angular F.V.
F.V. Angle valve
Agujeros
para fijación
Agujeros
para fijación
Fixation holes
Fixation holes
4- Voltee el inodoro sobre una superficie suave para no rasparlo y coloque el anillo de
cera en la salida del desagüe.
Turn the toilet around (on its ring) over a soft surface so that it will not be scraped
and install the wax ring in the drain outlet.
410
16" 1/8
E113.2.2
E113.2.1
E101.10-COLOR
410
16" 1/8
E102.17
E113.2-COLOR
Advertisement
Table of Contents

Subscribe to Our Youtube Channel
Related Manuals for FV E113


Summary of Contents for FV E113
- Page 1 MEDIDAS / MEASURES: Dimensiones en milímetros / Dimensions in millimeters Dimensiones en pulgadas / Dimensions in inches E113 Inodoro Roma Simple descarga de 4,8 LPF / Toilet Roma Single discharge 16” 1/8 16” 1/8 RECOMENDACIONES: Asegúrese que la persona que vaya a instalar el producto sea un profesional en la materia, para prevenir errores que afecten las instalaciones o el correcto funcionamiento del producto.
- Page 2 8. Conecte la válvula de ingreso del tanque a la acometida de agua mediante una Agujeros para fijación llave angular FV con manguera flexible, ref.: E266.02 DH CR (no incluida).Por último, coloque el asiento en el inodoro. Fixation holes Connect water supply to the toilet valve using a F.V. Franz Viegener angle valve with flexible hose ref. E266.02 DH CR, (not included).
Need help?
Do you have a question about the E113 and is the answer not in the manual?
Questions and answers