
Related Manuals for Daikin RW25JV1


Summary of Contents for Daikin RW25JV1
- Page 1 Si01-780 REMOVAL PROCEDURE S E R V I C E M A N U A L 2.5/3.5 kW Class Outdoor Unit Non-Inverter Pair Type...
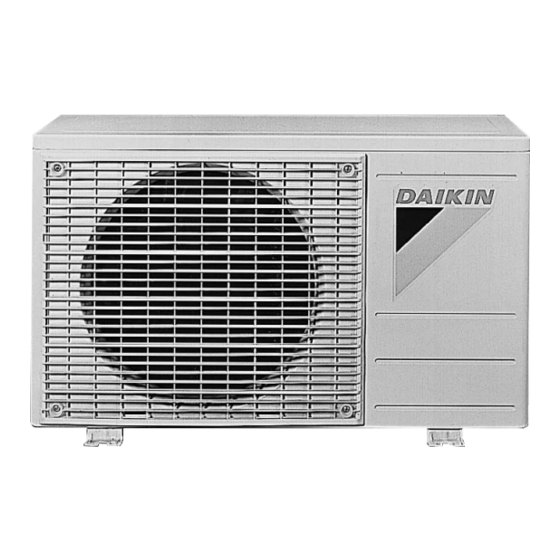
- Page 2 Service Manual Removal Procedure Outdoor Unit Cooling Only RW25JV1 RW35JAV1...
-
Page 3: Table Of Contents
Si01-780 Table of Contents 1. Removal of Outer Panel................2 2. Removal of Electrical Component ASSY ..........3 3. Removal of Outdoor Fan / Fan Motor .............6 4. Removal of Partition Plate...............7 5. Removal of Compressor .................8 Note: The illustrations may be slightly different depending on the model. Removal Procedure... -
Page 4: Removal Of Outer Panel
Removal of Outer Panel Si01-780 1. Removal of Outer Panel Procedure Warning Be sure to wait 10 minutes or more after turning off all power supplies before disassembling work. Procedure Points Step Remove the 3 screws and remove the top panel. -
Page 5: Removal Of Electrical Component Assy
Si01-780 Removal of Electrical Component ASSY 2. Removal of Electrical Component ASSY Procedure Warning Be sure to wait 10 minutes or more after turning off all power supplies before disassembling work. Step Procedure Points In case of service work without top panel Remove the screw and remove the service Service cover... - Page 6 Removal of Electrical Component ASSY Si01-780 Step Procedure Points In case of service work with top panel Remove the screw and remove the service cover. Service cover (R12729) Remove the 2 screws of the electrical component ASSY. (R12730) 1. Remove the electrical component ASSY.
- Page 7 Si01-780 Removal of Electrical Component ASSY Step Procedure Points 2. Disconnect the fan motor lead wires. Cut the clamp and Fan motor lead wire Fan motor lead wire (Red) disconnect the 3 (Black) connectors for the fan motor lead wire. Fan motor lead wire (White) (R12552)
-
Page 8: Removal Of Outdoor Fan / Fan Motor
Removal of Outdoor Fan / Fan Motor Si01-780 3. Removal of Outdoor Fan / Fan Motor Procedure Warning Be sure to wait 10 minutes or more after turning off all power supplies before disassembling work. Step Procedure Points Remove the washer- Nut size: M6 fitted nut and remove the outdoor fan. -
Page 9: Removal Of Partition Plate
Si01-780 Removal of Partition Plate 4. Removal of Partition Plate Procedure Warning Be sure to wait 10 minutes or more after turning off all power supplies before disassembling work. Step Procedure Points Remove the 2 screws of the partition plate. Unfasten the hooks of the bottom frame and remove the partition... -
Page 10: Removal Of Compressor
Removal of Compressor Si01-780 5. Removal of Compressor Procedure Warning Be sure to wait 10 minutes or more after turning off all power supplies before disassembling work. Step Procedure Points Before working, make sure that the refrigerant is Acoustic insulation empty in the circuit. - Page 11 Si01-780 Removal of Compressor Step Procedure Points Heat up the 2 brazed parts and disconnect them. (R12561) Remove the 3 nuts and remove the compressor. (R12562) Removal Procedure...
- Page 12 Revision History Month / Year Version Revised contents 07 / 2013 Si01-780 First edition...
- Page 13 Improper installation can result in water or refrigerant leakage, electrical shock, fire or explosion. Use only those parts and accessories supplied or specified by Daikin. Ask a qualified installer or contractor to install those parts and accessories. Use of unauthorised parts and accessories or improper installation of parts and accessories can result in water or refrigerant leakage, electrical shock, fire or explosion.
Need help?
Do you have a question about the RW25JV1 and is the answer not in the manual?
Questions and answers