Table of Contents
Advertisement
Advertisement
Table of Contents

Related Manuals for Citiwell NG76AZ


Summary of Contents for Citiwell NG76AZ
- Page 1 114AZ Telescope Instructions Owner’s Manual...
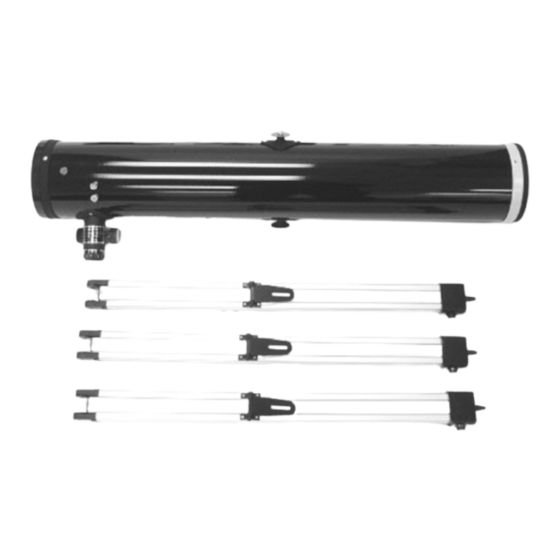
- Page 2 M. Tripod legs (3) Colors of some components may vary from those shown in this manual. WARNING! NEVER aim your telescope at the sun or even close to the sun! Instant and irreversible damage can occur, including blindness! Do not let children use any telescope without adult supervision.
- Page 3 Introduction Congratulations on your purchase of a new telescope. With proper care and handling of your telescope, you will enjoy the pleasure of looking at nature’s wondrous sights through the eye of this instrument for many years. This telescope has been designed to provide views of the moon’s craters, Jupiter’s major moons, and Saturn’s rings, in addition to dozens of galaxies, star clusters, and...
- Page 4 Keep your box for storage or in case you ever need to ship your telescope. 2) Extend the legs, and lock each one at the desired height with the supplied tripod adjustment knob (See Fig.
- Page 5 Once the rod is inserted (with the end with the hole facing the focusing assembly) tighten the large locking knob just enough to prevent the rod from falling out. Locate the chromed post on the side of the telescope tube near the focusing assembly.
- Page 6 (See Fig. 7). Position the finder scope bracket onto the telescope tube so that the holes in the base of the bracket line up with the exposed holes in the telescope tube. Replace the two knurled thumbscrews and tighten securely (See Fig.
- Page 7 3X Barlow lens between the eyepiece and the focusing tube (See Fig. 10). FINDER SCOPE ALIGNMENT Since a telescope has a narrow field of view by design, it can be challenging to locate a particular star or planet. For this reason the telescope is fitted with a low-power, wide- field miniature telescope called a finder scope.
- Page 8 To calculate the power of your telescope with any particular eyepiece, simply divide the focal length of the telescope (900 mm) by the focal length of the eyepiece (indicated in “mm” on the eyepiece collar).
- Page 9 4) Remove the dust cap from the end of the telescope nearest the eyepiece holder and the finder scope. The dust cap consists of two pieces — a small, removable center piece and the large main cap (See Fig.
- Page 10 To adjust the angle of the telescope, loosen the tightening screws on either side of the mounting yoke and the azimuth locking knob (See Fig. 2 on page 4). If you wish to adjust the angle of the telescope tube vertically in large increments, also loosen the tightening knob that holds the vertical fine adjustment rod.
- Page 11 If, after several attempts, you cannot remove the particles, take the telescope to an optical professional for cleaning. If you keep the dust caps on your telescope when it is not in use and avoid handling the lenses or mirrors, only minimal optical maintenance of your telescope should be...
- Page 12 Jupiter is the largest planet in our solar system and the second brightest next to Venus. Jupiter has many moons, four of which are often visible through your telescope when viewing conditions permit. As you watch them throughout the evening, you will see that they change position relative to each other and to Jupiter.
- Page 13 The planet and its rings appear pale yellow. The major division in the rings, the Cassini division, is possible to see if you keep the telescope firmly in position. Uranus and Neptune are the last of the solar system’s gas giants. They do not provide as spectacular a sight as Jupiter or Saturn, but are nonetheless rewarding to see.
- Page 14 WARNING! CHOKING HAZARD – Small parts. Not suitable for children under 3 years. Made in China Manual Part # 260388...
Need help?
Do you have a question about the NG76AZ and is the answer not in the manual?
Questions and answers