Advertisement
1
Make sure that the appliance is disconnected from the
mains and switched off (power switch (9) in "0" position),
Insert the drive shaft and the gasket into the hole at the
bottom of the container and lock it with the fixing nut.
3
Place the selected attachment on the drive shaft mounted
in the container (8) or put the steam basket (7) into the
container (8).
CAUTION! The appliance is equipped with a built-in lock. This function ensures that the appliance can only
be turned on if it is assembled correctly. When assembled correctly, the built-in microswitch is unlocked.
Do not remove the lid (2 or 23) of the unit during operation, as hot contents and the rotating attachments
may pose a threat to life and health. The lid (2 or 23) can only be removed when the appliance is switched
off and the mounted attachment stops.
5
Attach the lid (2) with the gasket (3) or the steam kit
(16+17+18+19) or the shredder lid (23) to the container
with the gasket (22).
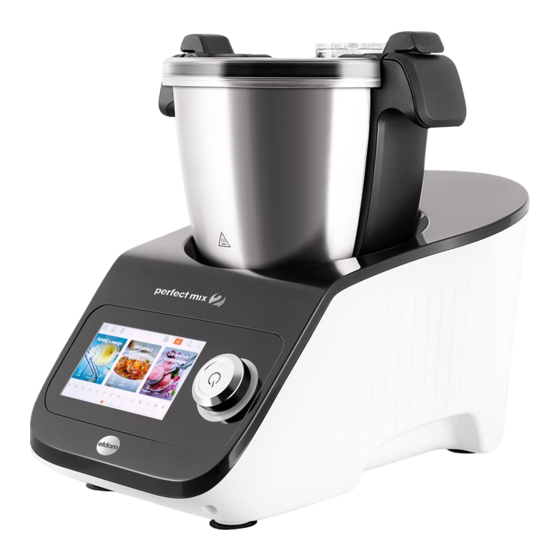
2
Insert the container
(8) into the body. The
container (8) can only
be inserted in one
position - the scale
should be visible on the
rear panel.
4
Place the ingredients in
the container (8). When
using the shredder,
grate the products by
putting them through
the tunnel in the
shredding lid (23).
6
Connect the power cord to the mains according to the
parameters given in the manual, and then switch it on
using the button (9).
Advertisement
Table of Contents

Related Manuals for Eldom PERFECT MIX2 MFC2500


Summary of Contents for Eldom PERFECT MIX2 MFC2500
- Page 1 Insert the container (8) into the body. The container (8) can only be inserted in one Make sure that the appliance is disconnected from the position - the scale mains and switched off (power switch (9) in “0” position), should be visible on the Insert the drive shaft and the gasket into the hole at the rear panel.
- Page 2 To start operation, after setting the temperature, time and Move the corresponding icon or rotate the knob to set speed, click the button , the icon changes to – the temperature, time and speed. device is working. To quickly set the exact time, click the minute or second on If you click the button or press the knob, the appliance the time icon.
- Page 3 When the "Automatic Recipes" interface is activated, choose one of them by pressing the picture. The details of the recipe will be displayed. To activate, press the button and then follow the instructions shown on the screen. To tag a recipe as a favourite, press the button To activate the "Automatic Recipes"...
- Page 4 Do NOT immerse the unit in water or other liquids. Once you have finished cooking, wash the appliance For detailed cleaning guidelines, see the CLEANING AND and accessories – the items shown in the figure are MAINTENANCE section. dishwasher safe. The container (8) is NOT dishwasher safe.
Need help?
Do you have a question about the PERFECT MIX2 MFC2500 and is the answer not in the manual?
Questions and answers