Advertisement
Quick Links
Advertisement

Related Manuals for Akiles Pro-Lam Photo

Summary of Contents for Akiles Pro-Lam Photo
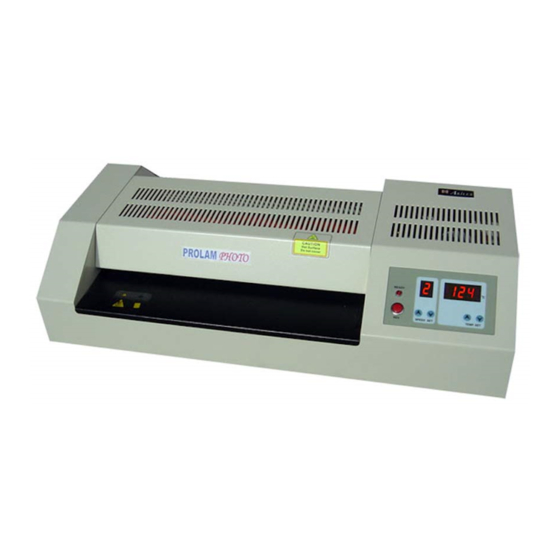
- Page 1 Akiles Pro-Lam Photo Six Roller 13" Pouch Laminator Instruction Manual...
- Page 2 How to Replace or Clean the Rollers: Akiles ProLam Photo 1. Turn off and disconnect the machine from the power outlet. 2. Remove the 4 screws located on the left and right side of the top cover (total of 2 screws per side).
- Page 3 4. Carefully flip the machine so that the bottom of the machine is facing up. 5. Remove the 4 bolts and washers which attach the black brackets to the base. 6. Carefully flip the machine back to its original position and unscrew the long screws that are located on the top cap for the insulative roller supports (total of 4 / 2 per side).
- Page 4 7. Carefully lift the top cap off and then remove the screws from the top cap. 8. Remove the washer, spring & the pressure adjusting spring fixture and place them onto the top cap. 9. Repeat the same process on the other side. 10.
- Page 5 11. To clean the rollers, get a damp cloth and spray WD-40 onto the cloth. Rub the rollers with the cloth until clean. Once you are finished cleaning and have put the machine back together, you can heat up the unit and insert a carrier to get rid of excess adhesive.
- Page 6 14. Next you will need to install bottom front heated roller. 15. Next you will install the top cold roller. (Reminder: all the plastic sleeves located on the ends of the rollers should be flat face up). 16. You want to make sure that the top and bottom gears are aligned. If they are not, you can adjust them by loosening the screw that attaches the gear to the roller and adjusting (picture 1 is not aligned, picture 2 is aligned).
- Page 7 17. Next you will install the top middle heated roller. NOTE: make sure the gears on the right side are connecting properly. 18. Now you will install the front top heated roller and make sure all the gears are properly aligned. 19.
- Page 8 20. Install the 2 large screws and tighten a little bit only. 21. Do the same to the other side, but when you install the long screws you can tighten them all the way. Once that step is complete, you can come back to the other side and tighten the long screws from the first bracket.
- Page 9 Picture #1 Picture #2 24. Next reinstall the top cover. Screw on the remaining 4 screws (2 on each side). 25. You have now successfully replaced or cleaned the rollers on your Akiles ProLam Photo!
Need help?
Do you have a question about the Pro-Lam Photo and is the answer not in the manual?
Questions and answers