
Related Manuals for HEIDENHAIN AE LS 4x7


Summary of Contents for HEIDENHAIN AE LS 4x7
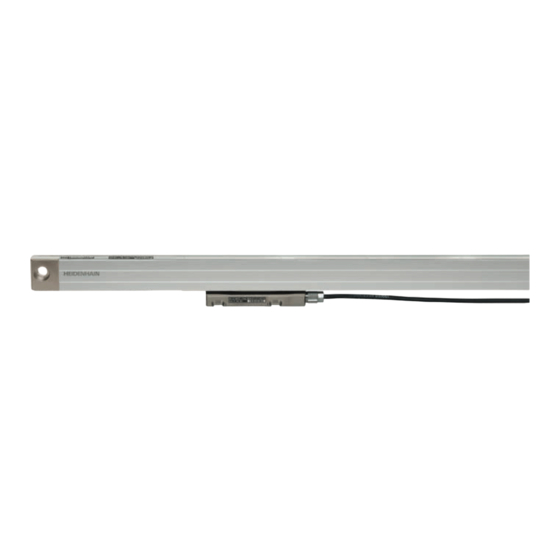
- Page 1 Replacing Instructions Istruzioni per la sostituzione AE LS 4x7 AE LS 4x7/LS 4x7 C service scanning unit AE LS 4x7 C Testina di scansione AE LS 4x7/LS 4x7 C 7/2017...
- Page 2 Inhalt . Contents . Sommaire . Indice . Indice Seite Page 4 Warnings 6 Removing 14 Mounting Pagina Page 4 Avvertenze 6 Smontaggio 14 Montaggio Página...
- Page 3 Allgemeine Hinweise . General Information . Informations générales . Informazioni generali . Información general These end blocks are to be handled identically. ¡Estas piezas finales deben manipularse de forma idéntica! Dimensions in mm Dimensioni in mm...
- Page 4 Warnhinweise . Warnings . Recommandations . Avvertenze . Advertencias Achtung: Note: Mounting and commissioning is to be conducted by a qualified specialist under compliance with local safety regulations. Do not engage or disengage any connections while under power. The system must be disconnected from power. Scanning unit must first be installed before it is put into operation.
- Page 6 Demontage . Removing . Démontage . Smontaggio . Desmontaje Empfehlung: Recommendation: Open here to exchange the scanning unit Recommandation: Consiglio: Aprire qui per la sostituzione della testina Recomendación: Remove cable from Scanning unit Staccare il cavo dalla testina...
- Page 7 LS 4x7 Mark the reference-mark position Segnare la posizione degli indici di riferimento Reference mark Indici di riferimento...
- Page 8 Demontage . Removing . Démontage . Smontaggio . Desmontaje Loosen the screw with one turn to the left. Allentare la vite con un giro in senso antiorario.
- Page 9 Turn the encoder around and put a sheet metal strip under the end block. Exert pressure on the scale housing until the end block comes off. Ruotare il sistema di misura, porre un lamierino sotto il terminale. Premere sulla carcassa fino a che il terminale si allenta.
- Page 10 Demontage . Removing . Démontage . Smontaggio . Desmontaje Remove the end block. Rimuovere il terminale. Carefully pull out the scanning unit (do not jam it, for example). Estrarre con cautela la testina (p.e. senza metterla di traverso).
- Page 11 Beschädigte Dichtlippen generell erneuern! If the interior is contaminated, the sealing lips should be removed. The sealing lips can be used again. If damaged, always replace the sealing lips! To remove the sealing lips, the second end block must be dismounted, see pages 8–10. Remove the remnants of the sealant, see page 12.
- Page 12 Demontage . Removing . Démontage . Smontaggio . Desmontaje Remove the remnants of the sealant. Rimuovere i residui di sigillante. Fold the sealing lips and pull them out. Ripiegare le guarnizioni ed estrarle.
- Page 13 Vorsicht: Caution: Clean the interior carefully. Scratches and chipping on the glass substrate destroy the scale! Attention : Attenzione: pulire l’interno accuratamente. Graffi e scheggiature rendono inutilizzabile il nastro graduato! Atención: Lint-free cleaning paper. Carta per la pulizia senza pelucchi.
- Page 14 Montage · Mounting · Montage · Montaggio · Montaje The grooves in the sealing lips serve as reservoir for grease and should be filled evenly with grease. (See figure.) Approx. 80 % of the measuring length should be lubricated in this manner. Le scanalature nelle guarnizioni fungono da riserve di grasso e devono essere riempite con grasso (vedi immagine).
- Page 16 Montage · Mounting · Montage · Montaggio · Montaje Pull in the sealing lips. Inserimento delle guamizioni a labbro. Shorten the sealing lips. Accorciare le guanizioni.
- Page 17 Align the sealing lips outward Inserire le guarnizioni...
- Page 18 Montage · Mounting · Montage · Montaggio · Montaje Carefully insert the exchange scanning unit. Avoid contact between the scanning reticle of the scanning unit and the glass scale! Inserire con cautela la testina in sostituzione. Evitare contatto tra la graduazione della testina e e il supporto graduato in vetro!
- Page 19 LS 4x7 Reference mark Indici di riferimento Apply K12-Pactan adhesive (follow the same work steps when dismounting the second end block). Mettere la colla K12 Pactan (seguire la stessa procedura anche per lo smontaggio del secondo terminale).
- Page 20 Montage · Mounting · Montage · Montaggio · Montaje When mounting the end block, pay attention to the angular position of the contact spring (see Figure)! The contact spring must contact the chrome graduation to divert electrostatic charges! Montaggio del terminale: prestare attenzione alla posizione angolare della molla di contatto (vedi immagine)! La molla di contatto deve essere a contatto con la graduazione in cromo per disperdere le cariche elettrostatiche!
- Page 21 The end blocks are assigned specifically to the scale ends. Do not interchange, as this can result in damage to the scanning. Ogni terminale è associato a un lato della riga; se vengono invertiti si rischia di danneggiare la testina. Evenly press on the end block and insert it until it is flush.
- Page 22 Montage · Mounting · Montage · Montaggio · Montaje Achtung: Place the encoder (see figure) on a flat surface and align evenly with a suitable tool (e.g. a light plastic hammer). Align the upper side of the encoder in the same way. Caution: Tap gently, only on the end block! Attention : Posizionare il sistema di misura (vedi immagine) su una superficie piana e posizionare il terminale con un utensile adatto...
- Page 23 10.a 10.b Fasten the end block with the specified torque. Fixer l’embout avec le couple de serrage spécifié.
- Page 24 Montage · Mounting · Montage · Montaggio · Montaje Comply with documentation for mounting: Verificare la documentazione per il montaggio: Mounting Instructions Istruzioni di montaggio LS 4x7 Subject to change without notice Con riserva di modifiche 8/2006 Mounting Instructions Istruzioni di montaggio LS 4x7 8/2006 Subject to change without notice...
- Page 28 DR. JOHANNES HEIDENHAIN GmbH 83301 Traunreut, Germany Technical support Measuring systems { TNC support NC programming PLC programming { Lathe controls www.heidenhain.de *I_647820-92*...
Need help?
Do you have a question about the AE LS 4x7 and is the answer not in the manual?
Questions and answers