Advertisement
Quick Links
Advertisement

Summary of Contents for Heatmiser Multi-Link
- Page 1 Multi-Link Setup Guide Revision 1.0...
-
Page 2: Table Of Contents
What is Multi-Link? Setting up the Multi-Link 3 - 4 (Steps 1-3) Security Types Explained 4 - 5 Setting up the Multi-Link 6 - 9 (Steps 4-7) Adding WiFi thermostats to the Multi-Link Checking WiFi Connection App Connection Remote Access Troubleshooting... -
Page 3: What Is Multi-Link
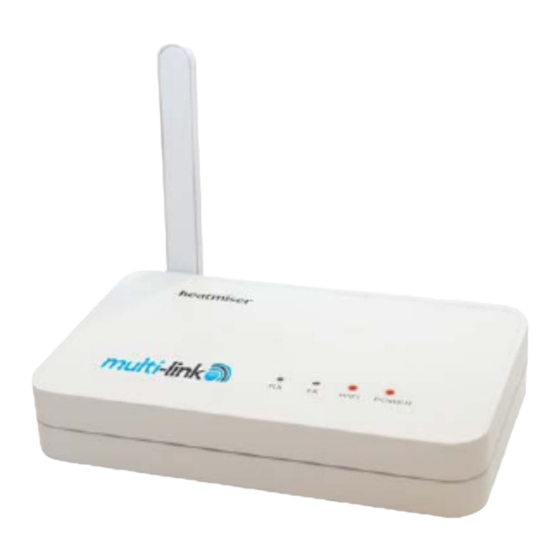
Heatmiser WiFi thermostats via free smartphone application. Up to 32 thermostats in total can be controlled. The Multi-Link acts as a gateway to your WiFi Network by taking care of the thermostat port forwarding, this drastically simplifies the setup procedure. -
Page 4: Setting Up The Multi-Link
Download and install the network utility for the Multi-Link from our web site. www.heatmiser.co.uk/wifi Step 2 Connect the Multi-Link to your pc with the USB cable provided, this will power the device from the USB port & will allow you to test the Wi-Fi connection. -
Page 5: Security Types Explained
Your choice of security settings in the Multi-Link must match the setting in your router. Quite often you will find WPA and WPA2 as a single option in the router, this is perfectly normal the router knows which one to use, and you can therefore set the Multi-Link up using either one. - Page 6 If a passphrase is used it must be either 5 or 13 characters in length but can be any letter or number. Your Multi-Link will automatically calculate the same hidden password your router creates from the same phrase. You will find most routers have these same restrictions.
- Page 7 IP address to a device that successfully connects to the network. Your Multi-Link needs a fixed IP address in order for local and remote access to operate, The fixed IP address needs to be outside of the router DHCP range, so you will need to set this up manually.
- Page 8 If your DHCP range is from 192.168.1.1 to 192.168.1.253 you cannot use 254 or above, you will need to change the DHCP to a lower range, take care not to change any of the first 3 sets of num- bers. Tip! When setting up an IP address, the first three sets of numbers must be the same as the router IP, the fourth set must not be used elsewhere on the network.
-
Page 9: Adding Wifi Thermostats To The Multi-Link
WiFi Thermostats on the system. Step 8 Adding WiFi thermostats to the Multi-Link Click the Add button, now enter the room title and the last three digits of the WiFi thermostat IP address, then press OK. -
Page 10: Checking Wifi Connection
Disconnect the USB cable from the Multi-Link, wait 5 seconds then reconnect it. Once the Multi-Link has rebooted wait approximately one minute, the Wi-Fi LED on the Multi-Link will light up indicating that the Multi-Link has successfully connected to your WiFi network. -
Page 11: App Connection
The WAN IP will be your fixed IP address for your network or your dynamic DNS address, when connecting remotely. Once this information has been entered press Connect, this will then connect to the Multi-Link & display the WiFi thermostats on your system. - Page 12 Port Forwarding for Remote Access In order to access your system from outside your home, you need to forward port 8082 in your router to the IP of the Multi-Link. For more information on port forwarding, consult your router operating manual.
-
Page 13: Troubleshooting
Ensure the SSID & Security Code match exactly to the information set on the router. Ensure the IP address of the Multi-Link is in the same range as the wireless network & does not conflict with any other device on the network. - Page 14 Heatmiser UK Ltd Units 8 & 9 Hurstwood Court Mercer Way Shadsworth Business Park Blackburn BB1 2QU www.heatmiser.co.uk T: 01254 669090 F: 01254 669091...


Need help?
Do you have a question about the Multi-Link and is the answer not in the manual?
Questions and answers