Table of Contents
Advertisement
Quick Links
Advertisement
Table of Contents

Related Manuals for Heatmiser Multi-Link1

Summary of Contents for Heatmiser Multi-Link1
- Page 1 Model: Multi-Link Model: Multi-Link...
-
Page 2: Table Of Contents
Model: Multi-Link Table Of Contents 3 - 4 What is Multi-Link? Setting up the Multi-Link (Steps 1-3) 5 - 6 Security Types Explained 7 - 8 Setting up the Multi-Link (Steps 4-7) 9 - 10 Adding WiFi thermostats to the Multi-Link 11 - 12 Checking WiFi Connection App Connection... -
Page 3: Model: Multi-Link
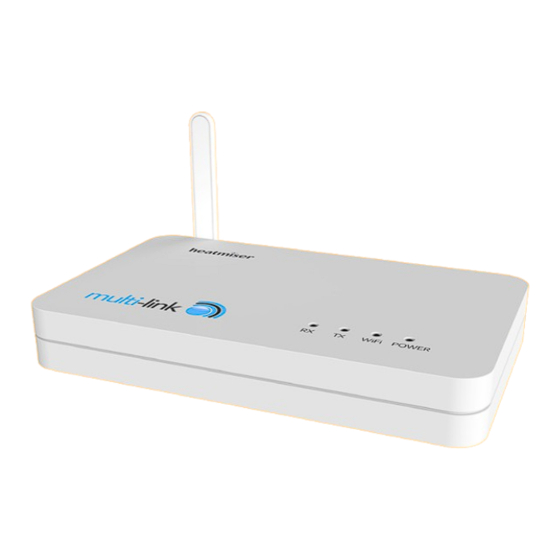
What is Multi-Link? The Multi-Link allows you to control multiple Heatmiser WiFi/WiFi RF thermostats using the Heatmiser app. The app is available for both Apple and Android devices and is free to download from the App Store and Google Play Store... -
Page 4: Setting Up The Multi-Link (Steps 1-3)
Setting up the Multi-Link (Steps 1-3) Step 1 Download and install the Multi-Link Setup Utility from our web site. www.heatmiser.co.uk/wifi Step 2 Connect the Multi-Link to your pc with the USB cable provided. This will power the device from the USB port and will allow you to test the WiFi connection. -
Page 5: Security Types Explained
Security Types Explained There are currently 4 common methods of securing your wireless connection : The following restrictions apply: • OPEN/DISABLED (not recommended) • A hex password can only be made up of the numbers 0 to 9 and the letters •... -
Page 6: Setting Up The Multi-Link (Steps 4-7)
Setting up the Multi-Link (Steps 4-7) Step 4. Tip! It is likely that your network will be configured to operate on a DHCP basis. This means When setting up an IP address, the first three sets of numbers must be the same your router automatically issues an IP address to a device that successfully connects to as the router IP address and the fourth set must not be used elsewhere on the the network. -
Page 7: Adding Wifi Thermostats To The Multi-Link
Adding WiFi thermostats to the Multi-Link Click the Add button and enter the room title and the last three digits of the WiFi thermostat IP address, then press OK. This new zone will appear in the window at the bottom of the utility. Repeat this process for all of the WiFi thermostats on the system. You have the option to select any of the zones in this window and Edit or Delete if necessary. -
Page 8: Checking Wifi Connection
When you have entered the details of your WiFi network and have added the zones to Now you can open the Heatmiser app on your smartphone or tablet & test the the system, press Apply. “Update successful” will appear at the bottom on the utility. -
Page 9: Troubleshooting
Troubleshooting The Multi-Link does not connect to the WiFi network or intermittently connects The app will not connect to the Multi-Zone system • Ensure the Multi-Link is powered up and the power LED is on. • Ensure the smartphone is connected to the WiFi network (LAN access) or 3G •... -
Page 10: App Summary
App Summary Notes Our smartphone apps, available free from Apple and Google Play Stores, are the easiest ..................................and most convenient way to control your heating system. The app allows you to control your heating system, including hot water* from your smartphone or tablet within your .................................. - Page 11 Heating Professionals: Request a copy of our product installation guide containing detailed technical specifications for our complete product range: www.heatmiser.com/guide Want More Information? Call our support team on: +44 (0)1254 669090 Or view technical specifications directly on our website: www.heatmiser.com Twitter: heatmiseruk Facebook: facebook.com/thermostats...
Need help?
Do you have a question about the Multi-Link1 and is the answer not in the manual?
Questions and answers