Table of Contents
Advertisement
Quick Links
Want More Information?
Call our support team on: +44 (0)1254 669090
Or view technical specifications directly on our website: www.heatmiser.com
PDF
FAQ
Video
Setting Up neoHub
neoHub is designed to be quick and simple to setup.
Just follow the quick start set up sequence and you
will soon have total control over your home
heating system.
!
System Requirements
• An active broadband connection.
• 230v mains supply (Adaptor supplied).
• A broadband router with DHCP function.
• A mobile device running iOS, Android or
Windows Operating System.
Twitter: heatmiseruk
Facebook:
facebook.com/thermostats
1
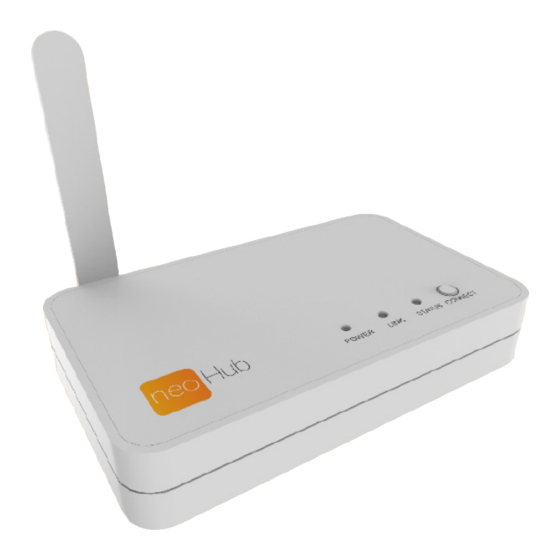
Connect Power
Connect the power supply to the neoHub.
Connect the neoHub to the router with the Ethernet
cable provided – the router will assign an IP address to
the neoHub.
neoHub
Power
Ethernet Port
Example Router
Ethernet Port
2
Download Application
Connect your mobile device to the same wifi network as
your neoHub. Download the FREE Heatmiser neoApp from
the Apple App Store, Google Play Store, Amazon App Store
or Windows Phone App Store and register an account.
3
Add Location
Once registered, select the add location option and
follow the instructions.
Advertisement
Table of Contents

Related Manuals for Heatmiser neoHub


Summary of Contents for Heatmiser neoHub
-
Page 1: Connect Power
Connect Power Download Application Add Location neoHub is designed to be quick and simple to setup. Connect the power supply to the neoHub. Connect your mobile device to the same wifi network as Once registered, select the add location option and your neoHub. - Page 2 Name Your neoHub Add Zone Assign A Zone Name Press the connect button on the neoHub to add the When successfully connected, add a title for the new The next step is to join neoStats to the neoHub. You should now enter the name for this new zone and Location to your Account.
Need help?
Do you have a question about the neoHub and is the answer not in the manual?
Questions and answers