Advertisement
Quick Links
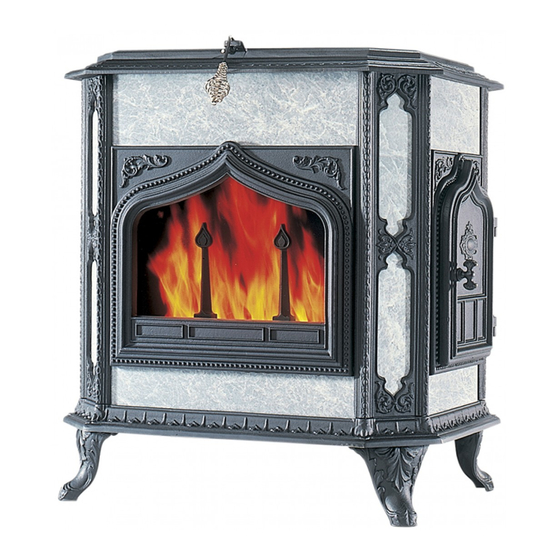
Fireview Model 201 Maintenance Kit
Please read all of the instructions before you begin. Confirm that you
have all of the necessary tools and parts required. Allow about one hour to
complete the procedure. If you have any questions, technical support is
available toll free at 1-800-866-4344, Monday- Saturday 9:00-5:00 E.T.
Tools Needed:
- ½" wrench or socket
- Putty knife
- Wire brush
- Vacuum
- WD-40 or similar penetrating liquid
- Standard size caulk gun
- Sharp scissors
- 7/16" wrench and socket
- 1/8" allen wrench
- Hammer
Materials included in maintenance kit:
- 3' .312 gasket- Loading door
- 3' .250 gasket- Under combustor hood
- 7' .375 gasket- top lid
- 7' .312 gasket- around baffle plate
- 8' Adhesive window gasket
- 1 tube stove cement
- gasket glue
- #00 steel wool
The gasket in your kit has been roughly cut to size and marked with its
diameter and length. To determine its exact length, dry fit the gasket in its
appropriate location and then re-cut. Gasket glue or furnace cement will then
be applied to secure each length in its proper place. The steel wool provided
can be used to buff out surface scratches or stains in the soapstone panels.
Advertisement

Subscribe to Our Youtube Channel
Related Manuals for Woodstock Soapstone Fireview 201


Summary of Contents for Woodstock Soapstone Fireview 201
- Page 1 Fireview Model 201 Maintenance Kit Please read all of the instructions before you begin. Confirm that you have all of the necessary tools and parts required. Allow about one hour to complete the procedure. If you have any questions, technical support is available toll free at 1-800-866-4344, Monday- Saturday 9:00-5:00 E.T.
- Page 2 Use a vacuum to help contain the dust. High temperature touch up paint is available to match the cast iron frame of your stove, and can be ordered through Woodstock Soapstone Co. Replacing loading door gasket: 1. Make sure the stove is cool. You will need 3’ of .312 gasket and stove cement for the loading door.
- Page 3 4. Dry fit the gasket to the door. Start with one end of the gasket at the center, bottom of the door. Press it firmly into the gasket channel all the way around the door. Do not stretch or compress the gasket as you work it around the door.
- Page 5 6. Return the door to the stove. Align the hinge pins with the hinges on the door frame. As you press down on the pins it may be helpful to swing the door back and forth until it is all the way down on the hinges. 7.
- Page 6 2. Remove the top lid from the stove and place it upside down on a suitable work surface. 3. Use a putty knife or screwdriver to remove the old gasket. Remove any residual gasket and glue with a wire brush and vacuum.
- Page 7 4. Dry fit the new gasket into the gasket channel. Start with one end of the gasket at the center, rear of the top lid. Press the gasket into the channel firmly all the way back to the starting point. Do not stretch or compress the gasket as you work it around the lid.
- Page 8 6. Allow the glue to set up for 15 minutes before placing the lid back on the stove. After waiting return the lid to the stove. Be sure the lid is properly seated on the top frame. Keep lid closed for 24 hours. Replacing combustor hood gasket 1.
- Page 9 3. Use a putty knife to remove the old gasket from around the perimeter of the hood. Remove any residual gasket and furnace cement with a wire brush and vacuum. 4. Dry fit the new gasket. Start one end of the gasket at either end of the hood and press it into the gasket channel, work it all the way around to the opposite end.
- Page 10 1. Make sure the stove is cool. You will need 7’ of .312 gasket and furnace cement. 2. Remove the top lid from the stove and set it aside. 3. Remove the old stove cement and gasket from around the baffle. Use a stiff putty knife and hammer to gently chip the old furnace cement away from the baffle and soapstone panels.
- Page 11 6. Return top lid to stove. Be sure it is seated properly. 7. Allow 48 hours for the stove cement to cure. 1 or 2 small fires will drive any residual moisture from the cement and finish the curing process. Replacing window gasket 1.
- Page 12 3. Remove the glass panels from the front frame. Start with the bottom edge and carefully pull them into the firebox and out through the loading door. 4. Remove the old gasket from the glass panels and clean the glass using household window cleaner and a soft cloth.
- Page 14 6. If your stove has two panels, place the panels together so that the break in the gasket on one panel is opposite the break in the other panel. 7. Slide the panel(s) up into the window frame together ensuring that they are aligned with each other.
- Page 15 6. Allow 48 hours for the stove cement to cure. 1 or 2 small fires will drive any residual moisture from the cement and finish the curing process. We need your help! Woodstock Soapstone Co. takes great pride in providing the highest quality products as well as the best customer service in our industry.
Need help?
Do you have a question about the Fireview 201 and is the answer not in the manual?
Questions and answers
how to replace the gasket on the loading door knob controlled draft door
To replace the gasket on the loading door of the Woodstock Soapstone Fireview 201:
1. Make sure the stove is cool.
2. You will need 3 feet of 0.312" gasket and stove cement.
3. Open the loading door and pull straight up. The hinge pins should slide up and out. Swinging the door back and forth may help.
4. Lay the door face down on a suitable work surface.
5. Use a putty knife or screwdriver to remove the old gasket.
6. Use a wire brush to clean out any cement residue.
7. Dry fit the new gasket in place and re-cut to exact length.
8. Apply gasket glue or furnace cement.
9. Press the gasket into place.
This answer is automatically generated