Advertisement
Quick Links
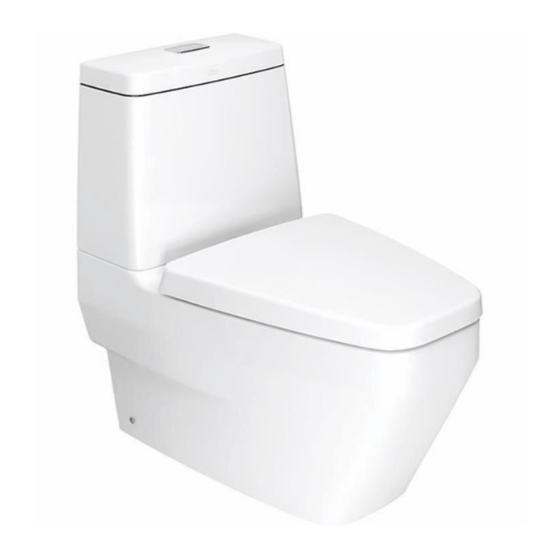
CLOSE-COUPLED TOILET
IDS-Clear
Installation Manual
¤Ù ‹ Á × Í ¡ÒÃµÔ ´ µÑ é §
Thank you for selecting our products which have been the benchmarks of fine quality for years.To help ensure that the installation
process will proceed smoothly, please read these instructions carefully before you begin. Also review the recommended tools and
materials list, carefully unpack and examine your new plumbing fixture.
¢Íº¤Ø ³ ·Õ è à Å× Í ¡ãªŒ Ê Ø ¢ ÀÑ ³ ± ¢ ͧÍàÁÃÔ ¡ Ñ ¹ Êáµ¹´Òà ´ ÊØ ¢ ÀÑ ³ ± ¤ Ø ³ ÀÒ¾ÁҵðҹâÅ¡ à¾× è Í ª‹ Ç ÂãËŒ ¡ ÒÃµÔ ´ µÑ é § ´Óà¹Ô ¹ ä»´Œ Ç Â¤ÇÒÁ¶Ù ¡ µŒ Í §àÃÕ Â ºÃŒ Í Â â»Ã´Í‹ Ò ¹¤Ù ‹ Á × Í ¡ÒÃ
µÔ ´ µÑ é § ãËŒ à ¢Œ Ò ã¨àÊÕ Â ¡‹ Í ¹ µÃǨÊͺà¤Ã× è Í §Á× Í áÅÐÍØ » ¡Ã³ · Õ è ¨ Ó໚ ¹ 㹡ÒÃµÔ ´ µÑ é § ¤ÇÃÃÐÁÑ ´ ÃÐÇÑ § 㹡ÒÃàÍÒÊØ ¢ ÀÑ ³ ± Í Í¡¨Ò¡¡Å‹ Í §ºÃÃ¨Ø á ÅФÇõÃǨÊͺ¤ÇÒÁàÃÕ Â º
ÃŒ Í Â¢Í§ÊØ ¢ ÀÑ ³ ± ¡ ‹ Í ¹·Ó¡ÒÃµÔ ´ µÑ é § áÅŒ Ç ¨Ö § àÃÔ è Á ŧÁ× Í µÔ ´ µÑ é § ¨ÃÔ § .
ALL INSTALLATION PROCEDURES MUST COMPLY IN STRICT ACCORDANCE WITH APPLICABLE LOCAL PLUMBING AND BUILDING CODES
¤Ç÷ӵÒÁ¢Ñ é ¹ µÍ¹¡ÒÃµÔ ´ µÑ é § ´Œ Ç Â¤ÇÒÁÃÐÁÑ ´ ÃÐÇÑ § áÅÐÊÍ´¤ÅŒ Í §¡Ñ º ¤ÇÒÁàËÁÒÐÊÁ¢Í§¾× é ¹ ·Õ è º ÃÔ à dz·Õ è ¨ зӡÒÃµÔ ´ µÑ é § áÅÐÁҵðҹ¢Í§µÑ Ç ÍÒ¤ÒÃ
RECOMMENDED TOOLS AND MATERIALS
ÁÕ ´ ©Òº
Putty Knife
Pipe Wrench
Note: dimensions are nominal and may vary within the range of manufacturing tolerances.
ËÁÒÂà赯 : ¢¹Ò´¢Í§ÊØ ¢ ÀÑ ³ ± ÍÒ¨¨Ð¼Ñ ¹ á»ÃÍÂÙ ‹ ã ¹ÃÐ´Ñ º ࡳ± ¤ ÇÒÁ¤ÅÒ´à¤Å× è Í ¹¢Í§¡Ãкǹ¡ÒüÅÔ µ ·Õ è  ÍÁÃÑ º ä´Œ
TF-2230
à¤Ã× è Í §Á× Í µÔ ´ µÑ é § ·Õ è á ¹Ð¹Ó
Channel Lock Pliers
Adjustable Wrench
»ÃÐá¨àÅ× è Í ¹
Drill
ÊÇ‹ Ò ¹
¤Õ Á »Ò¡¤Õ º
Level
Hacksaw
à¤Ã× è Í §ÇÑ ´ ÃÐ´Ñ º ¹é Ó
àÅ× è Í ÂµÑ ´ àËÅç ¡
ÊÒÃÍØ ´ ÃÍÂÃÑ è Ç ËÃ× Í
Piumber's Putty
Ã͵‹ Í ¢Í§·‹ Í ¹é Ó
or Caulking
Phillips Screwdriver
Regular Screwdriver
䢤ǧ»Ò¡á©¡
Tape Measure
µÅÑ º àÁµÃ
䢤ǧ»Ò¡áº¹
Mar 15
Rev.00
Advertisement

Related Manuals for American Standard IDS-Clear TF-2230


Summary of Contents for American Standard IDS-Clear TF-2230
- Page 1 CLOSE-COUPLED TOILET IDS-Clear Installation Manual ¤Ù ‹ Á × Í ¡ÒÃµÔ ´ µÑ é § TF-2230 Thank you for selecting our products which have been the benchmarks of fine quality for years.To help ensure that the installation process will proceed smoothly, please read these instructions carefully before you begin. Also review the recommended tools and materials list, carefully unpack and examine your new plumbing fixture.
-
Page 2: Piping Preparation
PIPING PREPARATION àµÃÕ Â Á¾× é ¹ ·Õ è ã ¹¡ÒÃµÔ ´ µÑ é § ÊØ ¢ ÀÑ ³ ± WATER SUPPLY PIPE: Connecting size 1/2” WATER PIPE: Size 4” (PVC. Pipe Class 8.5 or a regular pipe with an internal of 103mm.) at the connecting point with the toilet and a gradient of 2cm. - Page 3 ATTACHED THE TANK ¡ÒÃµÔ ´ µÑ é § ¶Ñ § ¾Ñ ¡ ¹é Ó ¡Ñ º ÊØ ¢ ÀÑ ³ ± First ,remove the flush valve unit by rotate the top and the bottom still assembly with tank. insert the rubber gasket in the water inlet of bowl or water outlet of tank, than place the tank on top and bring the water supply hose out of the hole ensure the best fit, then fit it with the bolts and nuts included in the package.Don’t over tighten it will break the...
-
Page 4: Finish The Installation
FINISH THE INSTALLATION ÂÒá¹Ç«Ô Å Ô â ¤¹áÅлÃСͺªØ ´ ½ÒÃͧ¹Ñ è § Apply a silicone putty along the intersecting edge of the toilet base, ensuring a complete seal.(Silicone not supplied in the packaging) Install the seat & cover according to seat & cover installation manual. ÂÒá¹Ç«Ô... - Page 5 LIXIL (THAILAND) PUBLIC COMPANY LIMITED WARRANTY If inspection of this product, within one year warranty after purchasing, confirms that its defective under normal use in material or workmanship. We will repair or, at its option exchange the product of a similar model. The warranty does not cover the following: 1.
Need help?
Do you have a question about the IDS-Clear TF-2230 and is the answer not in the manual?
Questions and answers