Table of Contents
Advertisement
Quick Links
Manual Brel special bi-directional zipscreen motor
Read the manual before you begin the installation. If these instructions are not followed,
this may lead to defects and injury in which warranty can't be claimed.
warning:
Children cannot recognize the dangers of electrical equipment and may therefore not work with it.
It is important to follow this instruction for your own safety.
1.
Do not operate the motor in humid surroundings.
2.
The motor must be installed correctly.
3.
Keep the antenna in a good condition and do not shorten.
The antenna should not come into contact with other metal
parts otherwise it will reduce the effect.
4.
The motor must be protected from direct moisture influences.
5.
BREL-Motors declares that this motor has been manufactured according to the guidelines of the CE standard 1999/5/EC.
_______________________________________________________________________________
Wiring
_______________________________________________________________________________
Functions remote control
DD-2702H
Works with all BREL transmitters:
_______________________________________________________________________________
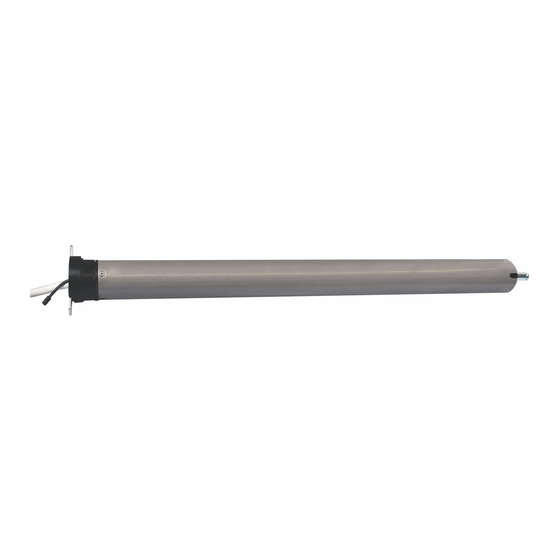
Technical data of the motor
Type BZE45
Always check that the remote control is in Bi-directional mode!
Refer to manuals for remote controls at
www.brel-motors.nl
BZE45-20
BZE45-40
Changing batteries
NOTE:
If the motor has been running continuously
for 4 minutes, it may become too hot and
then stop. After approximately one hour
half an hour, this one will continue to run.
Pagina 1
Advertisement
Table of Contents

Related Manuals for BREL BZE45


Summary of Contents for BREL BZE45
- Page 1 The antenna should not come into contact with other metal parts otherwise it will reduce the effect. The motor must be protected from direct moisture influences. BREL-Motors declares that this motor has been manufactured according to the guidelines of the CE standard 1999/5/EC. _______________________________________________________________________________ Wiring...
- Page 2 Page 2 _______________________________________________________________________________ Step 1 Setting up the first remote/channel Tension motor STOP until 2x Put tension on the motor, the product Press and hold the STOP button until the Transmitter/channel moves up and down.
- Page 3 Page 3 2. Set the desired down position. STOP+▼ 2x Go with the OPERATING- Press and hold the STOP and DOWN button until The desired downposition is set. buttons to the desired the motor moves up and down 2x and beeps 3x.
- Page 4 Page 4 _______________________________________________________________________________ Option C Deleting the third limit position 1x P2 1x 1x STOP 1x 1x STOP 1x Press 1x P2.
- Page 5 Page 5 ______________________________________________________________________________ Option F Sun- and windmeter ( DD-116H ) _______________________________________________________________________________ Add / remove 1x P2a 1x 1x P2a 1x 1x P2b 2x The sun and wind meter has been added.
Need help?
Do you have a question about the BZE45 and is the answer not in the manual?
Questions and answers