
Subscribe to Our Youtube Channel
Related Manuals for LocknCharge iC 10


Summary of Contents for LocknCharge iC 10
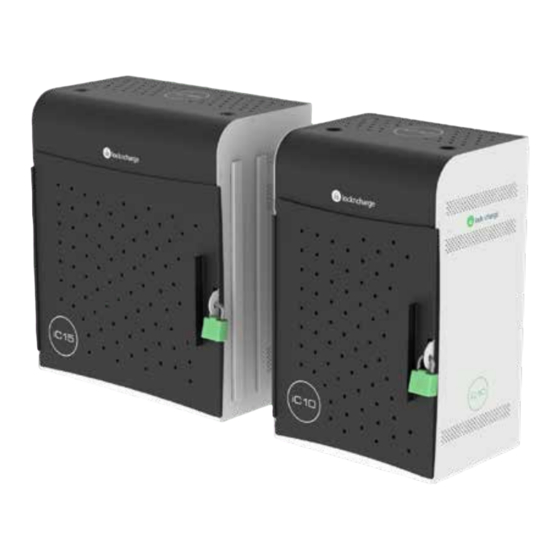
- Page 1 QUICK START iC 10 CHARGING STATION iC 15 CHARGING STATION VIDEO INSTRUCTIONS: https://vimeo.com/361980064 What’s included? x10* *iC 15 comes with 3 baskets, 15 velcro cable straps and 6 anchor bolts.
- Page 2 Refer to a structural specialist to determine if the wall you intend to mount this unit on is capable of supporting the fully loaded Charging Station. Refer to Drilling Instructions. MOUNTING THE CHARGING STATION TO A BENCH NOTE: Screws not included *iC 10 model is shown...
- Page 3 152.40 152.40 94.80 50.80 152.40 152.40 50.80 94.80 2.2” 6” 6” 2.2” 3.73”3 2” 6” 6” 2” .73” iC 10 iC 15 DRILLING INSTRUCTIONS - BENCH 15.35” 21.65” 0.78” 0.94” iC 10 iC 15 *Screws not included *Screws not included...
- Page 4 REPLACING THE DEVICE RACK WITH BASKETS (optional) *iC 10 model is shown...
- Page 5 Push the top edge down to release the top of the device rack. Carefully tilt and lift the bottom of the device rack. The device rack is released and can be removed. The baskets can be placed inside the charging station.
- Page 6 Open the charge compartment by sliding the lid out. NOTE: door must be open for the lid to slide out Plug in the device chargers (not supplied). Push the device connector through the hole and pull along the rubber grip cable holder. *iC 10 model is shown...
- Page 7 Adjust the cable length to reach your device. Loop and neaten excess cable in the charge compartment. Repeat for the remaining device chargers. The power strips can be moved for optimal positioning such as shown.
- Page 8 Replace the lid over the charge compartment. Close the door and use a padlock (supplied) to secure. Plug the supplied power cable into the unit, then into the wall socket. Charging will commence automatically. *iC 10 model is shown www.lockncharge.com (International) www.pclocs.com.au (Australia and New Zealand)
Need help?
Do you have a question about the iC 10 and is the answer not in the manual?
Questions and answers