Sign In
Upload
Download
Table of Contents
Contents
Add to my manuals
Delete from my manuals
Share
URL of this page:
HTML Link:
Bookmark this page
Add
Manual will be automatically added to "My Manuals"
Print this page
×
Bookmark added
×
Added to my manuals
Manuals
Brands
Philips Manuals
Projector
NeoPix Prime 2
User manual
Philips NeoPix Prime 2 User Manual
Hide thumbs
1
2
Table Of Contents
3
4
5
6
7
8
9
10
11
12
13
14
15
16
17
18
19
20
21
22
23
24
25
26
27
28
29
30
page
of
30
Go
/
30
Contents
Table of Contents
Troubleshooting
Bookmarks
Table of Contents
Table of Contents
Introduction
What's in the Box
Dear Customer
About this User Manual
Customer Service Centre
1 General Safety Information
Setting up the Product
Repairs
Power Supply
2 Overview
Top View
Front View
Side View
Rear View
Remote Control
3 Initial Operation
Placement
Connect Power Supply
Prepare the Remote Control
Power on and Setup
Basic Setup
4 Use Home Screen
Shortcut Options
Easy Setup
Access Online Services
Customize Home Screen Wallpaper
Screen Navigation and Keyboard Input
5 Connect to Playback Devices
Connecting to Devices through HDMI
Connecting to Devices through AV
Connecting to a Computer through VGA
Connecting to External Speakers or Headphones
6 Browse Storage Devices
Play Video from Storage Devices
Play Music from Storage Devices
View Photo from Storage Devices
7 Wireless Projection
Screen Mirroring for Ios Devices and Mac
Cast Video for Ios Devices
Screen Mirroring for Android Devices/Windows
8 Change Settings
Operating System Settings
Projector System Settings
9 Service
Cleaning
Update Software
Troubleshooting
10 Appendix
Technical Data
CE Statement
FCC Statement
Canada Regulatory Compliance
Other Notice
Advertisement
Quick Links
1
What's in the Box
2
Setting up the Product
3
Remote Control
4
Basic Setup
5
Connecting to Devices through Hdmi
6
Screen Mirroring for Ios Devices and Mac
7
Troubleshooting
8
Technical Data
Download this manual
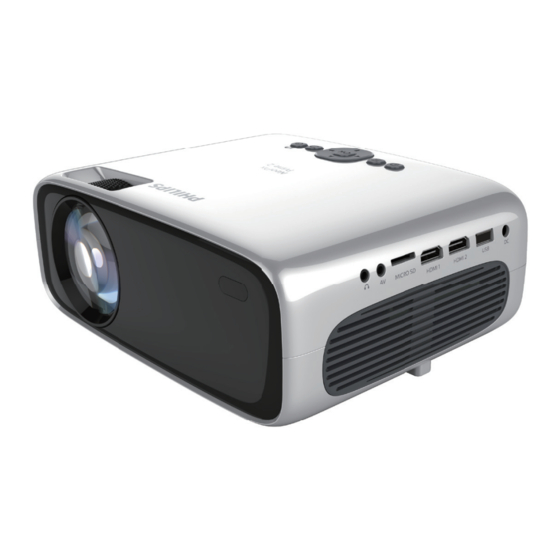
NeoPix Prime 2
Home projector
Register your product and get support at
www.philips.com/support
EN User Manual
FR Manuel utilisateur
DE Bedienungsanleitung
ES Manual de usuario
IT Manuale d'uso
NL Gebruiksaanwijzing
RU Руководство пользователя
TR Kullanım Kılavuzu
Table of
Contents
Previous
Page
Next
Page
1
2
3
4
5
Advertisement
Table of Contents
Need help?
Do you have a question about the NeoPix Prime 2 and is the answer not in the manual?
Ask a question
Questions and answers
Subscribe to Our Youtube Channel
Related Manuals for Philips NeoPix Prime 2
Projector Philips PICOPIX PPX1230 User Manual
Philips projector user manual (16 pages)
Projector Philips PicoPix PPX1230 Specifications
Pocket projector (2 pages)
Projector Philips ProScreen PXG30 Specifications
Proscreen proscreen pxg30 series (2 pages)
Projector Philips ProScreen PXG30 Series Specifications
Philips multimedia projectors brochure (2 pages)
Projector Philips PXG30 Brochure & Specs
Philips projector pxg30 user guide (6 pages)
Projector Philips LC1341 User Manual
Philips lc1341: user guide (52 pages)
Projector Philips PICOPIX PPX1020 User Manual
Philips projector user manual (57 pages)
Projector Philips ProScreen PXG10 Specification Sheet
Philip projector specification sheet (1 page)
Projector Philips ProScreen PXG10 User Manual
Philips projector pxg10 user guide (30 pages)
Projector Philips ProScreen PXG10 Brochure & Specs
(6 pages)
Projector Philips LCA2208/00 User Manual
(2 pages)
Projector Philips PPX2055/EU User Manual
Pocket projector (61 pages)
Projector Philips PPX1430/EU Quick Start
Picopix pocket projector (2 pages)
Projector Philips PPX1430/EU User Manual
Picopix pocket projector (24 pages)
Projector Philips PPX2480/EU User Manual
Picopix pocket projector (28 pages)
Projector Philips PicoPix PPX2480/EU Specifications
80 lumens with mp4 player pocket projector (2 pages)
This manual is also suitable for:
Npx542/int
Table of Contents
Save PDF
Print
Rename the bookmark
Delete bookmark?
Delete from my manuals?
Login
Sign In
OR
Sign in with Facebook
Sign in with Google
Upload manual
Upload from disk
Upload from URL


Need help?
Do you have a question about the NeoPix Prime 2 and is the answer not in the manual?
Questions and answers