Table of Contents

Subscribe to Our Youtube Channel
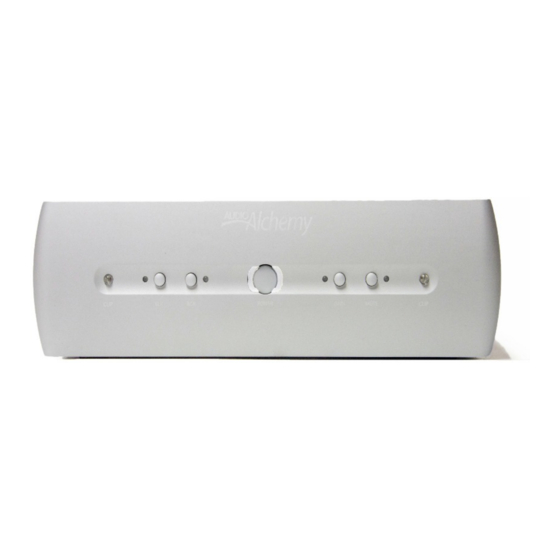
Summary of Contents for Audio Alchemy DPA-1
- Page 1 Powering Up the DPA-1 Warranty Information Selecting an Input Installation and Usage Tips Adjusting Gain Mute Maintenance Clipping LEDs Connections and Controls Front panel Rear panel Troubleshooting Connecting the DPA-1 to Your System Power supply Interconnect cables AC cord 12-volt DC trigger output...
- Page 2 ■ Place the DPA-1 where it will not be exposed to moisture or direct sunlight. ■ Install the DPA-1 where it can get some ventilation. The amplifier doesn’t produce a great deal of heat, but using it in a sealed enclosure with no airflow could have long-term negative effects on the unit's circuitry.
- Page 3 Start by connecting the preamp to the DPA-1. In every case, grasp the cables by the plugs/connectors, not by the cable itself, otherwise you could damage the cable or the jack panel of the DPA-1 or your preamp. If your preamp offers XLR output, we strongly recommend you use XLR cables to connect the preamp to the DPA-1.
- Page 4 Operation The DPA-1 works like most other power amplifiers, but it does offer a couple of unusual features than can enhance its operation and con- venience, and optimize the amplifier for the best performance in your system. Powering Up the Amplifier Once all connections are made, switch your preamp on and allow it to warm up for 30 seconds.


Need help?
Do you have a question about the DPA-1 and is the answer not in the manual?
Questions and answers