Advertisement
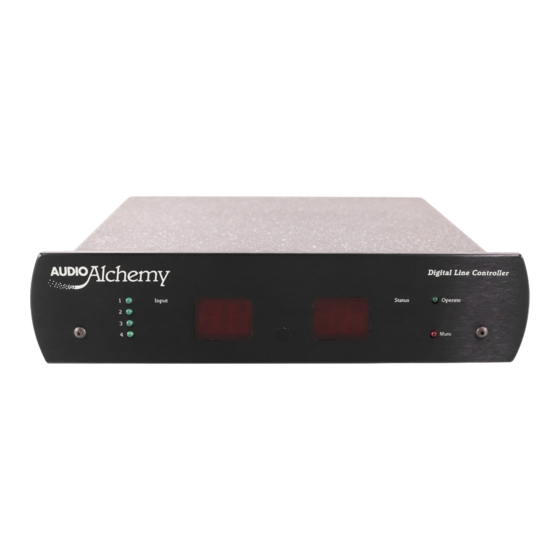
Digital Line Controller (DLC) & Remote Wand (RW-1)
INSTRUCTIONS
Thank you for purchasing the new Audio Alchemy DLC line stage preamplifier and RW-1
remote control. To get full benefit of the system's available features, please read the following
instructions before operation.
Connections and Initial Operation
Locate the remote power supply in a convenient location but do not plug it into AC Mains yet.
First, insert the power mini-plug firmly into the DC Power jack on the rear of the DLC. Be sure
it is plugged in all the way in so the body of the plug is touching the surface of the jack. In doing
so, you may see a small spark. Do not be alarmed! This is simply the residual power stored in the
power supply capacitors being discharged briefly by the ground terminal of the plug as it touches
the jack. No harm will occur.
With your power amplifiers) OFF, attach a pair of interconnect cables from it to either of DLCs
two pairs of outputs (they are identical). Similarly, attach your sources to line inputs 1 through 4.
A phono preamplifier such as our VAC-in-the-BOX can be attached to one of these inputs to
provide a turntable input A Digital-to-Analog converter such our DAC-in-the-BOX or DDE vl.l
can be attached to one of these inputs to provide a digital input.
Next two AAA batteries (not included) must be installed in the RW-1. To do so, remove the four
Phillips screws from the top cover of the remote and lift it straight up. This will expose the
battery holder. Insert the batteries according to the direction indicators shown in the holder,
being sure to snap them firmly into place. Replace the cover and tighten the screws firmly. If
necessary, adjust die cover position to assure that all six buttons work smoothly.
Now, plug the DLC power supply into AC Mains. Upon initial power-up and completion of the
self-test, the software code revision (CR 2.#) will be displayed and the default conditions win
prevail; the displays will each indicate "96", Input 1 and "Operate" will be selected. The display
will be at its brightest setting initially. After 15 seconds of inactivity, the brightness of the
numeric displays changes to a minimum setting.
The RW-1 has a small slide switch on the right side. Slide it all the way towards the front
(window end) of the RW-1. Now, with the RW-1 aimed at the DLC you should be able to
operate all functions:
"Volume v" will decrease the values shown in the displays, "Volume ^" will increase them,
"Balance <= " will increase (he right display while "Balance =>" will increase the left display,
"Select" will toggle the inputs from 1 through 4, "Mute" will alternate between the "Operate" and
full mute conditions.
Interpreting the Displays
As it arrives from the factory, the DLC displays arc calibrated in decibels of positive or negative
gain (known as attenuation). If the concept of dB's of attenuation and gain are uncomfortable for
you, the displays may be set to display in a 0 to 99 scale. We recommend mat you attempt to use
the dB scale first, as it is die calibration system used by most high quality preamplifiers. The
remainder of this section refers to the dB scale. Should you wish to change to the linear scale, see
the "Programming" section below.
Advertisement
Table of Contents

Related Manuals for Audio Alchemy DLC


Summary of Contents for Audio Alchemy DLC
- Page 1 Locate the remote power supply in a convenient location but do not plug it into AC Mains yet. First, insert the power mini-plug firmly into the DC Power jack on the rear of the DLC. Be sure it is plugged in all the way in so the body of the plug is touching the surface of the jack. In doing so, you may see a small spark.
- Page 2 At initial power-up the number "96" is shown. This is 96 dB below 0 dB (unity gain) known as -96 dB, the DLC’s minimum volume, and under normal conditions will be very soft. Pressing the "Volume v" button decreases the attenuation by 0.5 dB, thus increasing the volume to -95.5 dB.
- Page 3 If you wish, you can have the DLC skip an input (for example, successively pressing the Select button will tell the DLC to go from Input 1 to Input 2 to Input 4, skipping Input 3). This is accomplished by making the "Lo" and "Hi" settings equal. Utilizing the above procedure simply set both levels to show the same numbers (they can be at "96", "45", "0", or anything else you...
- Page 4 Repeat the above process for the "Hi" condition. Press "Mute" again. The display will indicate "End?" Press "Mute" if you are done, and your DLC will to enter the operate mode. If you wish to go back and change any setting, press "Select" to go back to the display selection mode.
- Page 5 Remove power, replace the cover and screws, and reattach all connections. The DLC is now returned to its default conditions so you may start programming from scratch. See Programming Mode section 1. Please take a moment now to fill in your -warranty card and return it to us so we may activate your limited warranty and keep you informed of software upgrades for the DLC, as well as other new developments at Audio Alchemy, Inc.
Need help?
Do you have a question about the DLC and is the answer not in the manual?
Questions and answers