Advertisement
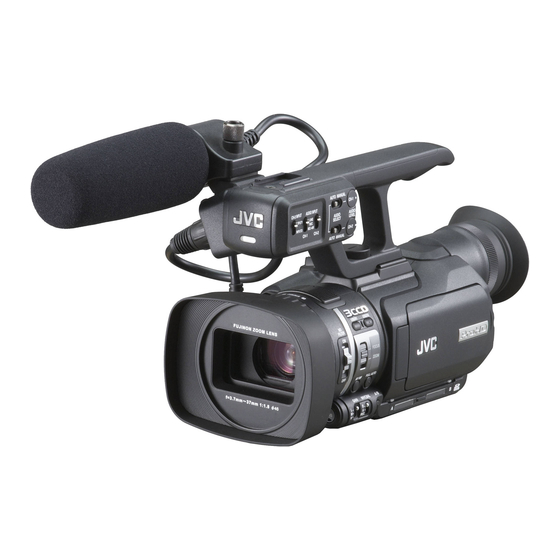
JVC GY-HM 100U Public HD Camera
This new camera will only record onto SDHC cards and in High-definition.
With all equipment, do not leave sitting in direct sunlight for an extended amount of time, do
not store in extreme temperatures, and do not leave sitting in an unattended car.
Power
OFF:
Standby/On:
Mode: Hold in this position for 3 seconds to switch from video to still image mode.
Press "Snap Shot" button near record button to take a picture.
Lens Cover
Open and close using switch on side of camera lens.
Format Cards
Menu → Media Settings → Format → (select SDHC card slot) → File → Yes
ALWAYS FORMAT A CARD WHEN RECORDING FOR THE FIRST TIME ON IT.
This will erase any data or media that was previously recorded on the card.
Card Select
Press the A/B button to toggle camera from recording on either card A or card B.
If recording on card A and camera runs out of time, the camera will automatically switch to
card B.
Record Modes
Always have File Format as MP4, unless editing on mac, then change to MOV.
When editing at CCMC, always use the following System Select & Rec Modes...
System Select:
Rec Mode:
Full Auto
Toggles full Auto mode or full manual mode on camera.
Time Remaining
Press Index button on viewfinder screen to view record time remaining.
Tells time on both cards left and battery life left.
Battery
Fully Charged Battery = 2 Hours.
Zoom
Pressure sensitive. T zooms in, W zooms out.
720 – 60/30
1280/30p (HQ) or 1280/30p (SP)
HQ will give you 56 minutes on a 16GB SDHC Card.
SP will give you 1 hour 43 minutes on a 16GB Card.
Advertisement
Table of Contents

Related Manuals for JVC GY-HM 100U


Summary of Contents for JVC GY-HM 100U
- Page 1 JVC GY-HM 100U Public HD Camera This new camera will only record onto SDHC cards and in High-definition. With all equipment, do not leave sitting in direct sunlight for an extended amount of time, do not store in extreme temperatures, and do not leave sitting in an unattended car.
- Page 2 Audio Input1 → Channel 1(left speaker) Input2 → Ch 2 Input Select (select either input 1 or 2 for right speaker) Audio Input: Line – Use if other end is not a microphone. Mic – Use if other end is a microphone. Mic+48v –...
- Page 3 This keeps the camera from shaking to much when you go hand held with the camera. It's indicated by the hand with waves coming out the left and right side of it. If it's not on the LCD screen, it's on. If it's on the screen with a line through it, it's off. To turn on and off, go to Menu\Camera Settings\OIS (on or off).
- Page 4 D. Time remaining on each card. E. Indicates if you are recording or not. F. Quick indicator of how much time is left on battery. G. Audio levels H. White balance setting I. Zebra lines. These indicate over exposed areas in your video. If people's faces have zebra's on them, consider turning on the ND filter or manually lowering your iris.
Need help?
Do you have a question about the GY-HM 100U and is the answer not in the manual?
Questions and answers