Advertisement
Quick Links
Advertisement

Related Manuals for Miller ArcReach


Summary of Contents for Miller ArcReach
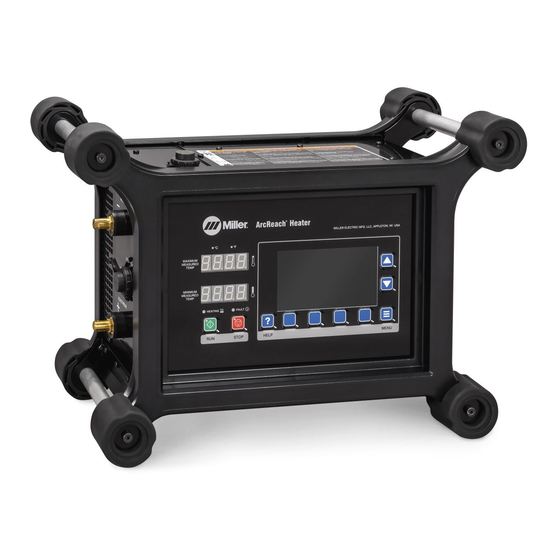
- Page 1 ARCREACH® HEATER Quick Setup Guide...
- Page 2 ArcReach Heater ® The Complete ArcReach ® Heater System a. Power Source Preheat Insulation b. ArcReach Heater g. Air-Cooled Quick Wraps c. Extension Cable and Series Adapter h. Air-Cooled Cables d. Thermocouples (TCs) Preheat Cover e. Insulation Fault Detection Magnet...
- Page 3 ® extension cable with series adapter to the ArcReach Heater. Make sure all pins are aligned, then press the end of the cable firmly into the ArcReach Heater and lock the tabs. Locking Tab Step 02. Connect the ArcReach Heater to a ®...
- Page 4 (free of rust, paint, grease, etc.) a. Connect the work cable to the “Work” cable plug on the ArcReach Heater extension cable. b. To connect plug, align the key with the keyway, insert its end into the receptacle and rotate the plug until tight.
- Page 5 Quick Setup Guide Step 04. Apply welded thermocouples if they are being used. If using contact TC probes, skip to step 05. Step 05. Apply preheat insulation (if required). Reference the chart below. Apply insulation on the workpiece anywhere a heating tool will be placed. Part Temp ½"...
- Page 6 ArcReach Heater ® Step 06. DANGER Apply the appropriate heating Do Not Remove, Destroy, Or Cover This Label. tool — either air-cooled cables or air-cooled quick wrap. a. If insulation is being used, apply the heating tool over the insulation.
- Page 7 Quick Setup Guide Steps for proper air-cooled quick wrap cable application: a. Place the air-cooled quick wrap on the workpiece around the insulation. b. Align the connector housings and fully engage the connector pins. c. Turn the latching handle to hold the connectors together. d.
- Page 8 Two tools: Connect one tool from A to A and the second tool from B to B. 1 Tool Tool 1 Tool 2 1. ArcReach Heater extension cable nameplate 3. ArcReach Heater series adapter nameplate 2. Single tool with horizontal connections 4. Dual tool with vertical connections...
- Page 9 Place additional sensors on the workpiece in accordance with project requirements. d. Connect all thermocouple temperature sensor connector plugs to the thermocouple receptacle on the side of the ArcReach Heater extension cable. e. Minimum number of thermocouple temperature sensors is one — maximum is six.
-
Page 10: Quick Program Guide
If a preconfigured heating program has been loaded from the ArcReach Heater data app, the Weld ID is shown at the top of the screen. The current time, date and recording timer also display at the top. The time format can either be 12-hour or 24-hour. - Page 11 Press the Run button to activate. Option 2: Heat from a file on a USB flash drive using preloaded data from ArcReach Heater data app. a. Select the desired file from the View/Load Program screen. Program types are Preheat, Bakeout and Combined.
- Page 12 To download the ArcReach Heater Data Software for loading heat temperature files and chart recording, visit millerwelds.com/support/software/arcreach-heater-software. © 2019 Miller Electric Mfg. LLC Miller, the Miller logo, The Power of Blue, ArcReach, FieldPro and XMT are trademarks of Illinois Tool Works Inc.
Need help?
Do you have a question about the ArcReach and is the answer not in the manual?
Questions and answers