Advertisement
HS 300 Pre-Heater Operations Manual
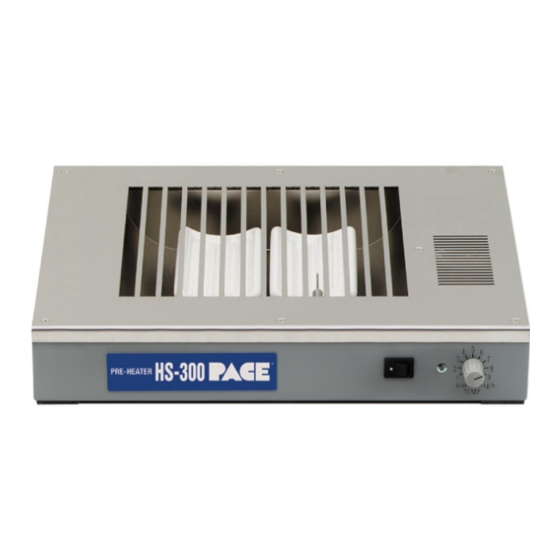
1. Packing Contents (P/N 8007-0343 or 8007-0345)
a. HS 300 Pre-Heater
b. Power Cord
c. 5 PCB Support Pins
d. 4 PCB Holder Pins
e. 3 PCB Support Rails
2. Specification
a. Power:
b. Heater Type:
c. Temperature:
Range
d. Dimensions:
e. Weight:
3. Safety Information
a. Do not contact the Heater or its peripheral parts during operation.
b. Once turned off, let the unit cool completely before contacting.
c. After use, verify that the green LED is off.
d. When using Fluxes, use fume extraction equipment or use in a well
ventilated area to minimize operator exposure to fumes.
120 VAC, 60 Hz or 230VAC 50 Hz.
Radiant, 400 Watt (200 W x 2), closed loop,
thermo-couple control
212 ºF (100 ºC) – 450 ºF (230 ºC)
13.8" (350 mm) W x 2.5" (62mm) H x 11.6"
(295mm) D
8.8 pounds (4.0 kg)
Advertisement
Table of Contents

Subscribe to Our Youtube Channel
Related Manuals for Pace HS 300


Summary of Contents for Pace HS 300
- Page 1 HS 300 Pre-Heater Operations Manual 1. Packing Contents (P/N 8007-0343 or 8007-0345) a. HS 300 Pre-Heater b. Power Cord c. 5 PCB Support Pins d. 4 PCB Holder Pins e. 3 PCB Support Rails 2. Specification a. Power: 120 VAC, 60 Hz or 230VAC 50 Hz.
- Page 2 HS 300 Pre-Heater Operations Manual 4. Set-up and Operation a. Connect the power cord to the power inlet on the HS 300 and then to an appropriate power supply. See Figure 3. b. Always use the PCB Support Rails and Holder Pins. When...
- Page 3 HS 300 Pre-Heater Operations Manual e. Place a Support Rail over the top of the HS 300 and make sure the far end of the Support Rail is placed over the back edge of the HS 300. See Figure 3.
- Page 4 PCB temperatures. 5. Maintenance a. The HS 300 should be kept clean. If flux is spilled on the heaters, the HS 300 should be allowed to cool to room temperature and the heater panels can be wiped off with an appropriate flux cleaner.
- Page 5 Remove the paper and then remove the two screws securing the white wires that connect to the Heaters. viii. Turn the HS 300 over, and remove the screws (4 each) that secure the heater assemblies to the HS 300.
Need help?
Do you have a question about the HS 300 and is the answer not in the manual?
Questions and answers