Table of Contents
Advertisement
Available languages
Available languages
Quick Links
Advertisement
Table of Contents

Related Manuals for A&E Axil VII


Summary of Contents for A&E Axil VII
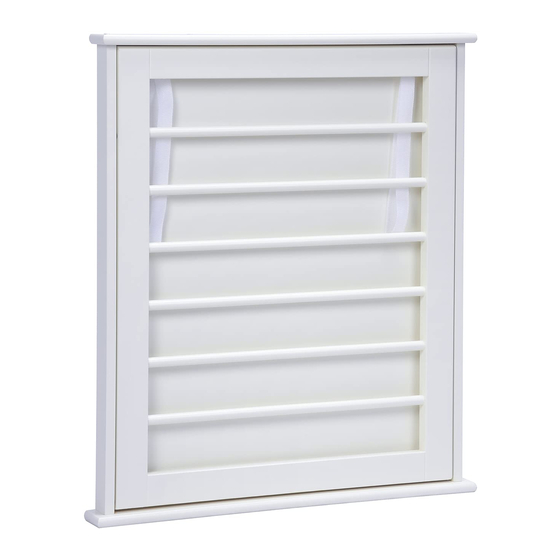
- Page 1 INSTALLATION GUIDE GUIDE D’INSTALLATION RACK CABINET ARMOIRE À LINGE PLEASE NOTE THAT A FRENCH VERSION OF THE INSTRUCTIONS WILL FOLLOW THE ENGLISH VERSION VEUILLEZ NOTER QU'UNE VERSION FRANÇAISE DES INSTRUCTIONS SUIT LA VERSION ANGLAISE - 1 -...
-
Page 2: To Get Started
POUR COMMENCER TO GET STARTED This manual is a graphic reference for installation Ce manuel est une référence graphique pour purposes. Some graphic elements and components l’installation. Certains éléments graphiques et may differ. Consult local building codes to ensure composantes peuvent différer. that installation complies with standards in your Consultez le code du bâtiment de votre région, area. -
Page 3: Parts List
PARTS LIST 0:30 CAM LOCK CAM BOLT FLAT HEAD SCREW PAN HEAD SCREW PAN HEAD SCREW Ф6x35mm Ф15x10mm Ф4x30mm Ф4x45mm Ф4x12mm 4PCS 4PCS 8PCS 2PCS 4PCS SELF HOLDER SHELF BELT PLASTIC ANCHOR 2PCS 2PCS - 3 -... - Page 4 ASSEMBLY STEPS STEP 1 1- Screw 2 cam bolts (A) into the pre-threaded holes of the left support board (5). Do not over tighten. 2- Repeat the step above for the right support board (6). x 4PCS STEP 2 1- Attach bottom support (3) to left support (5) by inserting cam bolts (A) into cam lock holes on bottom support (3) 2- Insert a cam lock (B) into the cam lock hole in support (3) then rotate cam lock clockwise to secure cam bolt (A) in place...
- Page 5 ASSEMBLY STEPS STEP 3 1- Slide the back board (8) into the grooves of the supports (2, 3, & 5). 2- Insert 1 cam lock on the right side of each of the supports (2&3) into the appropriate hole. 3- Insert shelf holder (F) into the designated holes on the shelf (7) shown in figure below. 4- Attach the shelf (7) into the frame by attaching the right support (6) into the assembly.
- Page 6 ASSEMBLY STEPS STEP 5 1- Attach 1 belt (G) from one side to the assembly as shown in figure below using 2 screws (E) 2- Attach the 1 belt (G) from the other side to the shelf using 2 screws (E) x 4PCS x 2PCS STEP 6...
- Page 7 FRENCH VERSION FOLLOWS : LA VERSION FRANÇAISE SUIT : - 7 -...
-
Page 8: Liste De Pièces
LISTE DE PIÈCES 0:30 VERROU À CAME BOULON À CAME VIS À TÊTE PLATE VIS À TÊTE PAN VIS À TÊTE PAN Ф6x35mm Ф15x10mm Ф4x30mm Ф4x45mm Ф4x12mm 4PCS 4PCS 8PCS 2PCS 4PCS SUPPORT D'ÉTAGÈRE SANGLE D'ÉTAGÈRE ANCRAGE 2PCS 2PCS - 8 -... - Page 9 ÉTAPES D'ASSEMBLAGE Étape 1 1- Visser 2 boulons à came (A) dans les trous pré-filetés de la plaque de support gauche (5). Ne pas trop serrer. 2- Répétez l'étape ci-dessus pour le panneau de support droit (6). x 4PCS Étape 2 1- Fixez le support inférieur (3) au support gauche (5) en insérant les boulons à...
- Page 10 ÉTAPES D'ASSEMBLAGE Étape 3 1- Faites glisser le panneau arrière (8) dans les rainures des supports (2, 3 et 5). 2- Insérez 1 verrou à came sur le côté droit de chacun des supports (2 et 3) dans le trou approprié. 3- Insérez le support d'étagère (F) dans les trous désignés sur l'étagère (7) illustrée dans la figure ci- dessous.
- Page 11 ÉTAPES D'ASSEMBLAGE Étape 5 1- Fixez 1 sangle (G) d’un côté à l’assemblage, comme indiqué sur la figure ci-dessous, à l’aide de 2 vis (E). 2- Fixez les 1 sangle (G) de l’autre côté sur la tablette à l’aide de 2 vis (E). x 4PCS x 2PCS Étape 6...
-
Page 12: Maintenance
ENTRETIEN MAINTENANCE Caution Attention Les détergents en poudre ou liquides Powdered detergents and abrasive liquid abrasifs peuvent endommager les surfaces. cleaners may damage surfaces. Ne mettez jamais en contact la surface avec Do not allow the surface to come into contact des produits corrosifs contenant de l’acétone with corrosive products such as acetone, nail (nettoyant de vernis à... -
Page 13: Warranty
GARANTIE WARRANTY A&E Shower & Bath inc. (˝A&E˝) offre la A&E Shower and Baths Inc. (hereafter “A&E”) garantie limitée suivante sur ses produits. Cette offers following limited warranty garantie s’applique uniquement au propriétaire each of its products. This warranty extends only to original pour une utilisation domestique.
Need help?
Do you have a question about the Axil VII and is the answer not in the manual?
Questions and answers