Advertisement
Available languages
Available languages
Quick Links
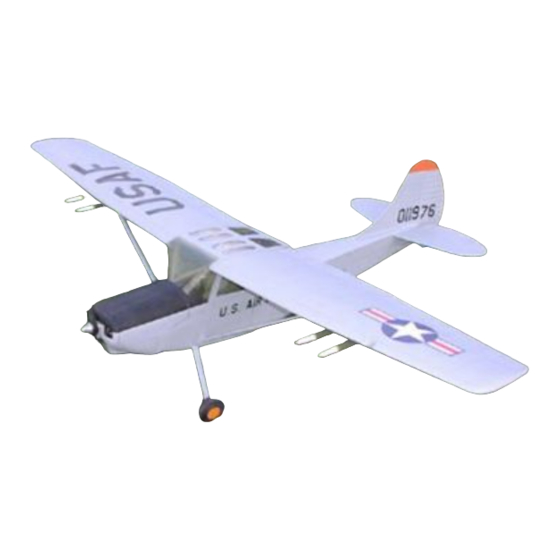
Construction Cessna L19"BIRDDOG"
All glueing is done with ca glue fast and slow.
Wings:
Take out all cnc cut formers regarding the wings and clean up the parts with fine sandpaper.
Tap the openings in Rib R1 with M4 thread and harden with ca.
The basic framework is constructed upside down onto the drawing, see 1.
Pin down the 2x11 balsa stringer onto the drawing and place the framework onto the stringer so it compares to
the drawing.
Place 2x11 leading edges and the middle 2x11 stringer , place the formers FF1 top and bottom and formers AF1
top and bottom and strutholder SH1 ,see 2
Make up the bottom sheeting from the supplied 1,5x100x1000 balsa sheet.
Draw up some reference lines for lining out the wing assembly.
Place the middle part of the wing onto the bottom sheeting and glue with ca.
Tilt up the middle part of the wing so that the tip part is flush with the sheeting, now glue the tip part onto the
sheeting, start with the main former, and glue the ribs one by on onto the sheeting.
Place Trailing edge from 2x11 balsa onto the sheeting against the ribs.
Place helpformers A,B,C onto the appropriate positions.
Now pin down the wing onto the drawing , the bottom of the wing is onto the drawing.
Place a scrap piece of 1,5mm balsa onto the servo position and place the servo , make the opening for the servo
arm and place the servo wire.
Place the aileron leading edge from 6x8 balsa and place the aileron ribs from scrap balsa and shape aileron
leading edge and ribs to form.
Make the 2mm strut wire opening in the bottom sheeting.
Make up the top sheeting to plan and glue to the top of the wing assembly with slow ca, make sure the wing is
onto the table and to the helpformers,
When dry , take off the wing and clean up all edges, sand trailing edge to plan , place leading edge and sand to
shape , see also drawing.
Place tips made from 2 parts 10mm cnccut balsa and glue to wing , sand to shape.
The ailerons can now be cut out and sand the aileron edges to shape.
Place the aileron horn at the correct position in relation to the aileron servo.
Finish the wing, make the hinges from the supplied polyester sheet, do not use the PVC sheet for this.
Make the hinge openings with a sharp knife and place hinges, glue them with thin ca.
Fuselage:
Start by making the motor holder, you might want to chance this for your particular motor or for a .40 four
stroke.
Make the motor unit from parts FM1,2,4,5,6 see 6.
Tap the Midribs FT6 with M4 and harden with ca.
Glue the FT6 with FT2,3,5 see 7
Make the fuselage middle part from F4, which you have to join, and F1, F5,F6 lock them together and glue with
ca.
Place F3A and F3, place WH1 left and right in accordance with the holes in F6, the landing gear has to fit in
there, place WH2 left and right.
Place double F10 and F11, take care not to close the opening in F8 for taking FR6.
Place the spruce 6x6 stringers front (length is 200mm approx.). Glue them also to F3A, with help from template
1.
Place the midparts (picture 7) onto the 6mm spruce stringers see 8 ,9,10, use the Template for the correct height.
Advertisement

Related Manuals for RBC kits Cessna L19 Birddog


Summary of Contents for RBC kits Cessna L19 Birddog
- Page 1 Construction Cessna L19”BIRDDOG” All glueing is done with ca glue fast and slow. Wings: Take out all cnc cut formers regarding the wings and clean up the parts with fine sandpaper. Tap the openings in Rib R1 with M4 thread and harden with ca. The basic framework is constructed upside down onto the drawing, see 1.
- Page 2 Place former F9 onto F8 the inner side of F9 should be flush with the top of F8, see 9 Place FT4 both sides and glue onto F9 Place the rear struts from 6x6 spruce see 11. Tail parts Make up the tail parts from : FR7,8,9,10,11 and sheet with 1,5mm balsa cross grain see 12 and 13 Make up the top of the tail from FR2,3,4 FR13 and 4x4 balsa stringer , sheet length wise with 1,5mm balsa and let sheeting continue to the fuselage .
- Page 3 Construction Cessna L19 "Birddog" All Kleben mit Sekundenkleber schnell und langsam erfolgen. Trachflache: Nehmen Sie alle CNC gefräste Spanten über die Flügel und reinigen Sie die Teile mit feinem Sandpapier. Tippen Sie auf die Öffnungen in Rib R1 mit Gewinde M4 und härten mit ca. Das Grundgerüst kopfüber auf die Zeichnung gebaut, siehe 1.
- Page 4 Sand oben und unten des Leitwerks so kann die 4x18mm Ecke Füllungen siehe Zeichnung. Make-up die komplette Schwanz aus FR4, 5,12,14 Ort einige Schrott auf FR5 füllen, so die Folie wird lay up schön. Legen Sie das Leitwerk auf den Rumpf Vorderteil F8 siehe 14. Ort Stringer von 4x4 Balsaholz zwischen Fr4 und FR14 und zwischen FR14 und F8, zur seitlichen Verstärkung siehe Zeichnung.