Advertisement
Quick Links
Advertisement

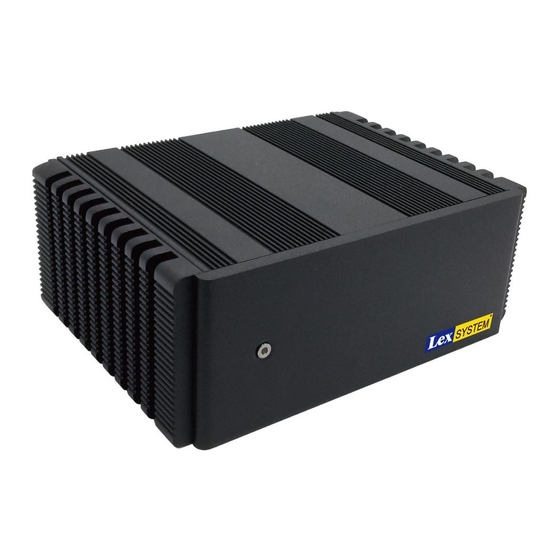
Related Manuals for Lex System TERA 2I610DW

Summary of Contents for Lex System TERA 2I610DW
- Page 1 Assembly Guide...
- Page 2 1-1 Installing for Mini PCI-e Card Fig. 1 Fig. 1 1. Remove the screws from the left & right sides of the chassis and remove the top cover. (Fig.1) Fig. 3 Fig. 2 2. Remove the mini PCIe fixing screw from 3.
- Page 3 1-2 Installing for SATA HDD Version Fig.5 Fig.6 1. Place the HDD kit on the HDD and screw them 2. Connect the SATA Data Cable with HDD. (Fig.6) with screws. (Fig.5) Fig.7 3. Connect the SATA Power Cable with HDD. (Fig.7) Fig.8 4.
- Page 4 Fig.9 5. Connect the SATA DATA Cable with motherboard. (Fig.9) Fig.10 Fig.11 6. Place the HDD kit inside the system and tighten 7. Apply HDD thermal adhesive to HDD & make sure the screws manually. (Fig.10) don’t stick on HDD track . (Fig.11) Fig.12 Fig.12 8.
- Page 5 1-3 TERA Exploded Drawing Name Q'ty BOTTOM COVER TOP COVER TOP COVER BRACKET FRONT COVER FRONT FRAME POWER BOTTON IO PANEL HDD BRACKET...