Advertisement
Quick Links
R
w w w . f o t o d i o x p r o . c o m
R
w w w . f o t o d i o x p r o . c o m
Fotodiox Inc.
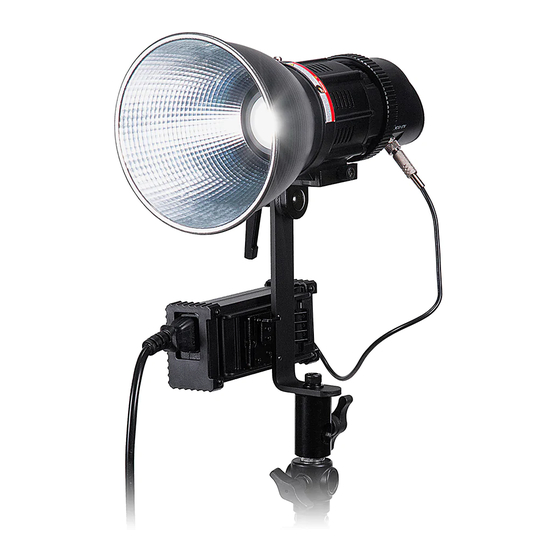
PopSpot v.2 50
1100 Lakeside Dr Gurnee , IL60031, United States
Toll Free:(866)812-1107
USER MANUAL
Local & International: (847)201-4623
Fax: (847) 261-0295
Http://www.fotodioxpro.com
Advertisement

Related Manuals for Fotodiox PopSpot 50 v.2


Summary of Contents for Fotodiox PopSpot 50 v.2
- Page 1 . f o t o d i o x p r o . c o m w w w . f o t o d i o x p r o . c o m Fotodiox Inc. PopSpot v.2 50...
-
Page 2: Optional Accessories
10.Keep the light surface clean with a soft, dry cloth. If build-up is noticeable, use isopropyl alcohol on a soft, clean cloth to gently remove debris. 11.ONLY use the charging cable provided with this product. Should you need a replacement please contact techsupport@fotodiox.com 12.Avoid impact to the LCD screen; impact may damage it. Deep Parabolic Softbox 70cm Octagon Softbox 13.Use the safety cable when hanging your light.. -
Page 3: Parts Diagram
POP SPOT V.2 POP SPOT V.2 Parts Diagram: Specifications: Model PopSpot v.2 50 Spec PopSpot v.2 50 50W COB 120 degree,50 degree with standard reflector, Standard reflector Beam angle 23-66 degree with zoom lens Stand mount locking screw Color temperature 5600K±300K L type stand bracket ≥95... - Page 4 POP SPOT V.2 POP SPOT V.2 Operating instructions: (4) Adjust the light to the desired angle by loosening the yoke angle adjustment handle by turning counterclockwise. Move the light to the desired angle, then tighten the yoke angle adjustment handle by turning clockwise. 1.
- Page 5 POP SPOT V.2 POP SPOT V.2 (2) The PopSpot v.2 50 is dimmable from 0-100%. Increase brightness by turning the function adjustment knob 3.Installation and removal of AC power adapter/battery holder clockwise or decrease brightness by turning counterclockwise. (1) Mount the AC power adapter or the battery holder onto the v-lock plate on the yoke. (2) Remove the AC power adapter or battery holder by pressing the release button on the v-lock plate and slide the AC power adapter or battery holder out of the v-lock plate.
- Page 6 (4) Remote control working distance: 20 meters. Note: When pairing, all light units that are powered on will pair to a single remote control. Each light is factory paired to the included remote control. All Fotodiox products are backed by a 24 month limited warranty.
Need help?
Do you have a question about the PopSpot 50 v.2 and is the answer not in the manual?
Questions and answers