
Related Manuals for FLORA LJ3204P


Summary of Contents for FLORA LJ3204P
- Page 1 SHENZHEN RUNTIANZHI DIGITAL EQUIPMENT CO., LTD LJ3204P User Manual Version 2.0 2012‐11‐03 ...
-
Page 2: Table Of Contents
Flora Digital Printing System ........................ 4 Disclaimer.............................. 4 Manual Usege Conditions and Limitations ..................... 4 Contents of Package .......................... 4 Printer Introduction .......................... 5 Table 1 General Features ........................ 5 Table 2 Technical Specification ...................... 5 Table 3 Flora LJ3204P Printer Model Coding ................... 6 About The Manual .......................... 6 Chapter 1 Safety Operating Instructions .................... 7 1.1 Brief Introduction ......................... 7 1.2 Safety Information ........................ 7 1.2.1 Solvent and Ink Properties .................... 7 ... - Page 3 2.3.1 PhotoPRINT Job Folder....................... 1 2 2.3.2 Working with Prints Job ..................... 1 5 2.3.3 How to set advance job properties .................. 1 6 2.3.4 How to Set Print Options Advance job properties (Flora Driver)........ 2 5 2.4 Shut down Procedure ......................... 2 5 2.4.1 Overnight Shut down ...................... 2 5 ...
-
Page 4: Flora Digital Printing System
Disclaimer This is an alpha release of the User's Guide for Flora LJ3204P printer. We have made every effort to guarantee the accuracy and integrity of the information in this manual. If you find some errors or omissions, please bring them to our attention so we can check and correct them accordingly. -
Page 5: Printer Introduction
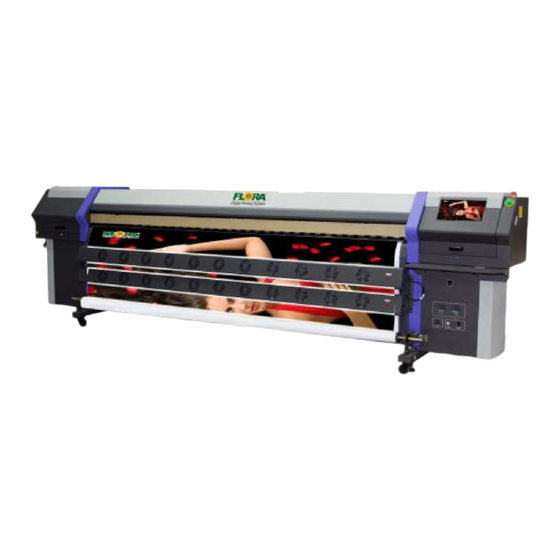
Printer Introduction The Flora LJ3204P printer is a wide format digital printer suitable for small up to medium size business use. It uses a Solvent ink. It provides high productivity and is capable to replace traditional silkscreen printing. This type of printer is widely used in the fields such as advertisement, packing, printing, interior decoration, flexible packaging, etc. -
Page 6: About The Manual
Polaris head About The Manual The manual provides the end user all the information related to the machine basic functions, software installation, machine parameter calibration, maintenance and troubleshooting of Flora LJ3204P. 6 / 26 Edit by Victor Xu Copyright2011@ Shenzhen Runtianzhi Digital Equipment Co.,Ltd... -
Page 7: Chapter 1 Safety Operating Instructions
This chapter introduces the important safety information. Please read and understand the safety information carefully before operating the printer. 1.2 Safety Information FLORA printer uses the following chemical substances All kinds of printing media Solvent Ink Cleaning liquid (Solvent Flush) 1.2.1 Solvent and Ink Properties... -
Page 8: High Voltage May Shock People Or Trigger A Fire
LJ3204P User Manual 1.2.6 High voltage may shock people or trigger a fire If there’s no emergency power switch which can shut down all the power, do not connect the printer to main-power supply. When the machine’s power is on, do not open the back cover of machine, or avoid touching electrical parts. -
Page 9: Regular Inspection And Maintenance
LJ3204P User Manual 1.6 Regular Inspection and Maintenance The following regular inspection and maintenance must be performed in terms of characteristics of the solvent ink: Clean the carriage unit and platform surface every day. Make sure that the carriage covers are always replaced. -
Page 10: Chapter 2 Operating Machine
Chapter 2 Operating Machine 2.1 Start Up 2.1.1 Power Supply Notice Install the printer near an easily accessible electrical outlet. Do not provide power to the printer through the same power line as for other noise generating devices such as motors. Use a power supply matched with the printer specification. -
Page 11: How To Perform Purging
If the machine doesn’t work, flush all the print heads with solvent is recommended. And when the nozzles are blocked seriously, flush is also available. Notice: The valve must be rotated with the correct Valve Key which supplied by flora. ... -
Page 12: How To Flush Print Head
LJ3204P User Manual 2.2.2 How to flush Print head Flush Button Set the ink tank valve to flush position. Press flush button to activate flush pump. (Press the button less than 5 seconds every time) Notice: Check the nozzles, if all the nozzles open! Ensure every... - Page 13 LJ3204P User Manual Printing job queue shows the jobs that are currently printed and those queued for printing. Ripping job queue shows the jobs that are under ripping process, have completed the ripping process and those ready to be sent for printing. Job queue shows the list of all jobs that have been printed, aborted, ripped and new added jobs waiting to be sent for editing or ripping. How to add job Do one of the following: From the File menu, select Add Job. Click the Job menu button and select Add Job from the context menu. Dragging a file into the software automatically adds it to the queue. The file must be of a supported file type.
- Page 14 LJ3204P User Manual If it reports error message as below, that means the profile is not for this machine! Finish, it will pop dialog as above! ...
-
Page 15: Working With Prints Job
LJ3204P User Manual Enter the Width and Length of the test print you want to output under Test size. For best results, the print should be as large as possible while still fitting onto the output media. Click Test Print. -
Page 16: How To Set Advance Job Properties
LJ3204P User Manual Printing job Jobs in the RIP queue will process in the order of the Job Priority setting in their Job Properties. When multiple jobs with the same priority are waiting in the queue, the job received first will process first. - Page 17 LJ3204P User Manual Click and drag to magnify one particular portion of the design area. Adjusts the view to fit the design area size. Lay out Tab The Layout tab controls how the job is positioned on the output media, what size it is and the layout of the output.
- Page 18 LJ3204P User Manual margins of the printable area. Places the job at the specified distances from the lower and right edges of the printable area of the output media. Centers the job along the width of the printable area. Centers the job in the middle of the printable area. Only available for sheet material.
- Page 19 LJ3204P User Manual Priority The priority assigned to new jobs by default. Priority determines which jobs in a given queue process first. A High priority job might not always print first. This is because the software can RIP a number of jobs simultaneously. If a smaller job finishes RIPing first, it will move to the Send queue first, and immediately start printing.
- Page 20 LJ3204P User Manual Dither Select the dithering for the output. Dither Type is the pattern in which the individual dots that make an image are applied to the media. Each dither type has advantages in terms of quality and RIP speed.
Need help?
Do you have a question about the LJ3204P and is the answer not in the manual?
Questions and answers