Advertisement
Quick Links
Installation manual
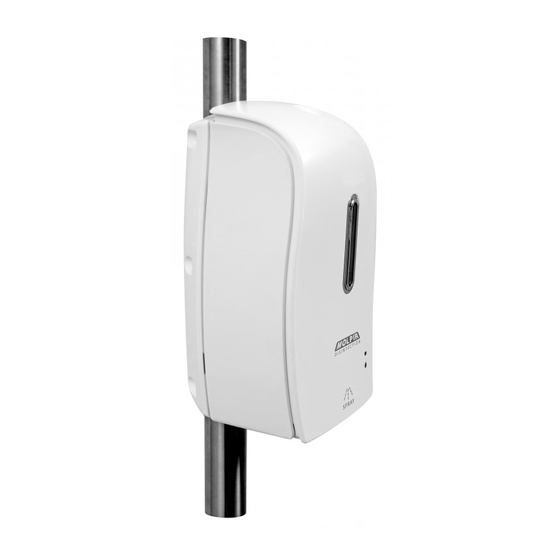
Disinfectant dispenser; non-contact; spray; for
the pole with diameter 30 mm
Ordering code: DD-MOL-005
Thank You for purchasing our product. Read this Installation manual carefully before the installation of the product.
Date: 28. 9. 2020
NM_DD-MOL-005_000_28092020_EN.doc
©MOLPIR 2020. All rights reserved .
Advertisement

Related Manuals for Molpir DD-MOL-005


Summary of Contents for Molpir DD-MOL-005
- Page 1 Disinfectant dispenser; non-contact; spray; for the pole with diameter 30 mm Ordering code: DD-MOL-005 Thank You for purchasing our product. Read this Installation manual carefully before the installation of the product. Date: 28. 9. 2020 NM_DD-MOL-005_000_28092020_EN.doc ©MOLPIR 2020. All rights reserved .
-
Page 2: Components List
Components list Poz. Poz. Poz. Poz. Názov Názov Názov Názov Kód Kód Kód Kód K K K K s s s s ① Disinfectant dispenser; non-contact; 600 ml; spray; white DD-MOL-000 ② Disinfectant dispenser key DD-MOL-302 ③ Bracket plate of disinfectant dispenser for the pole with 30 - 35 mm diameter 0811377-M ④... -
Page 3: Installation Procedure
Tools necessary for the installation • screwdriver Torx 20 • screwdriver Torx 25 • scissors • Driver-Drill + Philips bit (for mounting self-tapping screw ⑫) Installation procedure Mount the brackets ⑤ with the screws ⑧. Before Place the dispenser on propper place. Palcing the dispenser to the pole insert the reduction For clamping for the pole diameter 30 mm ④. - Page 4 Mount the second screws ⑧ and tight them evenly to assure the same gaps between the main bracket plate ③ and the brackets ⑤. To avoid „rotating“ dispenser on the pole we suggest to secure it by self- tapping screw ⑫ (follow internal rules for possibility to drill the pole).
- Page 5 Cut the gaskets ⑦ at the indicated place on the gasket so that they can be fitted to the pole. Date: 28. 9. 2020 NM_DD-MOL-005_000_28092020_EN.doc Page 5/12...
- Page 6 Placet he gaskets ⑦ on the pole (2 pcs) on the upper and bottom side of the dispenser so that the gaskets fit exactly into the slots in the metal holder of the dispenser③. Date: 28. 9. 2020 NM_DD-MOL-005_000_28092020_EN.doc Page 6/12...
- Page 7 Place the rear cover of the dispenser ⑥ - first the lower side and then the upper side and check that the rear cover fits exactly into the grooves of the gaskets. Date: 28. 9. 2020 NM_DD-MOL-005_000_28092020_EN.doc Page 7/12...
- Page 8 Use 6 screws ⑪ to firmly attach the back cover to the dispenser body. Date: 28. 9. 2020 NM_DD-MOL-005_000_28092020_EN.doc Page 8/12...
-
Page 9: Preparation For Operation
Preparation for operation Use the key ②and open the front cover of the dispenser. Date: 28. 9. 2020 NM_DD-MOL-005_000_28092020_EN.doc Page 9/12... -
Page 10: Inserting Batteries
Inserting batteries Open the battery cover by pushing the latch in the direction of the arrow and then remove the battery cover. Insert 4 pcs new AA alkaline batteries so that the polarity of the inserted batteries matches the polarity markings on the dispenser control unit body. - Page 11 Pouring disinfectant Remove the cap of disinfectant tank and fill the reservoir with a suitable disinfectant. Then close the tank with the cap. Use a funnel for filling to prevent the disinfectant from spilling! Do not overfill the tank! The volume of the tank is 600 ml. Recommended disinfectant may contain max.
- Page 12 Dose volume setting Switch the main switch to position I or II to select the volume of each dose (position I is 0.5 ml; position II is 1.0 ml) and then close the front cover of the dispenser. This sets the dispenser to energy saving mode and it "waits" for the hands to approach the detection space under the dispenser nozzle.
Need help?
Do you have a question about the DD-MOL-005 and is the answer not in the manual?
Questions and answers