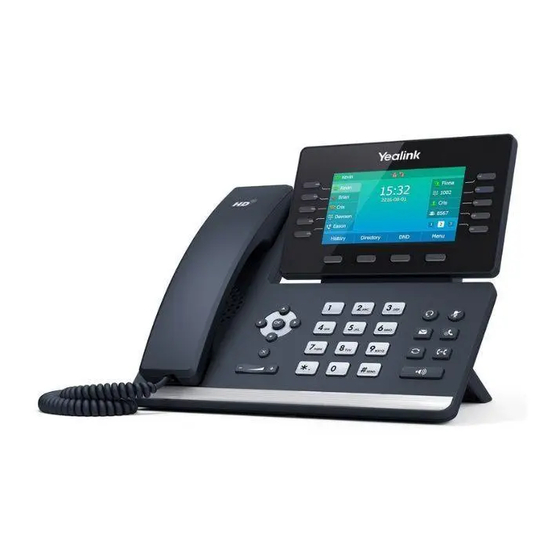
Yealink T54 Quick User Manual
Hide thumbs
Also See for T54:
- Quick start manual ,
- Quick user manual (2 pages) ,
- Quick reference manual (2 pages)
Table of Contents
Advertisement
Quick Links
Encore Quick User Guide
Yealink T54
Placing a Call
Using the Handset:
1. Pick up the handset
2. Enter the number
3. Press Send
Answering a Call
Using the Handset:
1. Pick up the handset
* You can reject an incoming call by pressing the Reject soft key.
Ending a Call
Using the Handset:
1. Hang up or press End Call
Redial
1. Press
to enter the Placed Calls list, and then tap the desired entry.
2. Press
twice when the phone is idle to dial out the last dialed number.
Missed calls
1.
Press the view soft key
Press or to select the desired entry.
2.
3.
Press the Send key
Call Mute / Un-Mute
Press
to mute the microphone during a call.
Call Hold & Resume
Place Call on Hold: Press the Hold soft key or tap
Resuming a call do one of the following: Press the Resume soft key
If there is more than one call on hold, tap the call you want to resume, and press
Call Transfer
Blind Transfer
1. . Press the Transfer soft
key during an active call.
The call is placed on hold.
2. Enter the number you
want to transfer to.
3. Press the BTransfer soft key
Using the Speaker Phone:
1. Press
2. Enter the number
3. Press Send
Using the Speakerphone:
1. Press
Using the Speakerphone:
1. Press
Press
during an active call
Semi-Attended Transfer
1. Press the Transfer soft
key during an active call.
The call is placed on hold..
2. Enter the number you
want to transfer to, and
then press Send
3. Press the Transfer soft
key when you hear the
ring-back tone
or press End Call
again to un-mute the call.
or tap the Resume soft key
Attended Transfer
1. Press the Transfer soft key
during an active call. The
call is placed on hold.
2. Enter the number you want
to transfer to, and then
press Send.
3. Press the Transfer soft key
when the second party
answers
Page 1
Advertisement
Table of Contents

Summary of Contents for Yealink T54
- Page 1 Encore Quick User Guide Yealink T54 Placing a Call Using the Speaker Phone: Using the Handset: 1. Press 1. Pick up the handset 2. Enter the number 2. Enter the number 3. Press Send 3. Press Send Answering a Call...
- Page 2 Encore Quick User Guide Yealink T54 Call Forwarding 1. Press the Menu soft key when the phone is idle, and then select Features ->Call Forward. 2. Select the desired forward type: 1. Always Forward – Incoming calls are forwarded unconditionally 2.
- Page 3 Encore Quick User Guide Yealink T54 Page 3...


Need help?
Do you have a question about the T54 and is the answer not in the manual?
Questions and answers
how do we determine and insert extension numbers on the t54
To determine and insert extension numbers on a Yealink T54:
1. Determine Available Positions: The Yealink T54 supports up to 16 DSS key positions for displaying extensions. Positions 1 to 16 can be used for lines and BLFs.
2. Assign Extensions: In your provisioning system (e.g., FusionPBX), assign the main extension to position 1. Use positions 2–9 for BLFs or other functions.
3. Use Second Page: To display additional extensions beyond the first page, assign them to positions 10–16. These will appear when you switch to page 2 on the phone's display.
4. Avoid Positions Beyond 16: Do not assign extensions to positions 17, 18, or 19, as the Yealink T54 does not support provisioning extensions beyond position 16.
5. Provision Extensions: Use your phone provisioning system to assign the desired extension numbers to each DSS key position (1–16) based on your layout needs.
6. Verify on Phone: After provisioning, check the phone's display and use the page switch button to access extensions on the second screen.
This answer is automatically generated