Advertisement
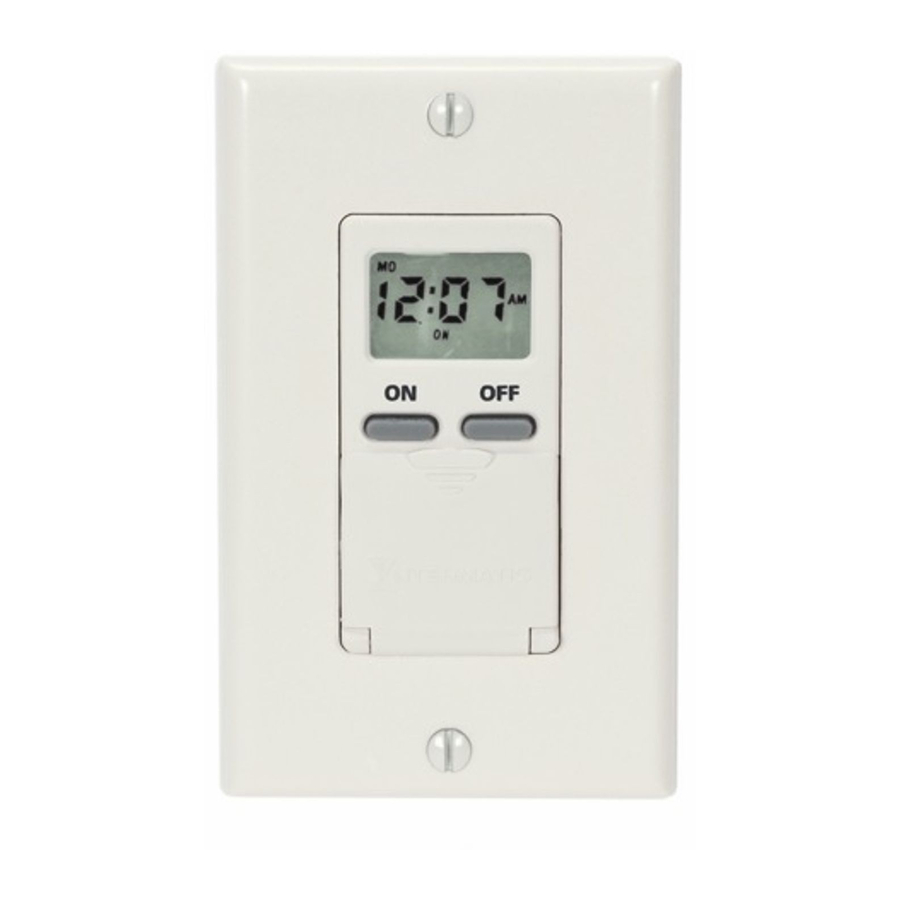
SETTING THE CLOCK
1. Press and hold the CLOCK button.
2. Press the DAY button until the display shows the current day.
3. Press the HOUR button until the display shows the correct hour.
4. Press the MIN (minutes) button until the button shows the correct minute.
SETTING PROGRAMS
Things you should know before programming events:
•
You can repeat the ON and OFF programming procedures for up to 7 events
•
Warning – while setting events the timer may prematurely turn on the load if you press the MODE button
•
Do not create the following settings as they can cause the timer to work in an unexpected way:
Do not set up events in progressive order of time, for example: 8:00pm ON, 9:00pm ON, 10:00pm ON.
o
Do the following instead 8:00pm ON, 10:00pm ON, 9:00pm ON
o Do not overlap event times, for example: 8:00pm ON/12:00pm OFF and 9:00pm ON /11:00pm OFF
o Do not set ON/OFF events within 30 minutes or less from one another if you are going to use the timer
in the RANDOM mode. The RANDOM mode interval is automatically set
programmed times, which can make the times overlap.
Programming Events
1. Press the PROG (Program) button once. The display will look like the first image
here.
a. You will now set up the time in which you want your device turned ON.
b. The number 1 in the lower left hand corner indicates that you are now
programming event 1.
2. Press the DAY button repeatedly until the display shows the day(s) when you
want the timer turned on. The options are:
a. All days of the week (MO TU WE TH FR SA SU)
b. Individual days of the week (MO, etc.)
c. Weekdays only (MO TU WE TH FR)
3. Weekends only (SA SU) Press the HOUR and MIN (Minute) buttons to set the
time when you want the timer to turn on
4. Press the PROG (Program) button again. The display will look like the second
image.
5. Repeat steps 2‐4 to set the OFF time for event 1.
6. When programming is complete, press the CLOCK button to display the current
time.
Reviewing Programmed Events
1. In the current time display, press PROG (Program) button repeatedly to check settings.
2. When finished, press the CLOCK button to return the display to the time of day.
Intermatic EI500 Series Settings Instructions
±15 minutes from the
Advertisement
Table of Contents

Related Manuals for Intermatic EI500 Series


Summary of Contents for Intermatic EI500 Series
- Page 1 Intermatic EI500 Series Settings Instructions SETTING THE CLOCK 1. Press and hold the CLOCK button. 2. Press the DAY button until the display shows the current day. 3. Press the HOUR button until the display shows the correct hour. 4. Press the MIN (minutes) button until the button shows the correct minute. SETTING PROGRAMS Things you should know before programming events: • You can repeat the ON and OFF programming procedures for up to 7 events • Warning – while setting events the timer may prematurely turn on the load if you press the MODE button • Do not create the following settings as they can cause the timer to work in an unexpected way: Do not set up events in progressive order of time, for example: 8:00pm ON, 9:00pm ON, 10:00pm ON. Do the following instead 8:00pm ON, 10:00pm ON, 9:00pm ON o Do not overlap event times, for example: 8:00pm ON/12:00pm OFF and 9:00pm ON /11:00pm OFF o Do not set ON/OFF events within 30 minutes or less from one another if you are going to use the timer ±15 minutes from the in the RANDOM mode. The RANDOM mode interval is automatically set programmed times, which can make the times overlap. Programming Events 1. Press the PROG (Program) button once. The display will look like the first image here. a. You will now set up the time in which you want your device turned ON. b. The number 1 in the lower left hand corner indicates that you are now programming event 1. 2. Press the DAY button repeatedly until the display shows the day(s) when you ...
- Page 2 Clearing/Deleting an Event 1. Press the PROG (Program) button as many times as necessary to locate the setting you want to clear. 2. Press and hold the MODE button. 3. Press the PROG button to clear the setting. 4. Press the CLOCK button to return the display to the time of day. Operating the Time Switch 1. Press the MODE button repeatedly to set the timer to automatic, random or manual mode. For the time switch to run programmed events it, it must be set to AUTO mode. 2. AUTO ‐ runs all events automatically, according to the schedule you have set. The word AUTO appears in the display. 3. RND (Random) – runs all evens in RANDOM mode. This is a security feature in which ON and OFF times ±15 minutes from the programmed times, creating a more “lived‐in” look. The word randomly differ RDM appears in the display. Remember , setting ON/OFF events within 30 minutes or less from one another can make the times overlap. 4. MANUAL –turns ON and OFF only when the user presses the ON or OFF button. The display is blank, showing neither RDM or AUTO Overriding Timer Settings 1. Press ON and/or OFF buttons to override current programmed events. 2. If the timer is not in MANUAL mode, it will obey the next programmed event. This allows the user to manually turn a light on and allow the timer to shut the light back off at a preset time. Resetting the Timer 1. In case of operational failure of the timer, press the RESET button to clear all settings. 2. Restart the timer. ...
Need help?
Do you have a question about the EI500 Series and is the answer not in the manual?
Questions and answers