Table of Contents
Advertisement
Advertisement
Table of Contents

Related Manuals for AEG L9WBA61BC


Summary of Contents for AEG L9WBA61BC
- Page 1 L9WBA61BC User Manual Washer Dryer USER MANUAL...
-
Page 2: Table Of Contents
CONTENTS 1. SAFETY INFORMATION..................... 3 2. SAFETY INSTRUCTIONS.....................6 3. INSTALLATION......................8 4. PRODUCT DESCRIPTION..................13 5. CONTROL PANEL..................... 14 6. FIRST TIME START-UP....................14 7. TOUCH SCREEN....................... 16 WI-FI CONNECTIVITY SETUP................17 9. BEFORE FIRST USE....................20 10. PROGRAMMES......................20 11. OPTIONS......................... 27 12. -
Page 3: Safety Information
ENGLISH FOR PERFECT RESULTS Thank you for choosing this AEG product. We have created it to give you impeccable performance for many years, with innovative technologies that help make life simpler - features you might not find on ordinary appliances. Please spend a few minutes reading to get the very best from it. - Page 4 Children between 3 and 8 years of age and persons • with very extensive and complex disabilities shall be kept away from the appliance unless continuously supervised.
- Page 5 ENGLISH Connect the mains plug to the mains socket only at • the end of the installation process. Make sure that the mains plug is accessible after installation. The ventilation opening in the base must not be • covered by a carpet, mat, or any floor covering. CAUTION: The appliance must not be supplied •...
-
Page 6: Safety Instructions
Do not use the appliance if items have been soiled • with industrial chemicals. Do not dry unwashed items in the wash dryer. • Items such as foam rubber (latex foam), shower caps, •... - Page 7 ENGLISH • Make sure that there is air circulation • Ensure that there are no visible water between the appliance and the floor. leaks during and after the first use of • Remove all the packaging and the the appliance. transit bolts.
-
Page 8: Installation
2.7 Disposal • Dispose of the appliance in accordance with local requirements • Disconnect the appliance from the for the disposal of Waste Electrical mains electrical and water supplies. and Electronic Equipment (WEEE). • Cut off the mains electrical cable close to the appliance and dispose of •... - Page 9 ENGLISH Make sure not to damage the hoses. 10. Remove the three bolts by using the spanner supplied with the appliance. 7. Remove the polystyrene protection from the bottom. 11. Pull out the plastic spacers. 12. Put the plastic caps, that you find in the user manual bag, in the holes.
- Page 10 3.2 Installation under a counter The appliance can be installed as 600 mm freestanding or below the kitchen counter with correct space (see picture). CAUTION! Do not install the appliance 630 mm ≥ 870 mm inside a sealed hollow!
- Page 11 ENGLISH 45º 45º 20º 20º If this occurs, close the water tap and contact the authorized service centre to replace the hose. 3.6 Water drainage The drain hose should be positioned at a height of not less than 60 cm and not Make sure that the inlet hose more than 100 cm from the floor.
- Page 12 5. Without the plastic hose guide, to a sink spigot - Put the drain hose in Make sure that the drain the spigot and tighten it with a hose end is not immersed in clamp. Refer to the illustration.
-
Page 13: Product Description
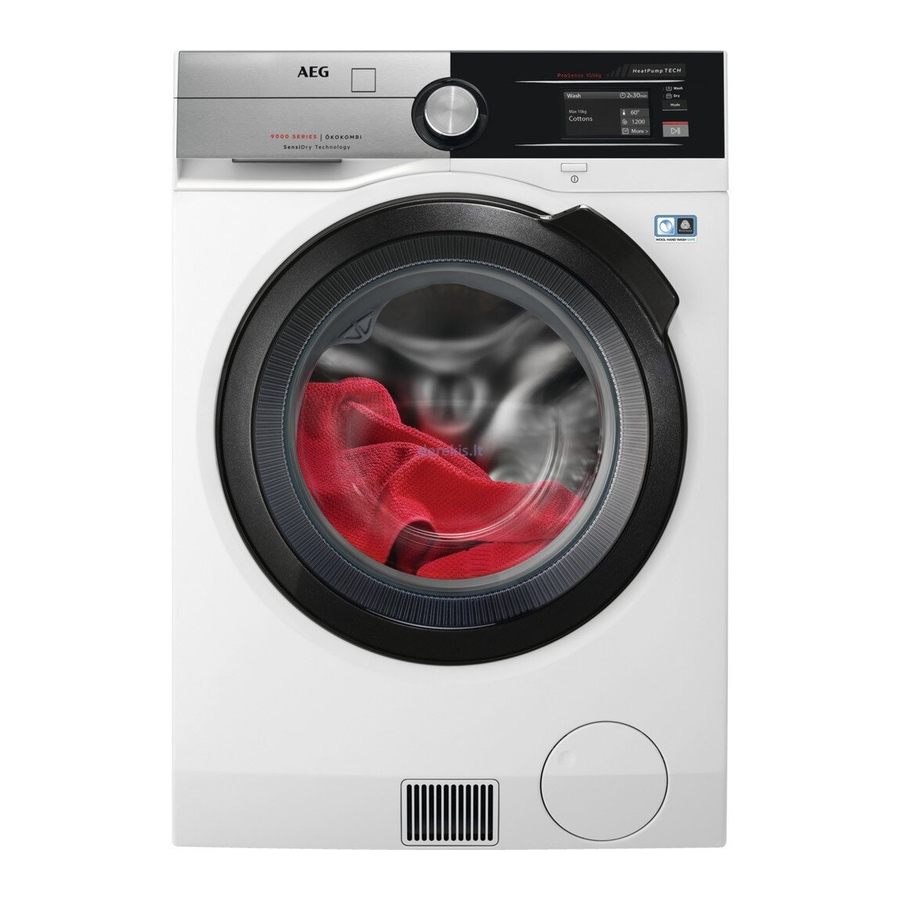
ENGLISH 4. PRODUCT DESCRIPTION 4.1 Appliance overview 13 14 Worktop Airflow slots Detergent dispenser Water drain hose Air filter(s) Water inlet valve Control panel Mains cable Door handle Transit bolts Rating plate Hose supports Drain pump filter Feet for levelling the appliance... -
Page 14: Control Panel
5. CONTROL PANEL 5.1 Control panel description Touch screen On/Off button Programmes, options and settings Pressing this button for a few can also be set by scrolling and seconds allows to activate or tapping the touch screen. deactivate the appliance. Two... - Page 15 ENGLISH 2. The following screen pops up: 6.3 More settings • tap on OK to confirm the language: After you set the time, the More settings • tap on Change to change it. screen pops up. 6.2 Time setup If you tap on Later, the programme list screen appears and you can set the 1.
-
Page 16: Touch Screen
5. Tap on the Detergent Type 1 bar. The following window pops up. Tap on OK to confirm your choice. 2. Tap on OK to enter the Detergent Dosing menu. 3. Tap on the Detergent Type 1 or Detergent Type 2 bar. -
Page 17: Wi-Fi Connectivity Setup
ENGLISH When a shortcut is visible on the summary screen, it is possible to enter an option/ setting menu by just tapping on the relevant shortcut. The different option/setting menus can be scrolled: • up and down, or The summary screen shows: •... - Page 18 Make sure that your smart device is connected to the wireless network. 3. Configure the "My AEG" app on 1. Go to the App Store on your smart your smart device. device.
- Page 19 ENGLISH Removing the wireless If the door is open, the credentials Remote Start Mode is deactivated. 1. In the programme list screen, tap on If you pause or stop the the shortcut to enter the setting cycle remotely, the door menu.
-
Page 20: Before First Use
9. BEFORE FIRST USE 3. Pour 2 litres of water into the During installation or before detergent compartment marked by first use you may observe some water in the appliance. This action activates the drain system. This is a residual water left in 4. - Page 21 ENGLISH Programme Programme description Machine washable wool, hand washable wool and other ® Wool fabrics with «hand washing» care symbol Outdoor Do not use fabric softener and make sure that there is no softener residue in the detergent dispenser. Outdoor clothing, technical, sport fabrics, waterproof and breathable jackets, shell jackets with a removable fleece or inner insulation.
- Page 22 Programme Programme description Wool and cashmere. Short programme to refresh maximum 1 Steam Cashmere kg of machine and hand washable woolen and cashmere gar- ments without washing. When treating smaller loads, the pro- gramme duration can be further reduced by means of the Steam Level option.
- Page 23 ENGLISH Programme Default tempera- Reference spin Maximum load ture speed Temperature Spin speed range range Silk 1000 rpm 30 °C 0.5 kg 1000 rpm - 400 rpm 40 °C 1200 rpm 1.5 kg Wool/Handwash ® 40 °C - Cold 1200 rpm - 400 rpm Outdoor 30 °C 1200 rpm...
- Page 24 ■ ■ ■ ■ ■ ■ ■ ■ ■ ■ ■ ■ ■ Cottons Cottons Eco ■ ■ ■ ■ ■ ■ ■ ■ ■ ■ ■ ■ ■ ■ ■ ■ ■ ■ ■ ■ ■ ■ ■...
- Page 25 ENGLISH 10.2 Woolmark Apparel Care - provided that the garments are washed according to the instructions Blue issued by the manufacturer of this washing machine. Follow the garment care label for drying and other laundry instructions. M1230 • The wool drying cycle of this machine has been approved by The Woolmark Company for the drying of wool garments labelled as "hand wash"...
- Page 26 Dryness Level Type of fabric Load Sportswear up to 4 kg (Mixed fabric sportswear) Denim up to 4 kg (denim garments, jeans) Silk up to 0.5 kg (silk garments and very deli- cate items) Iron Dry Cottons and Linen...
-
Page 27: Options
ENGLISH Dryness Level Type of fabric Load Spin Suggested (kg) spee duration (mins) (rpm) Outdoor sporting garments 1200 140 - 160 (outdoor clothing, technical, sport fab- 1200 90 - 110 rics, waterproof and breathable jackets, shell jackets) Down Jackets 1200 140 - 160 (a single down jacket) Sportswear... - Page 28 2. Scroll left or right the hour and/ minute bars to set the desired delay start. When you return to programme summary screen, the indicator the set delay time appear alternating with the indicator and the programme duration. After touching the Start/Pause button, the appliance begins the countdown and the door is locked.
- Page 29 ENGLISH 2. Scroll the submenu bar right or left • Cupboard Dry: laundry to be put in store. • Decrease the spin speed; • Extra Dry: laundry to be fully dried. When you return to programme The display shows only summary screen, the set level is the spin speeds available shown next to the symbol...
- Page 30 This option can increase If the Extra Rinse is set as a the programme duration. default option and you select a compatible washing This option is not programme, the touch available with a screen will show . In this...
- Page 31 ENGLISH Tap on the Anti-crease bar to activate the option (ON status). When you return to programme summary screen, the shortcut will be 11.14 Steam Level With this option you can change the To change a saved programme: steam level depending on the laundry size.
-
Page 32: Daily Use - Washing Only
12. DAILY USE - WASHING ONLY The display shows the end of the last WARNING! set programme. Refer to Safety chapters. Turn the programme dial to set a new cycle. 12.1 Using weight sensors If you set a programme or an... - Page 33 ENGLISH 2. After a few seconds the display If you put in the drum more shows programme summary screen laundry than the maximum indicating the maximum load, the load, the display tells that default temperature, the maximum the suggested load has spin speed and the programme been exceeded.
- Page 34 12.8 Check the position of the If you change the washing programme after closing the flap door, the display may tell 1. Pull out the detergent dispenser until you that the laundry is now it stops. exceeding the maximum 2.
- Page 35 ENGLISH With the flap in the • The shortcut position DOWN: • Do not use gelatinous or thick liquid detergents. • Do not put more liquid detergent than the limit shown on the flap. • Do not set the prewash phase. The drain pump can operate •...
- Page 36 12.10 The ProSense load If the ProSense phase is detection already carried out and the water filling is already After touching the Start/Pause button: started, the new programme 1. The ProSense starts the laundry load starts without repeating detection to calculate the real the ProSense phase.
-
Page 37: Daily Use - Washing & Drying
ENGLISH When you activate the • The indicator is still on and the appliance again, the display door stays locked. shows the end of the last • You must drain the water to open the selected programme. Turn door: the programme dial to set a 1. - Page 38 2. Tap on Dryness Level and then on the top bar to return to the programme summary screen. The display will show the chosen level (e.g. Extra Dry) and the updated programme duration. When drying a large laundry load, make sure that the...
-
Page 39: Daily Use - Drying Only
ENGLISH 5. If necessary, change the spin speed and water temperature and set the desired options among the available ones. 6. Load the laundry one item at a time. 7. Put the detergent and the additives in the appropriate compartment. 8. - Page 40 Extra Dry: for cotton items. With a drying-only programme the display does 2. Tap on Dryness Level and then not show the laundry weight on the top bar to return to the and the ProSense estimation programme summary screen. The is deactivated.
-
Page 41: Settings
ENGLISH • Press the button On/Off for some 4. Tap on Time Dry and then on the seconds to deactivate the appliance. top bar to return to the programme summary screen. The display will After some minutes from show the timed drying and the the end of the updated programme duration. - Page 42 3. The screen returns to the setting list To activate/deactivate this option: automatically. Tap on the 1. Tap on the Extra Rinse Default bar Programmes bar to return to the (ON status). programme summary screen. 2. Tap on the Programmes bar to return to the programme summary 15.4...
- Page 43 ENGLISH 2. Tap on the Detergent Type 1 or Detergent Type 2 bar. 2. Tap on the bar of the desired shortcut/shortcuts by changing the 3. Scroll the bar right or left to set the status to ON. average detergent dosage in ml as 3.
-
Page 44: Hints And Tips
The following window pops up. 2. Tap on OK to return to factory settings or on Cancel to keep the current settings. 16. HINTS AND TIPS • Button up pillowcases, close zippers, WARNING! hooks and poppers. Tie up belts, Refer to Safety chapters. - Page 45 ENGLISH • Do not mix different types of • Check if the drain hose is connected detergents. properly. Refer to installation chapter • Do not use single dose tablets inside for more information. the detergent dispenser. • For the maximum laundry load of the •...
-
Page 46: Care And Cleaning
1. Use fabric conditioner in the washing WARNING! cycle. To avoid creasing and 2. Use special fabric conditioner for shrinkage do not overdry tumble dryers. the laundry. 3. Do not pour any detergent or softener before a drying cycle. - Page 47 ENGLISH 17.4 Door seal and/or formation of mould in the detergent dispenser drawer, once in a while carry out the following cleaning procedure: 1. Open the drawer. Press the catch downwards as indicated in the picture and pull it out. Regularly examine the seal and remove all objects from the inner part.
- Page 48 4. Insert the detergent drawer into the guide rails and close it. Run the rinsing programme without any clothes in the drum. 2. Pull the primary air filter out. 17.7 Cleaning the air filters The air filters collect the fluff. The fluff 3.
- Page 49 ENGLISH 6. Pull the secondary filter out. WARNING! 7. Clean the secondary air filter with The primary air filter recess your hand and, if necessary, with a must not be blocked by any vacuum cleaner. Throw the lint in a object.
- Page 50 WARNING! • Do not remove the filter while the appliance operates. • Do not clean the pump if the water in the appliance is hot. Wait until the water cools down WARNING! Each time you carry out the special programme CLE to remove fluff, clean the drain filter afterwards.
- Page 51 ENGLISH 12. Close the pump cover. 11. Put the filter back into the special guides by turning it clockwise. Make When you drain the water with the sure that you tighten the filter emergency drain procedure, you must correctly to prevent leakages. activate the drain system again: a.
- Page 52 • Remove the inlet hose behind the appliance. • Clean the filter in the valve with a stiff brush or a towel. • Install again the inlet hose. Make sure that the couplings are tight to prevent leakages. • Open the water tap.
-
Page 53: Troubleshooting
ENGLISH WARNING! Make sure that the temperature is higher than 5 °C and the water is flowing from the tap before you use the appliance again. The manufacturer is not responsible for damages caused by low temperatures. 18. TROUBLESHOOTING WARNING! Refer to Safety chapters. - Page 54 18.2 Possible failures Problem Possible solution • Make sure that the mains plug is connected to the mains socket. • Make sure that the appliance door is closed. • Make sure that there is no damaged fuse in the fuse box.
- Page 55 ENGLISH Problem Possible solution • Make sure that a washing programme that ends with water in tub, has been selected. • Make sure that the washing programme is finished. • Set the drain or the spin programme if there is water in the drum.
- Page 56 Problem Possible solution • Increase the detergent quantity or use a different deter- gent. The washing results are • Use special products to remove the stubborn stains before not satisfactory. you wash the laundry. • Make sure that you set the correct temperature.
- Page 57 ENGLISH fabrics (hand towel, wool, sweatshirt ) CAUTION! and the contrary. Risk of injury! Make sure • To dry this type of fabrics at open air that the drum is not when they are washed the first time. rotating. If necessary, wait •...
-
Page 58: Consumption Values
19. CONSUMPTION VALUES Stated values are obtained in laboratory conditions with relevant stand- ards. Different causes can change the data: the quantity and type of laundry and ambient temperature. Water pressure, the supply voltage and the temperature of inlet water may also affect the washing pro- gramme duration. -
Page 59: Accessories
Only appropriate Read carefully the instructions supplied accessories approved by with the accessory. AEG ensure the safety standards of the appliance. If unapproved parts are used, any claims will be invalidated. 22. ENVIRONMENTAL CONCERNS... - Page 60 LGPL-2.0, LGPL-2.1, zLib, MIT, ISC, Apache 2.0 and others. It is possible to display the complete copy of the licenses in the AEG App that can be downloaded from the corresponding App store from the License menu section. It is possible to download the source code of the open source software used in the product by searching for Wi-Fi Module Software version in NIUX subfolder at the following website: http://aeg.opensoftwarerepository.com.