
Related Manuals for LG 915FT


Summary of Contents for LG 915FT
-
Page 1: Table Of Contents
Table of Contents Introduction Introduction Important Precautions Installation Connecting the Monitor Making use of USB (Universal Serial Bus) Operation Location and Function of Controls Control Panel Function On Screen Display (OSD) Control Adjustment On Screen Display(OSD) Selection and Adjustment Technical Information Energy Saving Design Low Radiation Compliance (MPR II) and DDC (Display Data Channel) Video Memory Modes... -
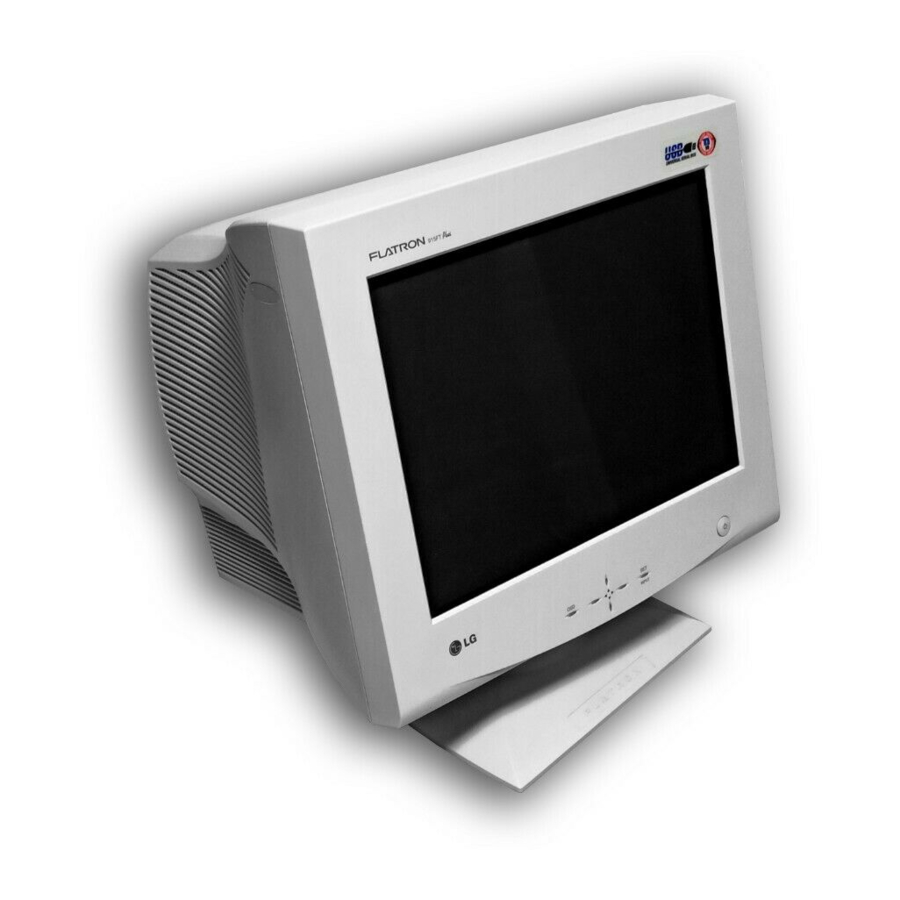
Page 2: Introduction
Introduction Introduction Thank you for purchasing a high resolution monitor. It will give you high resolution performance and convenient reliable operation in a variety of video operating modes. Features The monitor is a 19 inches (18.0 inches viewable ) intelligent, microprocessor based monitor compatible with most analog RGB (Red, Green, Blue) display standards, including IBM PC ®... -
Page 3: Important Precautions
Introduction Important Precautions This unit has been engineered and manufactured to assure your personal safety, but improper use can result in potential electrical shock or fire hazard. In order not to defeat the safeguards incorporated in this monitor, observe the following basic rules for its installation, use, and servicing. - Page 4 Introduction Important Precautions Do not add accessories that have not been designed for this monitor. During a lightning storm or when the monitor is to be left unattended for an extended period of time, unplug it from the wall outlet. Do not bring magnetic devices such as magnets or motors near the picture tube.
-
Page 5: Installation
Installation Connecting the Monitor Connection to any IBM Figure 1 shows the signal cable connections from the monitor to the Video Graphics Array (VGA) port typical in an IBM PC or PC VGA PC compatible compatible. This also applies to any graphics video card for PC-CAD system or workstation that has a 15 pin high density (3 row) d-Sub connector. - Page 6 Installation Connecting the Monitor Connecting to an Apple Figure 2 shows the connection to an Apple Macintosh, using a separately purchased adapter. Macintosh PC Power OFF both the monitor and the PC. Locate the appropriate MAC to VGA adapter block at your local computer store.
- Page 7 Installation Connecting the Monitor The Other Types of Video Notes on using the BNC connectors with other types of video cards. Follow the example that fits your needs. Cards with BNC Connectors In case of composite sync on green video signal(Sync On Green): NOTE Connect R,G and B video signals to BNC receptacles on the back of This package does not have BNC...
-
Page 8: Making Use Of Usb (Universal Serial Bus)
Installation Making use of USB (Universal Serial Bus) USB (Universal Serial Bus) is an innovation in connecting your different desktop peripherals conveniently to your computer. By using the USB, you will be able to connect your mouse, keyboard, printer, and other peripherals to your monitor instead of having to connect them to your computer. - Page 9 Installation Making use of USB (Universal Serial Bus) Example of connection monitor scanner computer keyboard mouse printer NOTE To activate the USB hub function, the monitor must be connected to a USB compliant PC(OS) or another hub with the USB cable(enclosed). When connecting the USB cable, check that the shape of the connector at the cable side matches the shape at the connecting side.
- Page 10 Installation Making use of USB (Universal Serial Bus) USB-Monitor Software As an added advantage, the monitor can be controlled from a computer with a mouse or keyboard. Making adjustments to the function image size, position, screen color and operating parameters of the monitor is easy with the USB-Monitor software (please refer to the supplied CD).
-
Page 11: Operation
Operation Location and Function of Controls Front View SET Button Power Button Power Indicator INPUT Button OSD Button Buttons Rear View ID Label BNC Signal Connectors D-Sub Signal Connector USB upstream port AC Power Socket USB downstream ports... -
Page 12: Control Panel Function
Operation Control Panel Function Front Panel Controls SET Button Power Indicator OSD Button The power indicator light is shown in Use this button to Use this button to the power button. This indicator lights enter or exit the enter a selection up green when the monitor operates on screen display. -
Page 13: On Screen Display (Osd) Control Adjustment
Operation On Screen Display (OSD) Control Adjustment Making adjustments to the image size, position and operating parameters of the monitor are quick and easy with the On Screen Display Control system. A quick example is given below to familiarize you with the use of the controls. Following section is an outline of the available adjustments and selections you can make using the OSD. -
Page 14: On Screen Display(Osd) Selection And Adjustment
Operation On Screen Display(OSD) Selection and Adjustment You were introduced to the procedure of selection and adjusting an item using the OSD system. INPUT Listed below are the icons, icon names, and icon descriptions of the items that are shown on the Menu. INPUT OSD Adjust Description... - Page 15 Operation On Screen Display(OSD) Selection and Adjustment INPUT OSD Adjust Description INPUT Vertical Size SIZE To adjust image height. SIZE Horizontal Size To adjust image width. SHAPE Side Pincushion To correct the bowing in and out of the image. Side pincushion balance SHAPE To correct the balance of both sides bowing.
-
Page 16: Technical Information
Technical Information On Screen Display(OSD) Selection and Adjustment INPUT OSD Adjust Description INPUT VIDEO LEVEL This item is used to select the SETUP monitor's input signal level. The VIDEO LEVEL 0.7V normal level used for most PC's LANGUAGE ENGLISH is 0.7V. OSD POSITION INPUT SELECT DSUB... - Page 17 Operation On Screen Display(OSD) Selection and Adjustment INPUT INPUT OSD Adjust Description SPECIAL To manually demagnetize the DEGAUSS DEGAUSS screen which may show some RECALL image or color incorrectly. MOIRE H: 0/V: 0 CONVERGENCE H:50/V:50 PURITY 54.4kHz/60.0Hz RECALL If the monitor is operating in a USER MODE SPECIAL factory preset mode, this control...
-
Page 18: Energy Saving Design
Technical Information Energy Saving Design This monitor complies with the EPA's Energy Star program, which is a program designed to have manufacturers of computer equipment build circuitry into their products to reduce power consumption during time of non-use. This monitor also goes into its energy saving mode if you exceed the monitor's operating limits, such as the maximum resolution of 1600x1200 or the frequency refresh rates of 30-107kHz horizontal or 50-200Hz vertical. -
Page 19: Low Radiation Compliance (Mpr Ii) And Ddc (Display Data Channel)
Technical Information Low Radiation Compliance (MPR II) and DDC (Display Data Channel) Low Radiation Compliance This monitor meets one of the strictest guidelines available today for low radiation emissions, offering the user extra shielding and an antistatic (MPR II) screen coating. These guidelines, set forth by a government agency in Sweden, limit the amount of emission allowed in the Extremely Low Frequency (ELF) and Very Low Frequency (VLF) electromagnetic range. -
Page 20: Video Memory Modes
Technical Information Video Memory Modes The monitor has 38 memory locations for display modes, 12 of which are factory preset to popular video modes. Display Modes (Resolution) Display Modes (Resolution) Horizontal Freq.(kHz) Vertical Freq.(Hz) Recall 31.469 VESA 720 x 400 VESA 31.469 640 x 480... -
Page 21: Troubleshooting
Technical Information Troubleshooting Check the following before calling for service. NO SIGNAL message. The signal cable is not connected. The power LED is illuminated amber. The frequency of the sync input is outside the operating range of the monitor. *Horizontal Frequency : 30-107kHz *Vertical Frequency : 50-200Hz Use the graphics board's utility software to change the frequency setting (Refer to the manual for graphics board). -
Page 22: Service
Technical Information Service Unplug the monitor from the wall outlet and refer servicing to qualified service personnel when : The power cord or plug is damaged or frayed. Liquid has been spilled into the monitor. The monitor has been exposed to rain or water. The monitor does not operate normally following the operating instructions. -
Page 23: Specifications
Technical Information Specifications Sync Signal Types Priority Type H.Sync. V.Sync. Separate Sync. H. Sync. V. Sync. Composite Sync. H/V. Sync. N.C. Sync. On Green N.C. N.C. (N.C : No Connection) Signal Connector 15pin VGA Connector Pin Assignment Signal(D-Sub) Signal(D-Sub) Green Ground Blue Ground... - Page 24 Technical Information Specifications Picture Tube 19 inch (18.0 inches viewable) Perfect Flat Tube 90 degree deflection 0.24mm Slot pitch W-ARAS(Wide Anti-Reflective Anti-Static) coating Sync Input Horizontal Freq. 30 - 107kHz (Automatic) Vertical Freq. 50 - 200Hz (Automatic) Input Form Separate TTL, Positive/Negative Composite TTL, Positive/Negative SOG (Sync On Green) Signal Input...
Need help?
Do you have a question about the 915FT and is the answer not in the manual?
Questions and answers