Table of Contents
Advertisement
Quick Links
ASSEMBLY INSTRUCTIONS
1 . G E N E R A L R E Q U I R E M E N T S
ENVO Lynx-20 components need to be installed professionally, as they require fine-tuning and
adjustment after installation. It is highly recommended to get help from an experienced mechanic,
refer to your local ENVO dealer (a list of ENVO dealers can be found on our website). If you choose
to do it yourself, please make sure you refer to the online guides on envodrive.com for your own
safety.
Required tools: 1) Allen key set
2 . U N B O X I N G
•
Open the box from the top side
•
Be careful when pulling the frame out and protect the cables from getting tangled or damaged
3 . U N PA C K I N G
•
Carefully remove all packaging wrap
•
Cut all zip ties
4 . U N F O L D I N G / F O L D I N G
4 .1. U N F O L D I N G
•
Unfold the handlebar/stem by simply pulling it up into place Figure 4A
•
Pull up on the clamp to secure the stem and secure the clamp with the lock ring
•
Adjust handlebar to desired angle by loosening the handlebar clamp. Make sure the clamp is
firmly secured Figure 4B
•
Adjust seatpost to desired height Figure 4C
Figure 4A
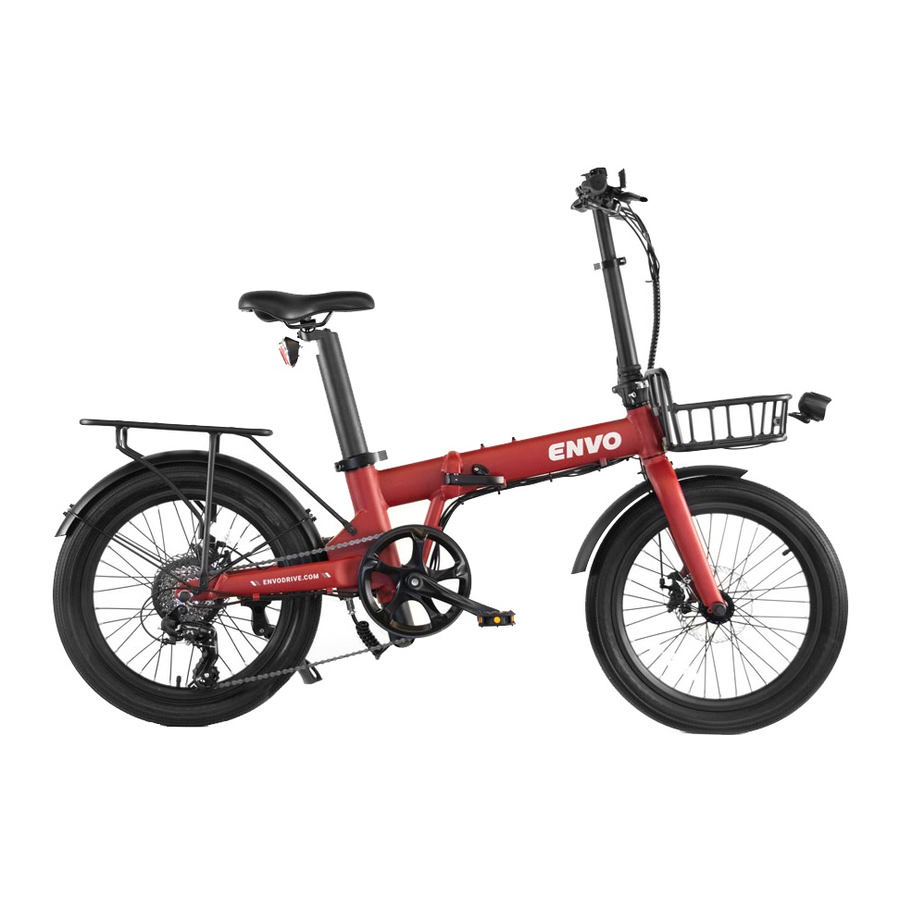
EN VO LYN X-20 FO LDIN G EB IKE EASY INSTA LL AT ION GU IDE
LYNX-20 FOLDING EBIKE
EA S Y INS TA LL ATION G UIDE
2) Cutter/Scissor
Figure 4B
|
VERS ION 1 .0
3) 15mm wrench
Figure 4C
1
Advertisement
Table of Contents

Related Manuals for ENVO LYNX-20


Summary of Contents for ENVO LYNX-20
- Page 1 It is highly recommended to get help from an experienced mechanic, refer to your local ENVO dealer (a list of ENVO dealers can be found on our website). If you choose to do it yourself, please make sure you refer to the online guides on envodrive.com for your own safety.
- Page 2 4 . 2 . F O L D I N G • While holding the seat post, loosen the clamp. Slowly push the seat post all the way down and tighten the clamp to secure in place Figure 4D • Loosen the clamp in the stem •...
- Page 3 • The longer fender stay must be connected to the shorter end of the fender • The shorter fender stay must be connected the longer end of the fender • Make sure the stay is evenly placed on the fender •...
- Page 4 6 . P E D A L I N S TA L L AT I O N • Take the pedals out of the small box • Apply a small amount of grease to the screw portion of the pedal Figure 6A •...
Need help?
Do you have a question about the LYNX-20 and is the answer not in the manual?
Questions and answers