Advertisement
Quick Links
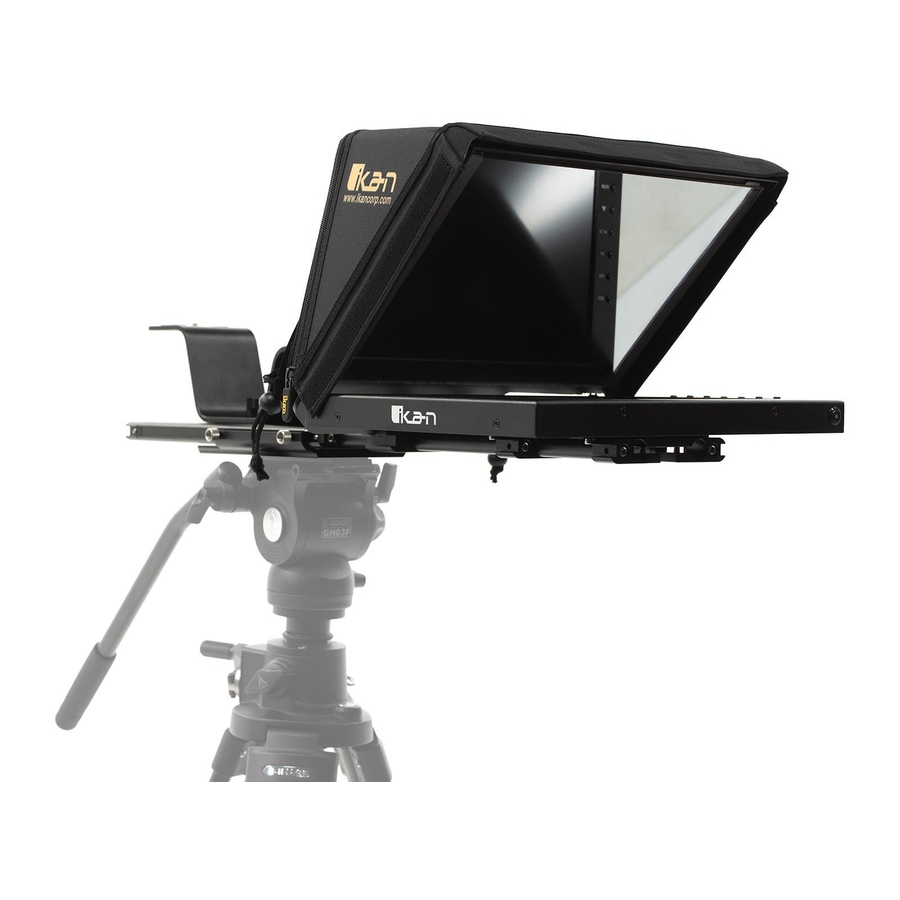
PT4200
Professional 12" Beam Splitter Teleprompter with Reversing Monitor
What's Included
1 x Teleprompter Base
1 x Bracket with Glass
1 x Magnetic Teleprompter Hood with Boot
1 x Monitor
1 x Dual Sided Riser
1 x AC Adapter with Cord
1 x PrompterPro Software
2 x 15mm Rod Monitor Adapters
2 x Hex Keys
4 x Screws
www.ikancorp.com | 1.713.272.8822 | sales@ikancorp.com
Quick Start Guide
Advertisement

Related Manuals for Ikan PT4200


Summary of Contents for Ikan PT4200
- Page 1 Quick Start Guide PT4200 Professional 12” Beam Splitter Teleprompter with Reversing Monitor What’s Included 1 x Teleprompter Base 1 x Bracket with Glass 1 x Magnetic Teleprompter Hood with Boot 1 x Monitor 1 x Dual Sided Riser 1 x AC Adapter with Cord...
- Page 2 Setup Step 1 Attach the two 15mm rod monitor adapters to back of the monitor’s VESA mounts with the 4 screws using the smaller hex key. Step 2 Using the larger hex key loosen the rod clamps. www.ikancorp.com | 1.713.272.8822 | sales@ikancorp.com...
- Page 3 Step 3 On the teleprompter base loosen the top 4 screws holding the rods in place. Step 4 After loosening the following two screws on the base pull the rods out to accommodate the monitor. Tighten all 6 screws after rods are extended. www.ikancorp.com | 1.713.272.8822 | sales@ikancorp.com...
- Page 4 Step 5 After tightening the rods, slide the monitor into the teleprompter base. Leave slight room for the teleprompter bracket and glass to slide in. Step 6 Pull the red knob to insert the teleprompter bracket with glass into the teleprompter base. www.ikancorp.com | 1.713.272.8822 | sales@ikancorp.com...
- Page 5 Step 7 Tighten the silver knob to hold the teleprompter bracket in place. Step 8 Slide the monitor completely in and tighten the four screws to lock the monitor in place. www.ikancorp.com | 1.713.272.8822 | sales@ikancorp.com...
- Page 6 Step 9 Attach the magnetic teleprompter hood with boot. Step 10 Slide the dual sided riser into the directional channel of the teleprompter base. Larger or taller cameras should insert the lower side facing glass, while smaller cameras should insert with higher side. www.ikancorp.com | 1.713.272.8822 | sales@ikancorp.com...
-
Page 7: Specifications
Specifications Aspect Ratio Brightness 350 cd/m2 Build Material Aluminum / Steel Contrast Ratio 500:1 Input Signal Composite BNC, VGA, HDMI Reading Range 13 ft. Resolution 1024 x 768 Screen Size 12 in. Viewing Angle 160 degrees (horizontal/vertical) Features - Includes 12” monitor that supports image flip (vertical and horizontal) - High-quality American made 70/30 beam splitter glass - Screen readable from up to 13’... -
Page 8: Learn More
Damage caused by abuse or misuse, dismantling, or changes to the product not made by the company. • Damage caused by natural disaster, abnormal voltage, and environmental factors, etc. ©2020 Ikan International. All rights reserved. www.ikancorp.com | 1.713.272.8822 | sales@ikancorp.com...
Need help?
Do you have a question about the PT4200 and is the answer not in the manual?
Questions and answers