Table of Contents
Advertisement
Advertisement
Table of Contents

Related Manuals for Itotec ROBOCUT RC-100DX


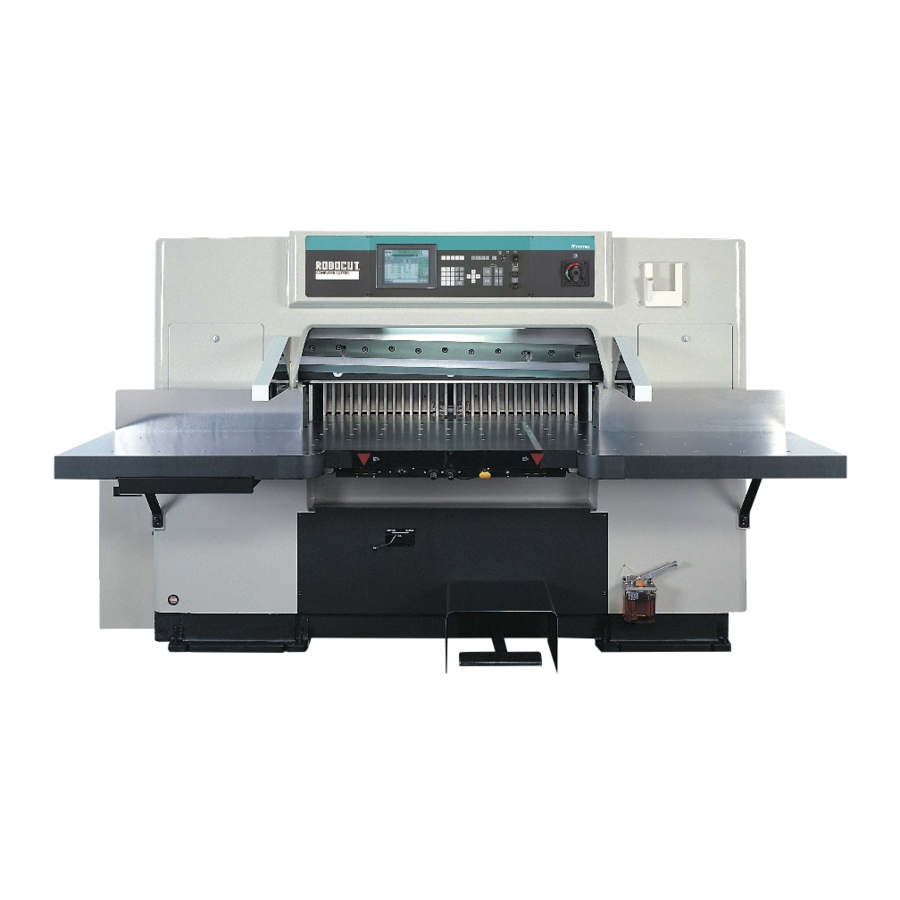
Summary of Contents for Itotec ROBOCUT RC-100DX
- Page 1 PAPER GUILLOTINE TYPE TROUBLESHOOTING...
-
Page 2: Table Of Contents
TROUBLESHOOTING RC-100DX.RC-115DX.RC-137DX CONTENTS Power Supply .................. 1 ・ The power is not turned ON, and the power is turned OFF .. 1 T.D.C Lamp Lights Up ..............1 Main Motor ..................1 ・ The main motor cannot be started up........ - Page 3 TROUBLESHOOTING RC-100DX.RC-115DX.RC-137DX Paper Cutting Precision ..............11 Adjust the backgauge right & left, ..........11 upper & lower and exact size. ............ 11 Residual cutting arises. Cut Line Adjustment ..............11 Working Lamp Adjustment............11 Clutch Key Switch Operation ............12 The knife is operated manually ............
-
Page 4: Power Supply
TROUBLESHOOTING RC-100DX.RC-115DX.RC-137DX Power Supply (The power is not turned ON and turned OFF.) A greater part of power supply related trouble, such as "No power is turned ON." and "The power is turned OFF.", is attributable to the input side. After taking safety measures such that the unauthorized person is kept away from the machine, for example, contact our repressentative. -
Page 5: Display On Computer Display Unit
TROUBLESHOOTING RC-100DX.RC-115DX.RC-137DX Display in Computer Unit 1 The backgauge present position is not displayed. Where the present position is not displayed even when the START key is depressed with power ON, display the backgauge manually. (Manual Backgauge Display on page 13) At this time, if the backgauge drive motor does not work, investigate the backgauge drive. -
Page 6: Clamp
TROUBLESHOOTING RC-100DX.RC-115DX.RC-137DX Clamp 1 The clamp does not return, and the clamp returning speed is low. ・ Check to see if the knife replacement lever is on the cutting side. (Excluding the knife lifter option attaching machine) ・ The clamp return timing becomes slow by the designated time on the page in which the clamp timer (clamp up timing delay) was set. -
Page 7: The Clamp Pressure During Paper Cutting Is Abnormal
TROUBLESHOOTING RC-100DX.RC-115DX.RC-137DX 3 The clamp pressure during cutting operation is abnormal. ・ Adjust the clamp pressure adjust knob and clamp pressure level selector switch. Where the set value on the operation panel is not obtained in the specific course, check the pressure set value by "clamp pressure setting" operation in t he corr espond ing cou rse. -
Page 8: Knife Drive
TROUBLESHOOTING RC-100DX.RC-115DX.RC-137DX Knife Drive 1 The knife and clamp do not work. Knife operation is started up by pressing the Knife button. It is assumed that the preparations for fetching the Knife button pressing signal are not made or the Knife button pressing signal was fetched but the system failed in subsequent processing. -
Page 9: The Knife Stops Halfway
TROUBLESHOOTING RC-100DX.RC-115DX.RC-137DX 3 The knife stops halfway. The knife drive circuit started up by the Cutting buttons is held until one cycle is completed, but this was interrupted for some cause. Except the causes attributable to power supply, the safety circuit (Clamp Hold Circuit on page 13) for holding the clamp in the as-is position is actuated. -
Page 10: Insufficient Holding Time For Cutting Buttons On-State
TROUBLESHOOTING RC-100DX.RC-115DX.RC-137DX ・ Insufficient holding time for cutting buttons ON-state (This is no failure.) Maintain the ON-state for the cutting buttons until the machine finishes cutting the product. If the cutting buttons is released halfway, the knife will come to a halt. At this time, the clamp hold circuit ("Clamp Hold Circuit"... -
Page 11: Safety Beam Guard Operation
TROUBLESHOOTING RC-100DX.RC-115DX.RC-137DX ・ Safety beam guard operation When the red LED of the unit (receiver & projector) on the safety beam guard right side goes out, itfollows that the left side (projector) or right side (receiver) is stained or fails. Where the LED does not light up even when the unit is cleaned, turn the machine power switch OFF, and after taking safety measures such that the unauthorized person is kept away from the machine, contact our... -
Page 12: Backgauge
TROUBLESHOOTING RC-100DX.RC-115DX.RC-137DX Backgauge 1 Abnormal noise during backgauge travelling ・ Surface plate and comb contact sound 1 Clean the surface plate and comb tip. 2 Adjust the gap between the comb and surface plate. 3 By applying silicone spray onto the surface plate, a favorable effect is obtained. -
Page 13: Blower
TROUBLESHOOTING RC-100DX.RC-115DX.RC-137DX Blower The blower motor is extremely heated. Even after stop as well as during operation, never touch the blower motor until this temperature lowers. 1 The blower motor cannot be started up. ("Err 03" is displayed on the display panel.) The thermal relay for blower motor protection is actuated. -
Page 14: Paper Cutting Precision
TROUBLESHOOTING RC-100DX.RC-115DX.RC-137DX Paper Cutting Precision 1 Adjust the backgauge right & left, upper & lower and exact size. Paper cutting precision is affected by not only paper cutter performance but paper quality, paper storage condition, flow pattern, knife edge angle, knife edge sharpness, clamp pressure, product hardness and knife hardness, etc. -
Page 15: Clutch Key Switch Operation
TROUBLESHOOTING RC-100DX.RC-115DX.RC-137DX Clutch Key Switch Operation Open the door of electric box 1 softly to check the clutch key switch position. 【 】 Technical Information 01 Turn the power "ON". Select the manual mode. The clutch key switch is in the normal condition in the position in which it is turned counterclockwise, and it in the ON-state by turning it clockwise. -
Page 16: Soft Clamp
TROUBLESHOOTING RC-100DX.RC-115DX.RC-137DX Soft Clamp The clamp pressure when the clamp pedal was depressed can be adjusted. Select the MN mode. 1 Press the CLMP key. The present pressure set value is displayed on the data display unit of operation panel. 0 (Low) to 9 (High) Adjust the clamp pressure with the keys "+", "-"... -
Page 17: Technical Information
TROUBLESHOOTING RC-100DX.RC-115DX.RC-137DX Technical Information 《This technical data contains maintenance engineering information used by our representative 》 【 】 Technical Information 01 Fuse Detail Drawing and Clutch Key Main body right-side rear Main body left-side rear panel BOX1 panel BOX2 Clutch key For main power 5A ... -
Page 18: Thermal Relay Reset
TROUBLESHOOTING RC-100DX.RC-115DX.RC-137DX 【Technical Information 02】 Thermal Relay Reset Cause of thermal relay operation ・ When an abnormal load was detected The thermal relay is actuated due to heat. After the temperature decreases, reset the thermal relay. Locate the cause for loading and take adequate measures therefor. ・... -
Page 19: Safety Bolt Replacement
TROUBLESHOOTING RC-100DX.RC-115DX.RC-137DX 【 】 Technical Information 03 Safety Bolt Replacement If excessive load is applied to the knife, looseness or breakage will be caused to the safety bolt, and the knife comes to a halt urgently. At this time, "Err 05" is displayed on the display panel in the RC-100DX to RC-137DX paper cutters (excluding computer non-loaded SD). - Page 20 TROUBLESHOOTING RC-100DX.RC-115DX.RC-137DX 8 Remove the spanner and attach the cover. With the spanner attached, never start up the knife. Remove the unrequired spanner immediately. 9 Insert the safety bolt from bottom (rod 2), and attach 2 washers and nuts from top. [...
Need help?
Do you have a question about the ROBOCUT RC-100DX and is the answer not in the manual?
Questions and answers