
Related Manuals for Orbinox CC

Summary of Contents for Orbinox CC
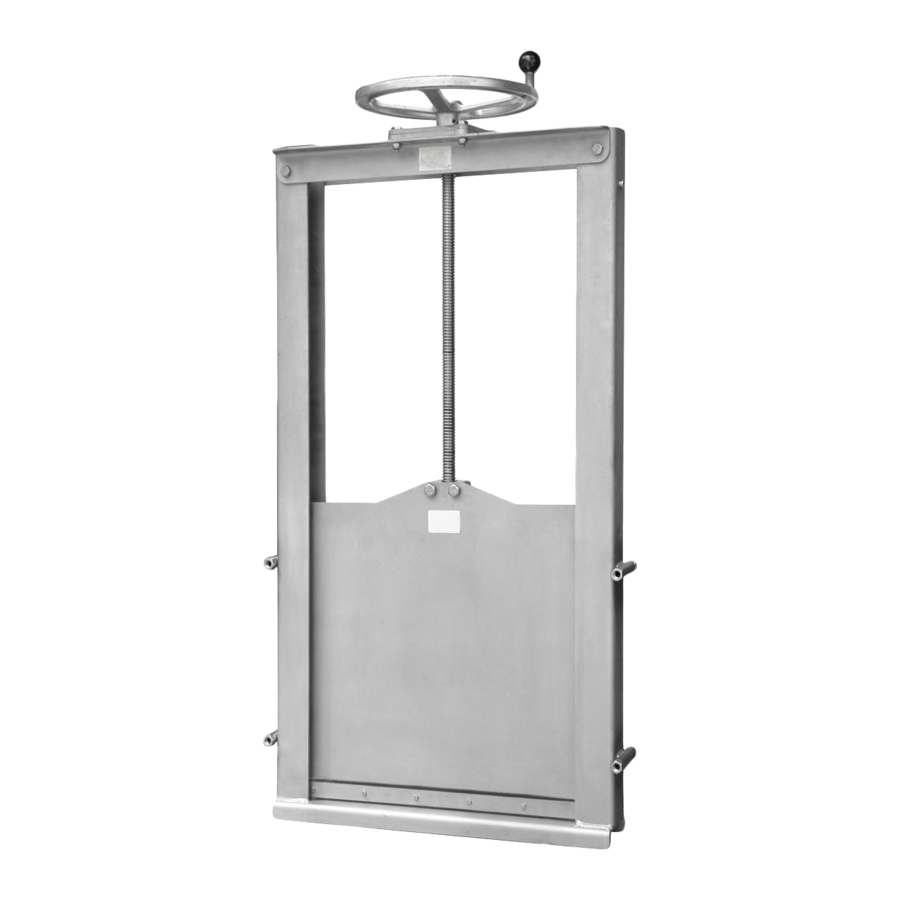
- Page 1 INSTALLATION, OPERATION AND MAINTENANCE MANUAL MODEL CHANNEL GATE SPAIN · UK · GERMANY · FRANCE · CANADA · USA · BRAZIL · CHILE · PERU · INDIA · CHINA · SOUTH EAST ASIA www.orbinox.com...
-
Page 2: Table Of Contents
• ORBINOX assumes no responsibility or liability if the CC channel gate is not installed, operated and maintained in strict accordance to the procedures described in this manual 1. -
Page 3: Installation
Ç ▶ Required Materials: As a standard, ORBINOX CC Channel Gates are mounted Embedded in Concrete (EC). Field adjustment hex bolts are required to center the gate in the appropriate recess prior to embedding in concrete. For detailed information about the type, size and quantity of the required bolts, or any other specific installation notes or materials, please refer to the notes on the “General Arrangement Drawing”. - Page 4 Figure 2 Figure 3 Step 1B: Align the gate vertically (without the Bottom Balancing Brackets) Smaller CC Channel Gates do not come with “Bottom Balancing Brackets”. Therefore, the following procedure shall be followed to align the gate vertically (After “Step 1”): •...
-
Page 5: Installation: Face Mounted In Existing Channel
Required Materials: • For the Face Mounted in Existing Channel (FM) mounting option, the CC channel gate is installed by means of mechanical anchor bolts. All the gaps shall be grout filled afterwards and shaped in order to get a smooth transition. - Page 6 CAUTION! Make sure not to get grout or any other foreign material on the gate’s seals, guides or stem as this may cause leakage or damage. Figure 8 Figure 9 EDITION 09-2020 Reserves the right to change specifications without notice CC-6/14 www.orbinox.com...
-
Page 7: Installation: Wall Mounted
2.3. Installation: Wall Mounted ▶ Required Materials: • For the Wall Mount (WM) mounting option, the CC channel gate is installed by means of mechanical anchor bolts and construction sealant (Sikabond/Sikaflex 11FC or equivalent). Note that as standard, anchor bolts and construction sealant are not supplied with the gate. - Page 8 Over tightening may bend or distort the frame. If the wall flatness and levelness is according to the specified standards, the construction sealant will fill in the remaining void (see Figure14) Construction Back side of CC frame (side in sealant contact with the wall)
-
Page 9: Operation
• The CC Channel Gate is closed by a clockwise rotation, and opened by a counter-clockwise rotation of the operator • The CC Channel Gate is designed to be self-locking, so that the slide maintains its position in any position EDITION 09-2020... -
Page 10: Maintenance
Spare parts: ORBINOX does not recommend stocking any spare parts by the owner of the equipment as the channel gates are designed for a very long life cycle. If a repair part is required, please contact an ORBINOX representative and provide the following information: •... -
Page 11: Side Seals And Bottom Seal Replacement
Step 9: Remove bottom seal (item 13) and replace it by the new seal. Apply glue where the bottom seal and side seals join Reassembly • Follow Steps 9 to 1 Figure 16 EDITION 09-2020 Reserves the right to change specifications without notice CC-11/14 www.orbinox.com... -
Page 12: Trouble Shooting
Damaged seal Replace seal Excessive force required to Dirty stem and/or stem nut Clean and lubricate stem and/or stem nut operate the slide gate EDITION 09-2020 Reserves the right to change specifications without notice CC-12/14 www.orbinox.com... -
Page 13: Annex: Civil Work Acceptable Tolerance
Max. admissible deviation (mm) for target size (m) TABLE 3 < 0,1 ≥ 0,1 < 1 ≥ 1 < 4 ≥ 4 < 10 ≥ 4 < 10 Flatness deviation Group 7 DFx, DFy, DFyy EDITION 09-2020 Reserves the right to change specifications without notice CC-13/14 www.orbinox.com... -
Page 14: Environmental Considerations
• Please follow the local environmental rules in your country for proper disposal EDITION 09-2020 Reserves the right to change specifications without notice CC-14/14 www.orbinox.com...
Need help?
Do you have a question about the CC and is the answer not in the manual?
Questions and answers