Subscribe to Our Youtube Channel
Summary of Contents for Home Accents Holiday 1005992856
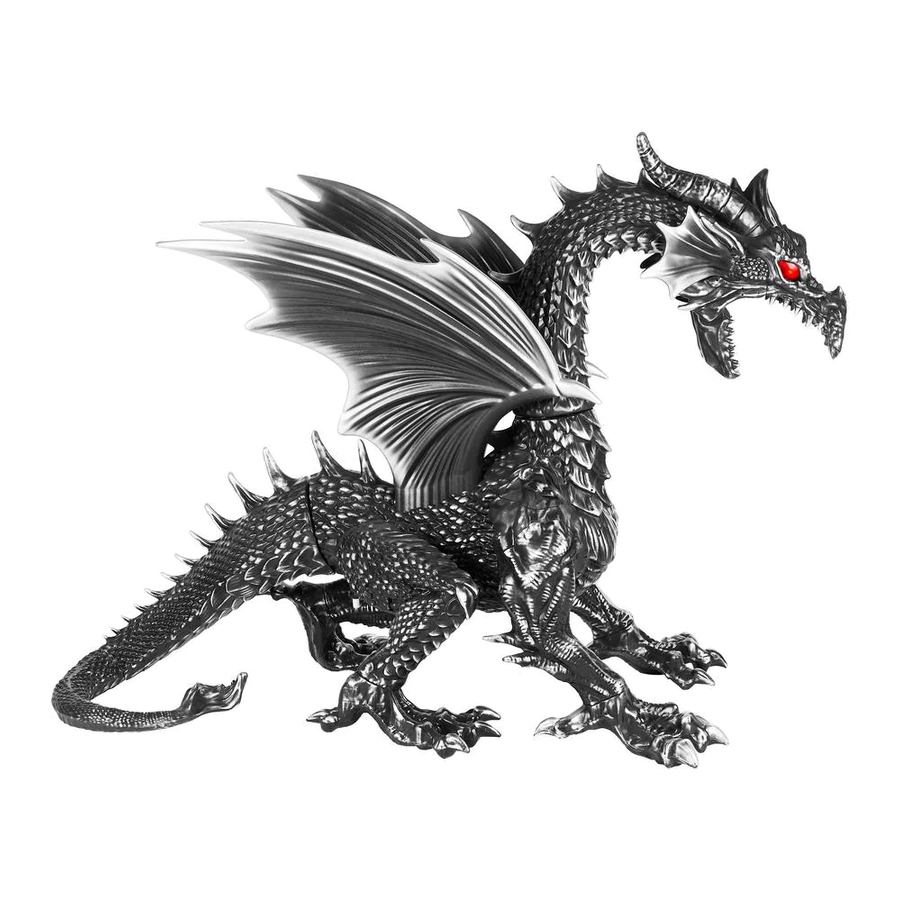
- Page 1 SKU#1005992856 INSTRUCTION MANUAL SET-UP INSTRUCTIONS FOR THE 7 FT LED GIANT DRAGON 1-877-527-0313, 8 a.m. to 5 p.m., EST, info@pan-asian.com.hk. Monday-Friday...
-
Page 2: Part List
PART LIST: Torso Left front leg Left hind leg Right front leg Right hind leg Top section of the Tail Bottom section of the Tail Neck Head (includes 3 AA batteries) Fog Machine Fog Hose Adapter Left wing Right wing AC/DC Adapter Large Try Me Button... -
Page 3: Safety Instructions
READ CAREFULLY & RETAIN FOR FUTURE REFERENCE! Questions, problems, missing parts? Before returning to your retailer, call our customer service department at 1-877-527-0313, 8 a.m. to 5 p.m., EST, Monday-Friday or email at info@pan-asian.com.hk. WARNING: This is not a toy and is for decorative purposes only. For indoor and outdoor use. This item is not intended for use by children under the age of 14. -
Page 4: Left Side View
1. INSTALL FOUR LEGS Following arrows, Turn leg clockwise to lock in place. Line up the tabs with the two arrows Step 2 Step 1 LEFT SIDE VIEW Line up the tabs with the two arrows Step 3 Following arrows, Turn leg counter clockwise to lock in place. - Page 5 2. INSTALL TAIL Line up the tabs with the two arrows Step 5 Step 5-A Following arrows, Turn tail counterclockwise to Line up the tabs lock in place. with the two arrows Step 6 Step 6-A Following arrows, Turn tail clockwise to lock in place.
- Page 6 3. INSTALL NECK AND HEAD Line up the tabs Following arrows, Turn with the two arrows neck (Part H) clockwise and lock into place with torso (Part A). Step 7 Step 7-A Line up the tabs with the two arrows Step 8-A Step 8 Following arrows,...
- Page 7 4. INSTALL WINGS Step 9 Left Wing Left slot on torso Step 10 Right Wing Right slot on torso...
- Page 8 5. INSTALL FOG MACHINE ADAPTER AND FOG HOSE Step 11 Step 11-A FOG MACHINE NOT INCLUDED Part L Part M WARNING: This product only supports nozzle within 2.7in (6.8cm) of the Fog Machine. When using a fog machine with your dragon, connect the fog hose (Part M), to the fog tube located underneath the torso section (A).
- Page 9 6. TO ACTIVATE THIS ITEM CAN BE USED WITH AN AC/DC ADAPTER (INCLUDED) OR BATTERY OPERATED. THE DIAGRAM SHOWS THE CONNECTION POINT UNDER THE BASE FOR THE ADAPTER. Requires 3 “AA” batteries (batteries are included). 1. Remove the battery compartment cover, which is located inside Dragon’s mouth. Using a small screwdriver, remove the safety screw and then remove the battery compartment cover (as shown in the diagram) 2.
-
Page 10: Troubleshooting
7. TROUBLE SHOOTING: 4.9 FT Motion Sensor Problem Solution 1. Check if the positive and negative terminals of the battery are installed correctly. The Dragon does not work 2. Check whether the battery is drained. Replace the new battery or plug the adapter into a standard 100V-240V household outlet and try again.


Need help?
Do you have a question about the 1005992856 and is the answer not in the manual?
Questions and answers