Table of Contents
Advertisement
Quick Links
Advertisement
Table of Contents

Related Manuals for Plum RAM 9


Summary of Contents for Plum RAM 9
- Page 2 INTERFACE I CONS GETTING S TARTED ( ) S INSTALLING T HE S IM C ARD A ND T HE M ICRO S D C ARD CHARGING...
- Page 3 OTHER W ARNING...
- Page 4 YouTube channel https://www.youtube.com/user/plumsupport/videos Contact us – s upport@plum-mobile.com Tech Support – 305.640.1835 Mon – Fri 9am – 5PM EST E mail is the fastest way of contacting us...
-
Page 6: Key Description
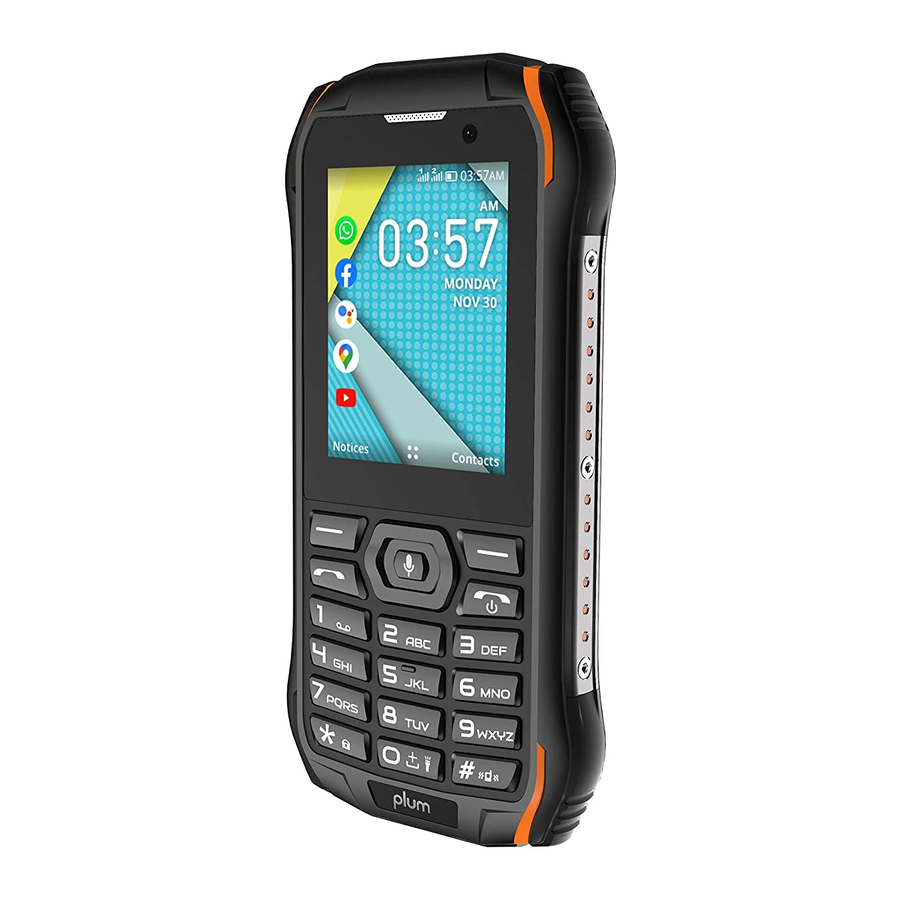
Key Description Interface Icons Icon Description Signal strength User profiles Power indicator New Message (Press left soft key to view) -
Page 7: Getting Started
Getting started Installing the SIM card(s) and the Micro SD card To insert the SIM card and Micro SD card, please make sure your phone is Power off, then remove the cover, battery and other external power connection. 1. To insert the SIM card, open the metal cover, insert the SIM card, then close and lock the cover: 2. -
Page 9: Charging The Battery
Charging the Battery The lithium battery delivered with the mobile phone can be put into use immediately after being unpacked. Your mobile phone can monitor and display the battery state. You may charge the phone via the USB charger inside the package. Normally the remaining energy of the battery is indicated by the battery level icon at the upper right corner of the display screen. - Page 10 ● The charging process lasts a longer time for a new battery or a battery not in use for long. If the battery voltage is too low to enable the mobile phone to be powered on, charge the battery for a longer time.
-
Page 11: Making Phone Call
Making Phone Call You may make the phone call by choosing the contact inside the Phonebook or dial the number directly. During the Phone call, you may proceed with the function by pressing the button in keypad as below: Messages You can send or view the received messages inside this interface Write Message: You may send SMS message by following the instruction below:... - Page 12 2. Press New 3. Input the recipient or number directly at the upper bar ( Press Key # to switch the input method) 4. Type the text inside the lower bar (Press the End key to delete the unwanted texts) (Press the Enter (OK Key) to skip to the next line) 5.
-
Page 13: Advanced Settings
You can check or edit all the contacts which stored in the phone and SIM cards. To add the new Contact, you may type the phone number directly press “ O ptions ” then press “ C reate new inside the dial interface... -
Page 14: File Manager
become the recipient File Manager You can access the Phone memory/ SD card inside this interface. Inside “ O ption ” , you can choose to open, search or copy the selected file. Camera You can capture pictures or videos by this function. The key will have the function below: Gallery You can view, share or edit the images inside the device through this... -
Page 15: Video Player
Music Use this function to play, share the audio files or set the audio file as the ringtone, the Arrow key will have the function below: Press up and down key to adjust the volume Press left and right key for the backward and fast forward Video player Use this function to play, share the video files, the Arrow key will have the function below:... - Page 16 Use this function you may record the audio files. You may adjust the recording size inside the option interface.
- Page 17 FM radio This phone supports FM radio, you can use it directly or plug in the earphone for better sound quality. During FM radio, the Arrow key will have the function below: Press OK key for Turn the radio on/ off Press the Up and down key for changing the channel To adjust the volume, go to Option...
- Page 19 Settings Press left and right key to slide to different manual Network& Connectivity You may enable/ Disable the Mobile network, Wi-Fi, Bluetooth Geolocation in this interface Wi-Fi: To turn on/ off the Wi-Fi function, or change the Wi-Fi connection. Bluetooth: You may connect the phone with other Bluetooth devices after you enable this function Visible to all...
- Page 20 Data usage according your needs. Personalization Inside this interface, You can adjust the S ound , Display, Date& Time or language setting according your needs.
- Page 21 Privacy& Security This function provides you with related settings about safety use. Screen Lock: This function allow you to set a 4 digit password, to prevent unauthorized user. Do not Track: To Allow/ Disable the application or website to track with your behavior App Permission: ...
- Page 22 Browser In this menu, you can access to internet, enter the URL and you can start to browse the web. Press Key 1/3 to Zoom in or zoom out Press Key 2 to switch the mode to sliding/ Mouse Mode To close the Browser, go to Options...
- Page 23 Press left Soft key for adding the attachment like Photo, Emoji etc, Press OK Key for making voice message...
-
Page 24: Safety Precautions
S afety Precautions Read these simple guidelines before using your device. Not following them may be dangerous or illegal. Aircraft Switch off in aircraft and follow any restrictions. Wireless devices can cause interference in aircraft. Vehicles Never use your device while driving. Place it in a safe place. Position your device within easy reach. - Page 25 8 inches be maintained between a wireless device and a pacemaker to avoid potential interference with the pacemaker. Operation of any radio transmitting equipment, including wireless phones may interference with the functionality of inadequately protected medical devices. Consult a physician or the manufacturer of the medical device to determine if they are adequately shielded from external RF energy or if you have any questions.
-
Page 26: Care And Maintenance
instruct you to do so. Care & Maintenance only manufacturer-approved accessories. general accessories may shorten the life of your device or cause device to malfunction. Do not use or store the device in dusty, dirty areas. Do not store the device in hot or cold areas. Do not store your device near magnetic fields. - Page 27 received, including interference that may cause undesired operation. Note: This equipment has been tested and found to comply with the limits for a Class B digital device, pursuant to part 15 of the FCC Rules. These limits are designed to provide reasonable protection against harmful interference in a residential installation.
- Page 28 exposure limit established by the FCC, Tests for each phone are performed in positions and locations (e.g. at the ear and worn on the body)as required by the FCC. For body worn operation, this model phone has been tested and meets the FCC RF exposure guidelines when used with an accessory designated for this product or when used with an accessory that contains no metal and that positions the handset a minimum of 1.0...
- Page 29 www.plum-mobile.com...
Need help?
Do you have a question about the RAM 9 and is the answer not in the manual?
Questions and answers