Table of Contents
Advertisement
Advertisement
Table of Contents

Related Manuals for AVer FONE540


Summary of Contents for AVer FONE540
- Page 1 FONE540 User Manual...
- Page 2 © 2020 AVer Information Inc. All rights reserved. All rights of this object belong to AVer Information Inc. Reproduced or transmitted in any form or by any means without the prior written permission of AVer Information Inc. is prohibited. All information or...
- Page 3 Do not place the speakerphone where the cord can be stepped on as this may result in fraying or damage to the lead or the plug. Contact Information AVer Information Europe B.V. Global Westblaak 140, 3012KM, AVer Information Inc.
-
Page 4: Table Of Contents
Installation ....................4 Device Connection ................4 Operating the Speakerphone ..............5 Make an Audio Call ................5 Make a Connection by AVer IP Finder App ......5 Network Setting .................. 6 DHCP ..................... 6 Static IP ..................7 Audio Setting ..................7... - Page 5 Automatic Gain Control ............8 Echo Cancellation ..............8 Keyboard Noise Suppression ..........9 Phone In Jack ................9...
-
Page 6: Package Contents
Speakerphone Unit USB 2.0 Cable Power Cord* (0.9m) *The power cord will vary depending on the standard power outlet of the country where it is sold More Help For FAQs, technical support, software and user manual download, please visit: http://www.aver.com... -
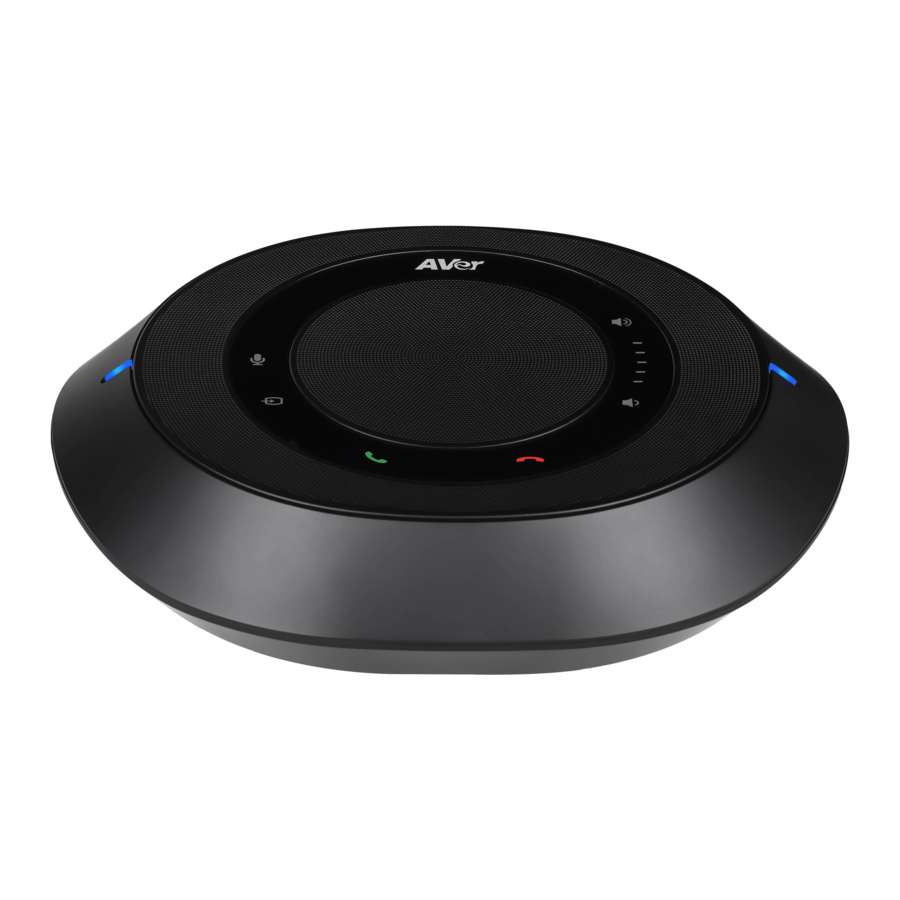
Page 7: Overview
Volume Up Blinking Blue: Activation and connection state Solid Blue: Connection successful Mute Un-mute Phone In Volume Down Solid Blue: Connect with external device Solid White: No device connected Answer Call End Call * ONLY FONE540 Bluetooth version is supported. -
Page 8: Expansion Speakerphone/Microphone Connection
Phone in Connection Expansion Speakerphone/Microphone Connection Please purchase the expansion speakerphone and/or microphone directly from AVer or an AVer reseller. Expansion Speakerphone Requirements: FONE540 Firmware version: 7000.34 or later [Note] The FONE540 can support up to two expansion speakerphones, however, the daisy-chain expansion cable cannot exceed over 40m in total. -
Page 9: Audio Signal Receive Range
Users can connect a mobile phone to the Phone in port on the speakerphone as a hands-free speaker. When the device connects with the speakerphone, the icon will light up in blue. Touching the icon will temporarily disconnect the connection of the device with the speakerphone; touching icon again will resume the connection. -
Page 10: Speakerphone Led Indicator
Speakerphone LED Indicator Button LED Indicator Status White light Adjust the volume up and down. When adjusting the volume up and down, the volume LED indicator will light up in blue. White/Blue light Touch to mute/un-mute the speakerphone volume. In mute status, the LED indicator will light up in red. -
Page 11: Installation
Installation Device Connection 1. Connect the speakerphone to a power outlet. 2. Connect the speakerphone to the laptop/PC. [Note] Use the USB cable that is included in the package. Remove the back cover for cable installation. Or, enable the Bluetooth function on the laptop/PC to make a wireless connection. [Note] ... -
Page 12: Operating The Speakerphone
For advanced setting and firmware update, please download AVer PTZApp. Make a Connection by AVer IP Finder App User can use AVer IP Finder app to find the speakerphone and make a connection through the browser to configure the speakerphone. -
Page 13: Network Setting
4. Select a speakerphone from the list. The corresponding fields of IP address will display. 5. To change the IP address of speakerphone, user can select “DHCP” or “Static IP”. The DHCP should get the IP address from local dynamic IP sever. The static IP, user can enter the specific IP address. -
Page 14: Static Ip
Static IP Assign a fixed IP address to the speakerphone. Please turn off the DHCP function. 1. In live screen view, select Network > Static IP. 2. Enter the IP Address, Gateway, NetMask, and DNS in the corresponding column. 3. Select Confirm to complete the setting. Audio Setting Noise Suppression Enable/Disable reduce ambient noise. - Page 15 Automatic Gain Control Enable/disable the automatic gain control. In live screen view, select Audio > Automatic Gain Control > Off or On. Echo Cancellation Enable/disable echo situation. In live screen view, select Audio > Echo Cancellation > Off or On.
- Page 16 Keyboard Noise Suppression Enable/disable keyboard noise reduction. In live screen view, select Audio > Keyboard Noise Suppression > Off or On. Phone In Jack Set Phone in input source. In live screen view, select Audio > Phone In Jack > Phone In, 3.5mm External Microphone Only or 3.5mm External Microphone Mix In.
- Page 17 Use AVer PTZApp to Setup the Speakerphone After installing the AVer PTZApp, run the PTZApp on your laptop/PC. Select “Settings” > scroll down to “Speakerphone” section. You can adjust the following settings of the speakerphone. Noise suppression: Reduce ambient noise.
Need help?
Do you have a question about the FONE540 and is the answer not in the manual?
Questions and answers