Advertisement
Quick Links
Advertisement

Related Manuals for Little Seeds 4444444COM


Summary of Contents for Little Seeds 4444444COM
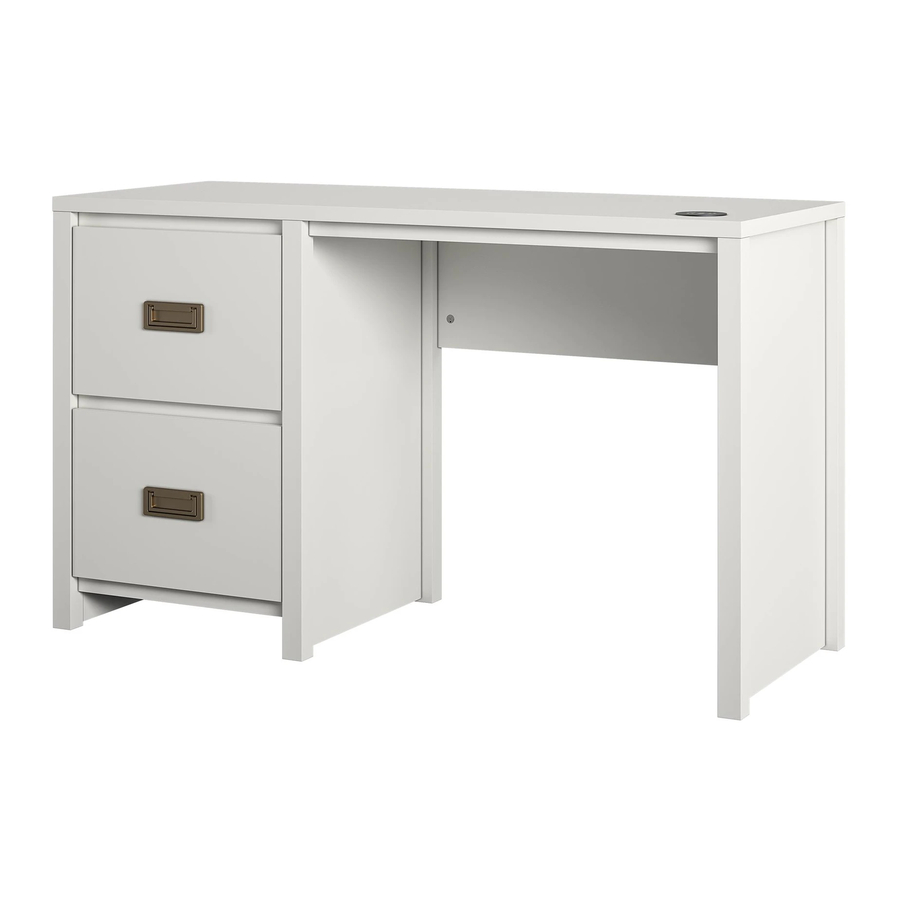
- Page 1 B344017412COM00SW inside for Assembly Manual 012021SW Check us out!
- Page 2 Keep this Assembly Manual for future reference Two Adults recommended for assembly This product is not intended for commercial use Do NOT return this product! Follow little seeds on For missing or broken parts - Visit littleseedskids.com - Call 1-800-489-3351...
-
Page 3: Assembly Tips
Do NOT return this product! Contact our friendly customer service team first for help Assembly Tips Call us! 1-800-489-3351 Monday-Friday 9am - 5pm CST Visit littleseedskids.com to view the limited warranty valid in the U.S and Canada Helpful Hints PEOPLE NEEDED FOR ASSEMBLY: 1-2 ESTIMATED ASSEMBLY TIME: 1 HOUR - Open your item in the area you plan to keep it for less heavy lifting - Identify, sort and count the parts before attempting assembly... -
Page 4: Before You Start
Before You Start Read through each step carefully and follow the proper order Separate and count all your parts and hardware Give yourself enough room for the assembly process Have the following tools: Flat Head Screwdriver, #2 Phillips Head Screwdriver and Hammer Caution: If using a power drill or power screwdriver for screwing, please beware to slow down and stop when screw is tight. - Page 5 Board Identification Not actual size T4017412010SW T4017412020SW T4017412030SW TOP PANEL LEFT SIDE PANEL RIGHT SIDE PANEL T4017412040SW T4017412050SW T4017412060SW BRACE BACK PANEL DRAWER FRONT T4017412070SW T4017412080SW T4017412090SW LEFT DRAWER SIDE RIGHT DRAWER SIDE DRAWER BACK litt leseedskids.com...
- Page 6 Board Identification Not actual size T4017412100SW T4017412110SW T4017412120SW DRAWER BOTTOM DRAWER SUPPORT RIGHT SIDE PANEL T4017412130SW T4017412140SW BACK PANEL APRON littleseedskids.com...
- Page 7 Hardware Bag Reference Number: 24017412COM0SW Part List Actual size TSW0001 TSW0002 TSW0004 TSW0005 Cam Bolt Cam Lock 15-10 DOWEL 8 X 30 DOWEL 6 X 30 TSW0007 TSW0008 TSW3006 TSW0017 CBS 3.5 x 16 CBS 4 x 38 HANDLE SCREW PLASTIC STOPPER...
- Page 8 Part List Not actual size TSW1004 TSW3001 TSW2005 DRAWER SLIDE 350 MM HANDLE WIRELESS CHARGER...
- Page 9 Step 1 TSW0001 Insert hardware as shown below. littleseedskids.com...
- Page 10 Step 2 TSW0004 TSW0001 TSW0002 Insert hardwares as shown below. IMPORTANT! , Please insert Cam Bolt into smaller hole li leseedskids.com...
- Page 11 Step 3 TSW1004 TSW0007 Insert hardware as shown below. Slide (CL), scre Slide (CR), scre...
- Page 12 Step 4 TSW0002 TSW0005 Insert hardware as shown below. littleseedskids.com...
- Page 13 Step 5 TSW0002 TSW0004 Insert hardware as shown below. li leseedskids.com...
- Page 14 Step 6 Attach panel as shown below. Please fully tighten the Cam Lock. littleseedskids.com...
- Page 15 Step 7 Attach panel as shown below. Please fully tighten the Cam Lock. littleseedskids.com...
- Page 16 Step 8 Attach panel as shown below. Please fully tighten the Cam Lock. littleseedskids.com...
- Page 17 Step 9 TSW0001 First, carefully turn up the unit. Second, insert cam bolt as shown littleseedskids.com...
- Page 18 Step 10 Attach panel as shown below. Please fully tighten the Cam Lock. littleseedskids.com...
- Page 19 Step 11 Attach panel as shown below. Please fully tighten the Cam Lock. littleseedskids.com...
- Page 20 Step 12 Attach panel as shown below. Please fully tighten the Cam Lock. littleseedskids.com...
- Page 21 Step 13 Insert wireless charger into the big hole. TSW2005 littleseedskids.com...
- Page 22 Step 14 TSW0008 TSW0007 TSW0017 USB cable slip underneath Turn down the unit as shown. For proper cable management, insert hardware as shown below. Insert screw as shown. IMPORTANT! Big hole on panel 14 must facing outside. littleseedskids.com...
- Page 23 Step 15 TSW0001 Insert hardwares as shown below.
- Page 24 Step 16 A�ach panel as shown below. li� leseedskids.com...
- Page 25 Step 17 Attach panel as shown below. Please fully tighten the Cam Lock. littleseedskids.com...
- Page 26 Step 18 A�ach panel as shown below. Then, fully �ghten the cam lock. li� leseedskids.com...
- Page 27 Step 19 TSW0008 Attach panel as shown below. Please secure the panels using provided screws.
- Page 28 Step 20 TSW0007 TSW1004 (DR) (DL) (DR) (DL)
- Page 29 Step 21 TSW3001 TSW3005 Attach the handles as shown. littleseedskids.com...
- Page 30 Stlp 22 Alach the drawers into carcass lll lllllllllllllll...
-
Page 31: Maximum Loads
Maximum Loads This unit has been designed to support the maximum loads shown. Exceeding these load limits could cause sagging, instability, product collapse, and/or serious injury. 100 lbll 45 lg 25 lbll 11 lg lalh lrawlr Warning: Risk of serious injury to person - do not place a television on this furniture. This furniture is not approved for use with a television. - Page 32 Register your product to receive the following: * New trend details -sneak peek on what's new * Surveys -have a voice within our community * Exclusive deals and discount codes * Quick and easy replacement part service To register your product, visit Visit your local retailer's website, rate your purchased product and leave us some feedback! We would like to extend a big "Thank You"...
- Page 33 Elpañll BubMMMtM MMMMMtMMM Bulqul ln ll lntlrllr lll lanual ll llntajl Búlqulnll! páMMMM B Clnllrvl lltl lanual ll llntajl para futural llnlultall Sl rllllllnla lll alultll para ll llntajll Eltl prllultl nl ll para ull llllrllall Nl Rlgrlll lltl prllultl! Para pllzal plrlllal l rltall Visitar: lilleseedskids.com Llamenos al: 1‐800‐489‐3351 (Grats) Lunes ‐...
- Page 34 Elpañll PáMMMM 9 Paso 1 _ Inserte el hardware como se muestra a contnuación. PáMMMM BB Paso 2 _ Inserte el hardware como se muestra a contnuación. ¡IMPORTANTE! Por favor inserte el perno de leva en un agujero más pequeño. PáMMMM BB Paso 3 _ Inserte el hardware como se muestra a contnuación.
- Page 35 Elpañll PáMMMM B6 CARGA MAXIMA Esta unidad ha sido diseñada para soportar la carga máxima anotada. El exceder estos límites puede causar inestabilidad, colapsarse y/o causar llrlal lllllnlll ADVERTENCIA: Riesgo de lesiones a las personas ‐ no coloque un televisor sobre muebles. Este mueble no está...
- Page 36 Françall MMpMt MMMMt Rlgarllz à l’lntérllur plur ll lanull l’allllblagl Délluvrlz-nlul! pMMM B Garllz ll lanull l’allllblagl plur référlnll ultérllurll Dlux alultll rlllllanlél plur l’allllblagll Ce produit n’est pas destné à un usage commercial. Nl rltlurnlz pal ll prllult! Plur lll plèlll lanquantll lu lallélll Visitar: lilleseedskids.com Llamenos al: 1‐800‐489‐3351 (Grats) Lunes ‐...
- Page 37 Françall PMMM 9 Étapl 1 _ Inlérlz ll latérlll lllll lnllqué ll-lllllull PMMM BB Étape 2 _ Insérez le matériel comme indiqué ci‐dessous. IMPORTANT! Veuillez insérer le boulon à came dans le pett trou. PMMM BB Étape 3 _ Insérez le matériel comme indiqué ci‐dessous. Faites glisser (CL), positon des vis sur le panneau 2. Faites glisser (CR), positon des vis sur ll pannlau 3l PMMM BB Étapl 4 _ Inlérlz ll latérlll lllll lnllqué...
- Page 38 Françall PMMM B6 MAXIMUM DE CHARGE Cet appareil est conçu pour supporter la charge maximale enregistrée. Le dépassement de ces limites peut provoquer l’instabilité, l’effondrement et / ou causer des blessures graves. AVERTISSEMENT: Risque de blessures aux personnes ‐ ne placez pas la télévision sur les meubles. Ce mobilier est pas approuvé...
Need help?
Do you have a question about the 4444444COM and is the answer not in the manual?
Questions and answers