
Related Manuals for Regulus Vent-Axia Sentinel Kinetic Advance S


Summary of Contents for Regulus Vent-Axia Sentinel Kinetic Advance S
- Page 1 Installation and Commissioning Instructions SENTINEL KINETIC ADVANCE S, SX SENTINEL KINETIC ADVANCE...
-
Page 2: Warnings And Safety Information
7. Young children should be supervised to ensure that they do not play with the appliance. Sentinel Kinetic Advance S, SX - www.regulus.eu │... -
Page 3: Installation Guidance
The crossed out wheeled bin with marking bar, printed ether in the Manual or on the product itself, identifies that the product must be disposed of at a recycling collection site. WEEE Registration Number: 02771/07-ECZ Sentinel Kinetic Advance S, SX - www.regulus.eu │... -
Page 4: Table Of Contents
Default settings ......................... 42 Control via WiFi .......................... 43 Maintenance ....................45 Filter Maintenance ........................45 Periodic Maintenance ......................46 Spares ............................47 Troubleshooting ..................... 48 Diagnosing a Problem ......................48 Product fiche ..........................51 Sentinel Kinetic Advance S, SX - www.regulus.eu │... -
Page 5: Technical Data
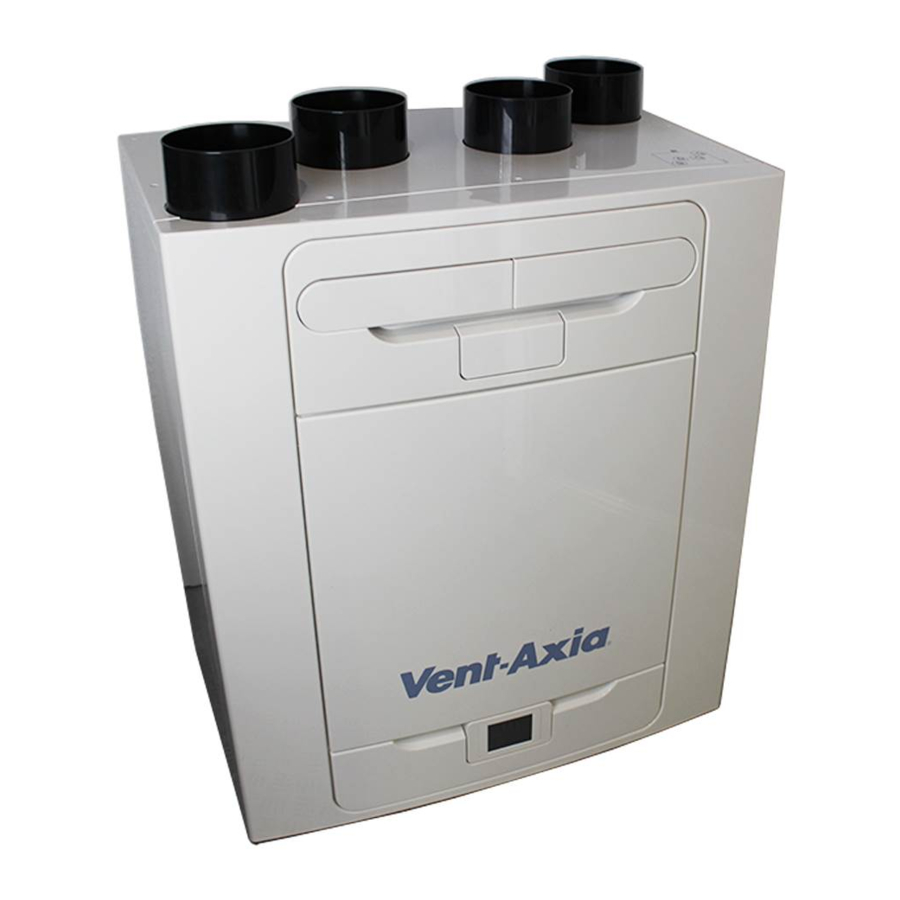
Control panel Ovládací modul Condensate exit Odtok kondenzátu Fig. 1: Sentinel Kinetic Advance with Left Hand and Right Hand spigot configuration Models 405215 Sentinel Kinetic Advance S 405216 Sentinel Kinetic Advance SX Sentinel Kinetic Advance S, SX - www.regulus.eu │... -
Page 6: Product Dimensions
Product Dimensions Figure 2: Sentinel Kinetic Advance Dimensions Remove front cover (see page 17) to view Rating label. (Label is positioned to the right of the controller). Sentinel Kinetic Advance S, SX - www.regulus.eu │... -
Page 7: Technical Specification
-20 °C to +45 °C Air Intake Temperature -20 °C to +45 °C Operating Humidity 0-95% RH Storage Temperature -20°C to +45°C Storage Humidity 0-95% RH Software Version See: Settings/Performance / Diagnostics / Display Version Sentinel Kinetic Advance S, SX - www.regulus.eu │... -
Page 8: Flow Rate Settings
Mechanical Ventilation with Heat Recovery (MVHR) systems are not designed to provide combustion air. NOTE: It is the responsibility of the open-flued appliance installer to ensure conformance with the current local building regulations for fuel burning appliances. Sentinel Kinetic Advance S, SX - www.regulus.eu │... -
Page 9: Summer Bypass Mode
Note, that the air noise in your system is influenced by flowrate, ducting design, layout and the size and type of vents used in the rooms. If improvements are required please contact your installer. Sentinel Kinetic Advance S, SX - www.regulus.eu │... -
Page 10: Accessories
The Controller Docking Kit has been designed to allow the Controller module to be removed from the MVHR & mounted remotely to either a single or double gang flush mount back-box of 25mm depth (min). The kit is supplied with a 15m lead and control panel cover. Sentinel Kinetic Advance S, SX - www.regulus.eu │... -
Page 11: Installation
The unit is configurable as either Left or Right Handed (Default), see page 5 for the spigot configuration. Use the left hand condensate drain for the Left Hand configuration, the right hand drain for the Right Hand configuration. Sentinel Kinetic Advance S, SX - www.regulus.eu │... -
Page 12: Wall Mounting The Unit
Step 4: Use the two adjusters at the bottom of the unit to ensure the base of the unit is horizontal in both axis. Lock the adjusters in the correct position using the two M6 nuts. Sentinel Kinetic Advance S, SX - www.regulus.eu │... -
Page 13: Floor Mounting The Unit
12) Step 4: Lift the unit and locate the two hooks on the rear onto the wall bracket prior to fixing the unit to the floor. (As shown on page 12) Sentinel Kinetic Advance S, SX - www.regulus.eu │... -
Page 14: Floor Mounting The Unit (Alternate Method)
(As shown on page 12). Step 6: Lift the unit and locate the two hooks on the rear onto the wall bracket prior to fixing the unit to the floor. (As shown on page 12). Sentinel Kinetic Advance S, SX - www.regulus.eu │... -
Page 15: Vertical Discharge Condensate Installation
Always use a demountable coupler close to the unit. Fit the drain cap supplied with the unit to the opposite (LH) condensate outlet. Ensure the sealing gasket is fitted inside the blanking cap. Sentinel Kinetic Advance S, SX - www.regulus.eu │... -
Page 16: Attach The Ducting
2. Securely connect the ducting to the spigots using worm-drive clips or suitable plastic ties. 3. Insulate any ducting passing through an unheated space to prevent any heat losses or surface condensation. Sentinel Kinetic Advance S, SX - www.regulus.eu │... -
Page 17: Electrical Installation
(e.g. conductive wrist straps and anti-sta- tic mats). Step 4: Push the locking tab away from the printed circuit board and slide it outwards to access the terminals. Note: The printed circuit board will relock after 60mm. Sentinel Kinetic Advance S, SX - www.regulus.eu │... -
Page 18: Connect Switches And Sensors
Page 19 and in Table 1. When fitting external controls, all cables should be routed through the two cable channels on the underside of the unit shown below. Figure 4: Sentinel Kinetic Advance cable channels Sentinel Kinetic Advance S, SX - www.regulus.eu │... - Page 19 Switched Neutral 220-240 V AC, 50 Hz input Mains Live 220-240 V AC, 50 Hz input Mains Neutral 220-240 V AC, 50 Hz input EARTH Mains Earth Earth connector Table 1: Terminal Connections Sentinel Kinetic Advance S, SX - www.regulus.eu │...
-
Page 20: Connect The Power Supply
LS1 and NS1 should both be connected to the same circuit. LS1 and NS1 are connected to the unit via a built in isolator and a separate isolating relay is not needed. Sentinel Kinetic Advance S, SX - www.regulus.eu │... -
Page 21: Commissioning
buttons. A symbol indicates that there are further screens related to a menu option. Select the option on the touchscreen to access the related screens. Sentinel Kinetic Advance S, SX - www.regulus.eu │... -
Page 22: Modifying Settings
The default is 0000 and can be changed in the Modify Settings menu. Press to enter the commissioning menu Press to return the settings menu Press ‘Modify settings’ to enter the commissioning screens. Sentinel Kinetic Advance S, SX - www.regulus.eu │... -
Page 23: Commissioning Screens Summary
A Quick Start sequence will appear when powering up the unit for the first time. Sentinel Kinetic Advance S, SX - www.regulus.eu │... - Page 24 Sentinel Kinetic Advance S, SX - www.regulus.eu │...
-
Page 25: Modifying Commissioning Settings
Time The Time is pre-loaded as part of the factory defaults, but may be changed if required using the buttons on the screen. Note: The clock is 24 hour. Sentinel Kinetic Advance S, SX - www.regulus.eu │... - Page 26 Note: There is an automatic filter check notification 3 months after installation, irrespective of set intervals. Service interval Set the service frequency. Reset Service Timer After the unit has been serviced, use this option to reset the timer. Sentinel Kinetic Advance S, SX - www.regulus.eu │...
- Page 27 Adjust the supply and extract airflows for each mode pre-set. Select each mode to adjust to the required flow rate. Adjust the airflows using the buttons. Press o save and return to the commissioning menu. Sentinel Kinetic Advance S, SX - www.regulus.eu │...
- Page 28 Go To mode for each Port Allocation. Adjust the time delay for each Port Allocation using buttons. Selectable range is 0-20. Adjust the Over-Run for each Port Allocation using buttons. Selectable range is 0-30 Sentinel Kinetic Advance S, SX - www.regulus.eu │...
- Page 29 & buttons and select the Go To mode. Note: Number of available modes may differ from image shown depending on bypass setting and the modes set in the commissioning process. Sentinel Kinetic Advance S, SX - www.regulus.eu │...
- Page 30 Internal RH sensing can be switched off by selecting “OFF”, this option is above 90%, or below 60%. CONTROL MODE Select whether the unit should operate in Normal or Constant Volume mode. Sentinel Kinetic Advance S, SX - www.regulus.eu │...
- Page 31 Bypass mode opens the Summer Bypass and stops recovering heat until the external temperature increases sufficiently. Relays Select whether the external preheater outputs are activated. These outputs are 230V 5A maximum each. Sentinel Kinetic Advance S, SX - www.regulus.eu │...
- Page 32 If Silent hours are enabled, the unit will not speed up above the set Maximum Mode. Silent Hours can be set to reoccur on specific days and times. Sentinel Kinetic Advance S, SX - www.regulus.eu │...
- Page 33 5 seconds. CANCEL Press to stop the restore process during this time. Once the system has restored back to factory default settings it will go back to the start up screens. Sentinel Kinetic Advance S, SX - www.regulus.eu │...
-
Page 34: Operation And Monitoring
Control Unit Screens Summary The following Control Unit screens are available for daily operation and monitoring of the unit. Sentinel Kinetic Advance S, SX - www.regulus.eu │... - Page 35 Control Unit Screens Summary The following Control Unit screens are available in the Settings / Performance section. Sentinel Kinetic Advance S, SX - www.regulus.eu │...
-
Page 36: User Controls
A countdown clock will also appear showing the time remaining for the selected User Mode. Pressing the User mode button again will cancel the User Mode and the unit will default back to Normal mode. Sentinel Kinetic Advance S, SX - www.regulus.eu │... -
Page 37: Settings And Performance
Each performance temperature can be shown in Celsius or Fahrenheit by pressing the required temperature. Date Change the date using the buttons on the screen. Sentinel Kinetic Advance S, SX - www.regulus.eu │... - Page 38 The indoor temperature setting is the maximum desired room temperature. This should be set to 3 °C above the central heating temperature. Change the indoor temperature using the buttons on the screen. Sentinel Kinetic Advance S, SX - www.regulus.eu │...
- Page 39 Go To mode for each Schedule. Scroll through the days of the week using the & buttons and select each day to be included in the Schedule program. Sentinel Kinetic Advance S, SX - www.regulus.eu │...
- Page 40 Enter the lock code using the buttons to access the Commissioner Menu. Note: the lock code is set by the installer and settings beyond this point should only be accessed and modified by a qualified installer. Sentinel Kinetic Advance S, SX - www.regulus.eu │...
-
Page 41: Commissioning The Unit Via Usb
No two systems are exactly the same and the settings and flow rates at each installation should be verified. The USB does not have to be blank however only the most recent file will be read. Sentinel Kinetic Advance S, SX - www.regulus.eu │... -
Page 42: Default Settings
Load Pot (60%) Time Pot (20 m) Proportional 1/2 Humidity – Boost, Normal (60%) – Boost (2000 ppm), Normal (1000 ppm) Temperature – Boost (27 °C, Normal 17 °C) Table 2 Default settings Sentinel Kinetic Advance S, SX - www.regulus.eu │... -
Page 43: Control Via Wifi
Reset Button A reset button is hidden behind this area of the label Status LED A tri-colour LED is placed behind this area of the label, indicating the status of the WiFi controller Sentinel Kinetic Advance S, SX - www.regulus.eu │... - Page 44 LED will change to solid red to confirm it is resetting and will reboot when the button is released. SUPPORTED NETWORKS The Kinetic Advance WiFi controller supports IEEE 802.11 b/g/n networks at 2.4GHz using the following network security: Open WEP WPA WPA2 Sentinel Kinetic Advance S, SX - www.regulus.eu │...
-
Page 45: Maintenance
4. Close the filter drawers, ensuring the latches have clicked back into the locked position. 5. After maintenance of the filters, the filter timer can be reset by going to Settings/Performance, Clean/Replace filter. Sentinel Kinetic Advance S, SX - www.regulus.eu │... -
Page 46: Periodic Maintenance
Clean if necessary. Ensure the trap is fully charged with water. Fastenings Check that all unit and wall-mount fastenings are sufficiently tight and have not become loose. Re-tighten if necessary. Sentinel Kinetic Advance S, SX - www.regulus.eu │... -
Page 47: Spares
Spares The following spare parts may be ordered from the manufacturer: Under preparation Sentinel Kinetic Advance S, SX - www.regulus.eu │... -
Page 48: Troubleshooting
Left Fan Fault Right fan Fault Left Thermistor Fault Right Thermistor Fault Left Centre Thermistor Fault Right Centre Thermistor Fault Left Centre Temp/Humidity Sensor Fault Right Centre Temp/Humidity Sensor Fault Table 3: Fault Codes Sentinel Kinetic Advance S, SX - www.regulus.eu │... - Page 49 This page is intentionally blank and can be used for making notes regarding the product fiche. Sentinel Kinetic Advance S, SX - www.regulus.eu │...
- Page 50 This page is intentionally blank and can be used for making notes regarding the product fiche. Sentinel Kinetic Advance S, SX - www.regulus.eu │...
-
Page 51: Product Fiche
Sensitivity p. Variation@+20/‐20 Pa: (for Non‐Ducted VUs) Air Tightness‐ID/OD‐(m /h) (for Non‐Ducted VUs) Annual Electricity Consumption: AEC (kWh/a) 1.75 Annual Heating Saved: AHS (kWh/a) AHS: Average 47.56 AHS: Warm 21.50 AHS: Cold 93.09 Sentinel Kinetic Advance S, SX - www.regulus.eu │... - Page 52 • warranty certificate or other relevant documents tampering with or forging was revealed The below signed installer declares that the product described in this Warranty Certificate was properly commissioned following the conditions stated by Regulus, spol. s r.o. Seller: Commissioned by: Company name: ............
Need help?
Do you have a question about the Vent-Axia Sentinel Kinetic Advance S and is the answer not in the manual?
Questions and answers